After the previous attempt of running a PC off AA cells got a lot of comments, [ScuffedBits] decided to do the scientifically responsible thing and re-ran the experiment with all the peer-reviewed commentary in mind. Although we noted with the previous experiment that only alkaline cells were used, [ScuffedBits] rectified this by stating that both carbon and alkaline AA cells were used the first time around.
For this second experiment a number of changes were made, though still both carbon and alkaline cells were put into the mix. To these a third string was added, consisting of NiMH cells, for a total of 64 cells with each of the three strings outputting around 25 VDC when fully charged. These fed a cheap buck regulator module to generate the 12 VDC for the DC-DC converter on the mainboard’s ATX connector.
Although it appears that the same thin Cat-5e-sourced wiring was used, with the higher voltage this meant a lower current, making it significantly less sketchy. Unlike with the first experiment, this time around the Core i3 530 based PC could run much longer and even boot off the DIY battery pack. After a quick game and pushing through a Cinebench run for 64 Watts maximum power usage, it turned out that there was still plenty of time for more fun activities, such as troubleshooting Minecraft and even playing it.
Continue reading “Running A PC Off AA Cells With Buck Converters Really Boosts Performance”


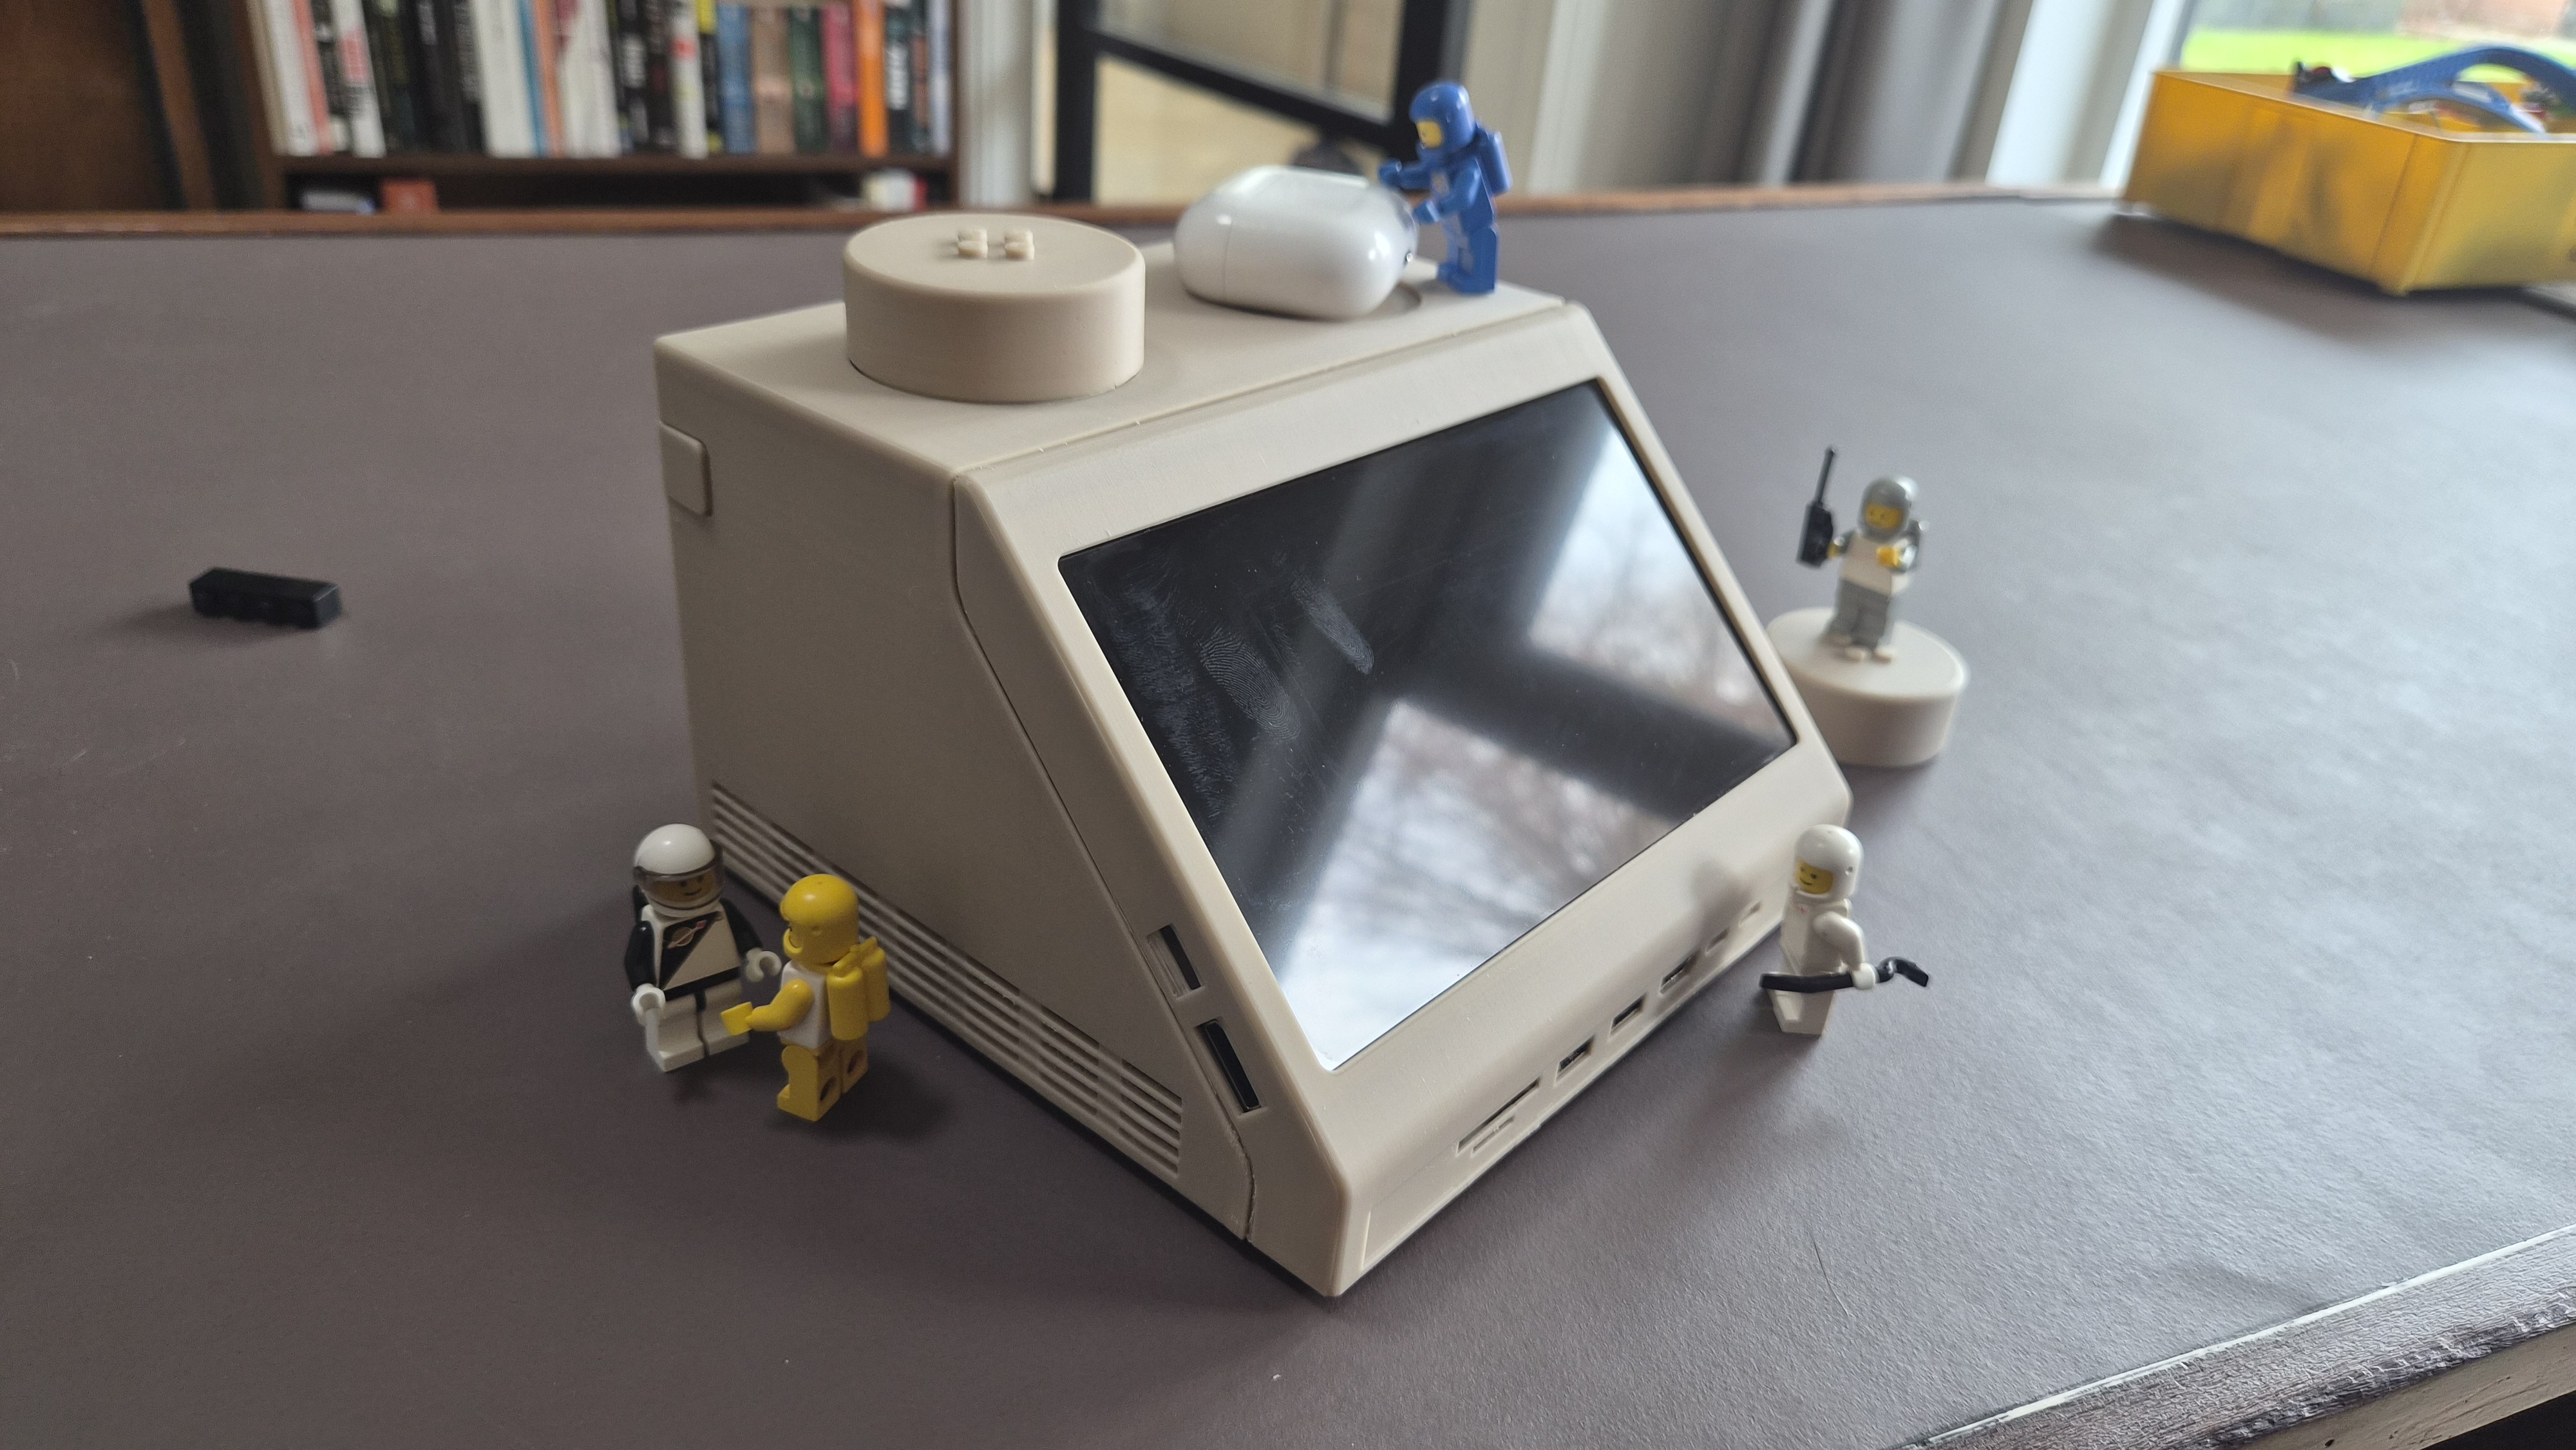
![The LEGO-lookalike displaying [Paul]'s dashboard](https://hackaday.com/wp-content/uploads/2026/03/Screenshot-2026-03-04-at-14-08-38-Watt-IV-–-the-M2x2.png?w=600&h=450)