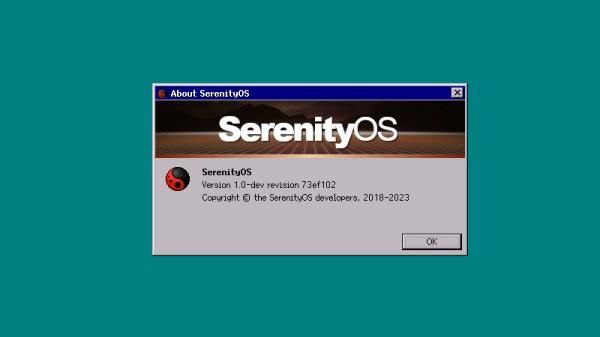
As we continue on with the series in which I take a different OS for a spin every month I am afraid, dear reader, that this month I have a confession to make. Our subject here isn’t a Daily Driver at all, and it’s not the fault of the operating system in question. Instead I’m taking a look at a subject that’s not quite ready for the big time but is interesting for another reason. The OS is SerenityOS, which describes itself as “a love letter to ’90s user interfaces with a custom Unix-like core“, and the reason I’m interested in it comes from its web browser. I know that the OS is very much a work in progress and I’ll have to forgo my usual real hardware and run it in QEMU, but I’ve heard good things about it and I want to try it. The browser in question is called Ladybird, and it’s interesting because it has the aim of creating a modern fully capable cross-platform browser from scratch, rather than being yet another WebKit-based appliance.
A Pleasant Trip Into The 1990s
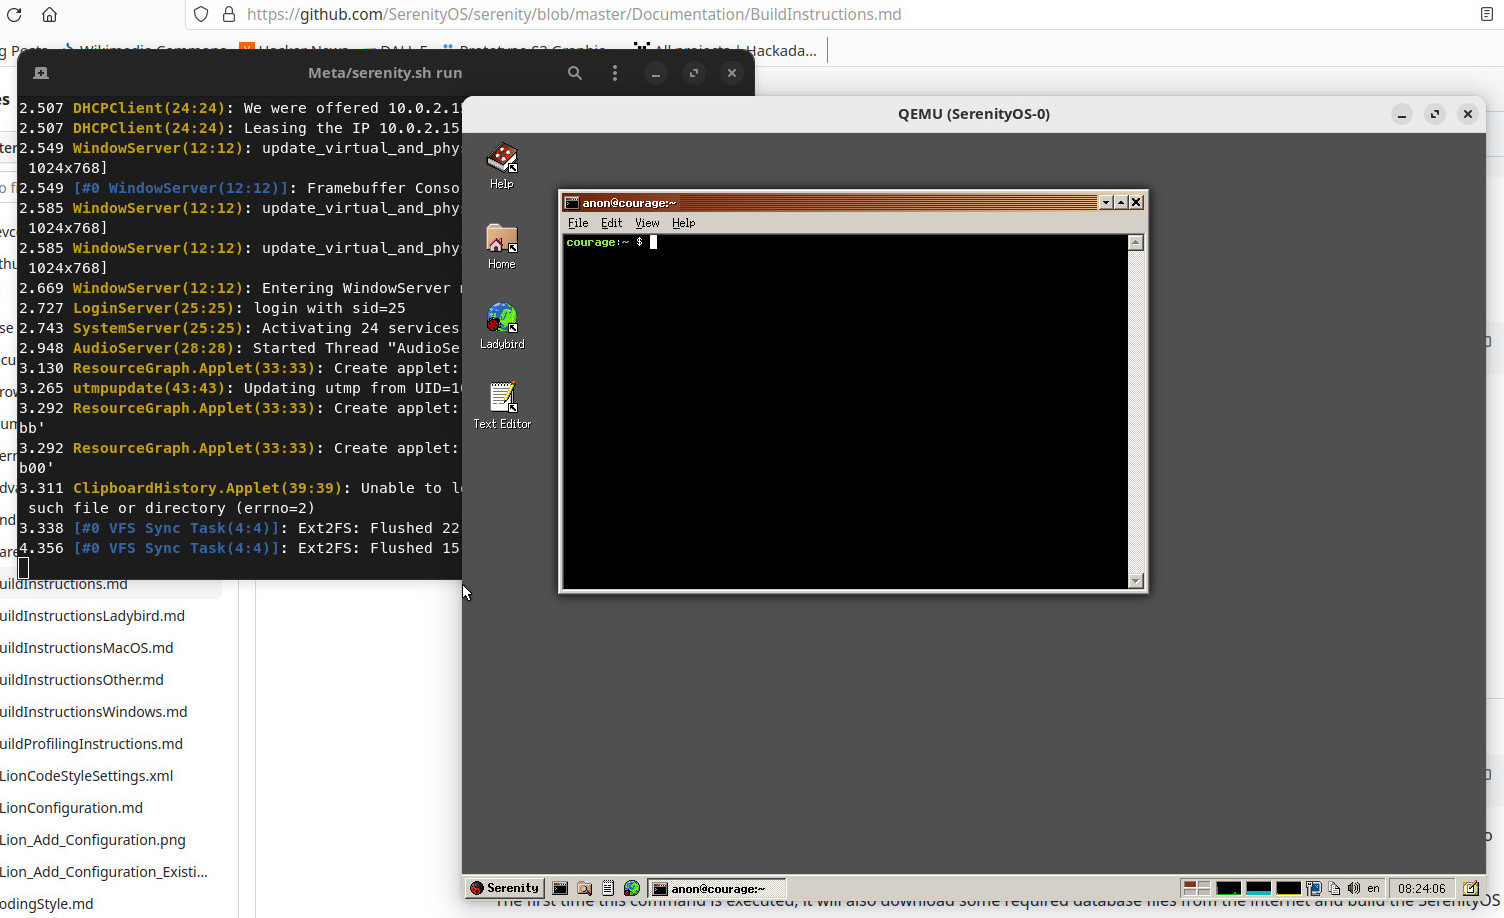
SerenityOS isn’t ready to be installed on real hardware, and there’s no handy ISO to download. Instead I had to clone the repository to my Linux machine and run the build script to compile the whole thing, something I was very pleased to observe only took about 40 minutes. It creates a hard disk image and opens QEMU for you, and you’re straight into a desktop.
When they mention ’90s user interfaces they definitely weren’t hiding anything, because what I found myself in could have easily been a Windows 9x desktop from the middle of that decade. There are a bunch of themes including some Mac-like ones, but should you select the “Redmond” one, you’re on very familiar ground if you had a Microsoft environment back then. It’s only skin-deep though, because as soon as you venture into a command line shell there’s no DOS to be found. This is a UNIX-like operating system, so backslashes are not allowed and it’s familiarly similar to an equivalent on my Linux box. The purpose of this review is not to dive too far into the workings of the OS, but suffice it to say that both the underpinnings and the desktop feel stable and as polished as a Windows 95 lookalike can be. The various bundled utilities and other small programs seem to work well, and without any hint of the instabilities I’ve become used to when I’ve experimented with other esoteric operating systems. Continue reading “Jenny’s Daily Drivers: SerenityOS, And In Particular, Ladybird”