This article is the fifth in a series looking at the process of bringing an electronic kit to market from a personal project. We’ve looked at market research, we’ve discussed making a product from your project and writing the best instructions possible before stuffing your first kits ready for sale. In this article we’ll tackle the different means of putting your kits out there for sale.
Given a box of ready-to-sell kits, what next? You have to find some means of selling them, getting them in front of your customer, making the sale, sending them to the purchaser, and safely collecting their money. A few years ago this was an expensive and risky process involving adverts in print magazines and a lot of waiting, but we are fortunate. The Internet has delivered us all the tools we need to market and sell a product like an electronic kit, and in a way that needn’t cost a fortune. We’ll now run through a few of those options for selling your kits, before looking at shipping, marketing, and post-sales support in the final article in the series.
I bet the hand saw really changed some things. One day you’re hacking away at a log with an ax. It’s sweaty, awful work, and the results are never what you’d expect. The next day the clever new apprentice down at the blacksmith’s shop is demoing his beta of his new Saw invention and looking for testers, investors, and a girlfriend. From that day onward the work is never the same again. It’s not an incremental change, it’s a change. Pure and simple.
This is one of those moments. The world of tools is seeing a new change, and I think this is the first of many tools that will change the way we build.
Like most things that are a big change, the components to build them have been around for a while. In fact, most of the time, the actual object in question has existed in some form or another for years. Like a crack in a dam, eventually someone comes up with the variation on the idea that is just right. That actually does what everything else has been promising to do. It’s not new, but it’s the difference between crude and gasoline.
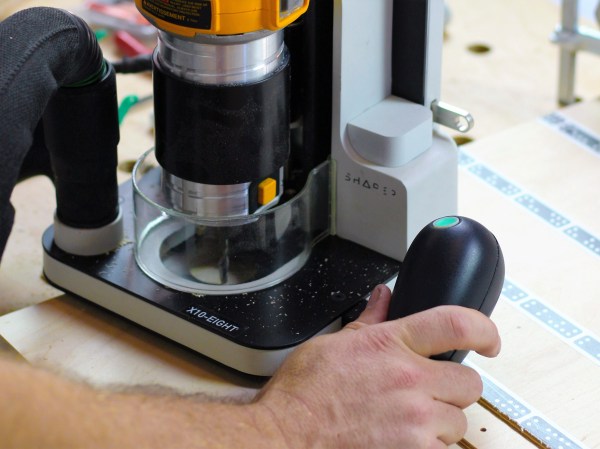
My poetic rasping aside, the Shaper Origin is the future of making things. It’s tempting to boil it down and say that it’s a CNC machine, or a router. It’s just, more than that. It makes us more. Suddenly complex cuts on any flat surface are easy. Really easy. There’s no endless hours with the bandsaw and sander. There’s no need for a 25,000 dollar gantry router to take up half a garage. No need for layout tools. No need to stress about alignment. There’s not even a real need to jump between the tool and a computer. It can be both the design tool and the production tool. It’s like a magic pencil that summons whatever it draws. But even I had to see it to believe it.
If you had made it this far in your journey from project to kit, you would now have a box of electronic components, a pile of printed instructions, and a box of plastic bags, thin card boxes, or whatever other retail packaging you have chosen for your kit. You are ready to start stuffing kits.
It’s All In The Presentation
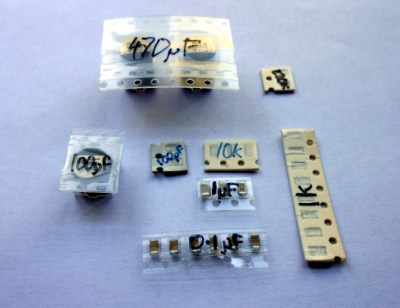
Label all your hard-to-identify components, your customers will appreciate it.
Your priorities when stuffing a kit are to ensure that your customer receives all the components they should, they can easily identify each component, and that the whole kit is attractively presented such that it invites them to buy or build it when they first see it. This starts before you have packed any components, you must carefully prepare each component into units of the required number and label them if they are otherwise not easy to identify. Pre-cut any components supplied on tape, and write the part number or value on the tape if it is not easily readable. You may even have to package up some difficult-to-identify components in individual labeled bags if they can not have their values written on them, though this incurs an extra expense of little bags and stickers. Some manufacturers will insist on using black tape on which an indelible pen doesn’t show up!
Take care cutting tapes of components, it is sometimes easy to damage their pins. Always cut the tape from the bottom rather than the side with the peelable film, and if necessary carefully bend the tape slightly to open up the gap between components for your scissors.
If you start by deciding how many kits you want to stuff in a sitting, list all the kit components and prepare that number of each of them in the way we’ve described. Then take the required number of packages or bags, and work through each component on the list, stuffing all the bags with one component before starting again moving onto the next. In time you will have a pile of stuffed kits ready to receive their instructions and labeling.
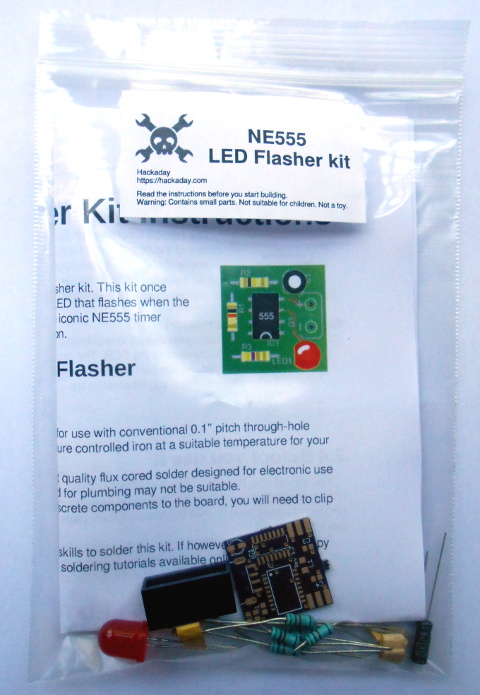
The next step will be to fold your instruction leaflet and pack it in the kit. Take a moment to consider how it can be most attractively presented. For example with a kit packaged in a click-seal plastic bag it makes sense to fold the leaflet such that the colour photo of a completed kit is visible from the front. And when you place it in the bag make sure that the PCB is visible top-outwards in front of it. A customer looking at your kit wants to immediately see what they are likely to create with it.
You can now seal the bag or box, the kit is packed. It only remains to give it a label that has all the pertinent information and is attractive to the customer. You will probably want to put your logo or web address on the label as well as any small print required, alongside the most important feature — the kit description. We’ve put a warning about small parts and curious children, you may also want to put any reglatory or compliance information here. For example in Europe you might have a CE mark and a WEEE logo. Once you have your design sorted you can run it up in your favourite label designing software – we used gLabels – and print as many as you like on sheets of sticky labels. We strongly suggest buying good quality branded labels, the extra money is well worth it when you consider that they will have much more reliable glue, and the extra cost per individual kit will be marginal. Pick a label size which fills a decent space and is easy to read on your packaging without being too big, we used 70mm x 37mm laser labels of which 24 can be had on a single sheet.
Your First Finished Product
If Hackaday made electronic kits, they might look a little like this.
It’s an exciting moment when you apply a label to your first fully packed kit and see for the first time what your customers will see: a finished product. You aren’t quite done though, because there is still the small matter of quality control. Take a kit or two from your batch at random, and count all their contents off against your list of what they should contain. This should help you ensure you are packing the kits correctly. Finally, give a completed kit to a friend who has never seen it before, and tell them to build it as a final piece of quality control. They are simulating your customer in every way, if they have no problems then neither should anyone who buys the kit.
Once you’ve built your batch of kits, you will now have the stock you will send out to your customers. Imagine yourself as a customer, if you order a kit you will expect it to arrive in pristine condition. You should therefore now take care of this stock of kits to ensure that it does not come to any harm, its packaging is as crisp and new when you send it out as when you packed it, and it has not attracted any dust while in storage. We would suggest having a separate plastic box for the stock of each kit in your range, and protecting the kits from dust with a lid, or by storing them inside a larger plastic bag.
As we’ve worked through this series of articles, we’ve tried to give you a flavour of the process of bringing an electronic kit from a personal project to the masses. We’ve looked at learning about the market for your kit, we’ve discussed turning a project into a product before writing the best instructions possible and now stuffing your first kits ready for sale. In the next article in the series we’ll talk about how you might sell your products, the different choices open to you for online shops, marketplaces, and crowdfunding.
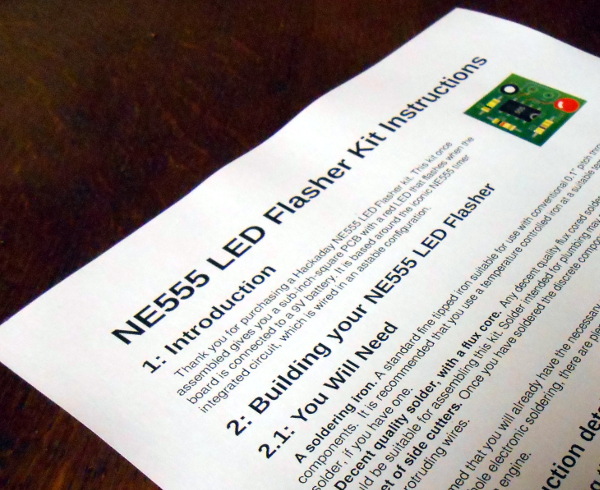
A printed copy of the instructions for our example kit
We’ve had two previous articles in this series on turning a personal electronic project into a saleable kit, in which we’ve examined the kit market in a broader context for a new entrant, and gone on to take a look at the process of assembling the hardware required to create a product. We’ve used an NE555 LED flasher as a simple example , from which we’ve gone through the exercise of setting a cost of production and therefore a retail price.
The remaining task required to complete our kit production is to write the documentation that will accompany it. These will be the instructions from which your customers will build the kit, and their success and any other customers they may send your way will hang on their quality. So many otherwise flawless kits get this part of the offering so wrong, so for a kit manufacturer it represents an easy win into which to put some effort. Continue reading “From Project To Kit: Instructions Are Everything”→
The once successful Kickstarter and National Science Foundation (NSF) research grant winner Electroloom is saying “Thanks and Farewell” to its backers, supporters, and sponsors. The startup ran out of funding while developing printer-like machine that uses electrospinning to automatedly produce ready-to-use garments.
Electroloom has been an ambitious project to explore if electrospinning could be made viable for garment manufacturing. The process that uses a high voltage to transform a resinous liquid into non-woven fabric was originally invented for textile fabrication, although its low throughput has always been a limiting factor. The method was mostly used in laboratory and medical applications. In 2014, Electroloom began developing a process that would bring the technology back to its fibrous roots, building an amazing prototype machine that could print an entire shirt in one piece. Electroloom’s Kickstarter campaign was funded in 2015, and earlier this year, an NSF research grant was awarded to the startup.
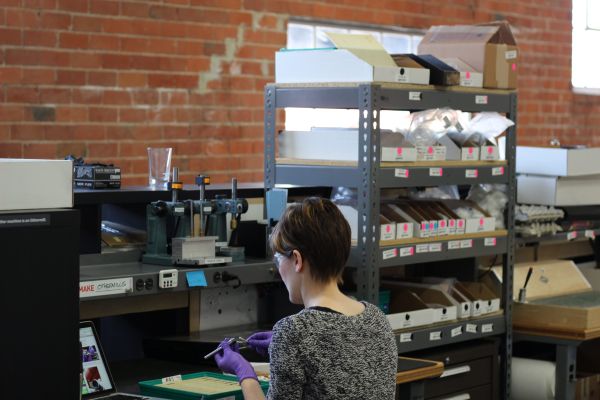
Othermachine Co. is not a big company. Their flagship product, the Othermill, is made in small, careful batches. As we’ve seen with other small hardware companies, the manufacturing process can make or break the company. While we toured their factory in Berkeley California, a few interesting things stood out to us about their process which showed their manufacturing competence.
It’s not often that small companies share the secrets of their shop floor. Many of us have dreams of selling kits, so any lessons that can be learned from those who have come before is valuable. The goal of any manufacturing process optimization is to reduce cost while simultaneously maintaining or increasing quality. Despite what cynics would like to believe, this is often entirely possible and often embarrassingly easy to accomplish.
Lean manufacturing defines seven wastes that can be optimized out of a process.
Overproduction: Simply, making more than you currently have demand for. This is a really common mistake for first time producers.
Inventory: Storing more than you need to meet production or demand. Nearly every company I’ve worked for has this problem. There is an art to having just enough. Don’t buy one bulk order of 3,000 screws for six months, order 500 screws every month as needed.
Waiting: Having significant delays between processes. These are things ranging from running out of USB cables to simply having to wait too long for something to arrive on a conveyor belt. Do everything you can to make sure the process is always flowing from one step to another.
Motion: If you have a person walking back and forth between the ends of the factory to complete one step of the manufacturing process, this is wasted motion.
Transport: Different from motion, this is waste in moving the products of each individual process between sections of the assembly.
Rework: Get it right the first time. If your process can’t produce a product that meets specifications, fix the process.
Over-processing: Don’t do more work than is necessary. If your part specifies 1000 hours of runtime don’t buy a million dollar machine to get 2000 hours out of it. If you can find a way to do it with one step, don’t do it with three.
The first thing that stuck out to me upon entering Othermachine Co’s shop floor is their meticulous system for getting small batches through the factory in a timely manner. This allows them to scale their production as their demand fluctuates. CNCs and 3D printers are definitely seasonal purchases; with sales often increasing in the winter months when hackers are no longer lured away from their workstations by nice weather.
As the seven sins proclaim. It would be a bad move for Othermachine Co. to make too many mills. Let’s say they had made an extra 100 mills while demand was at a seasonal low. If they found a design or quality problem from customer feedback they’d have to commit to rework, potentially throwing away piles of defective parts. If they want to push a change to the machine or release a new model they’d either have to rework the machines, trash them, or wait till they all sold before improving their product. Even worse, they may find themselves twiddling their thumbs waiting for their supply to decrease enough to start manufacturing again. This deprives them of opportunities to improve their process and leads to a lax work environment.
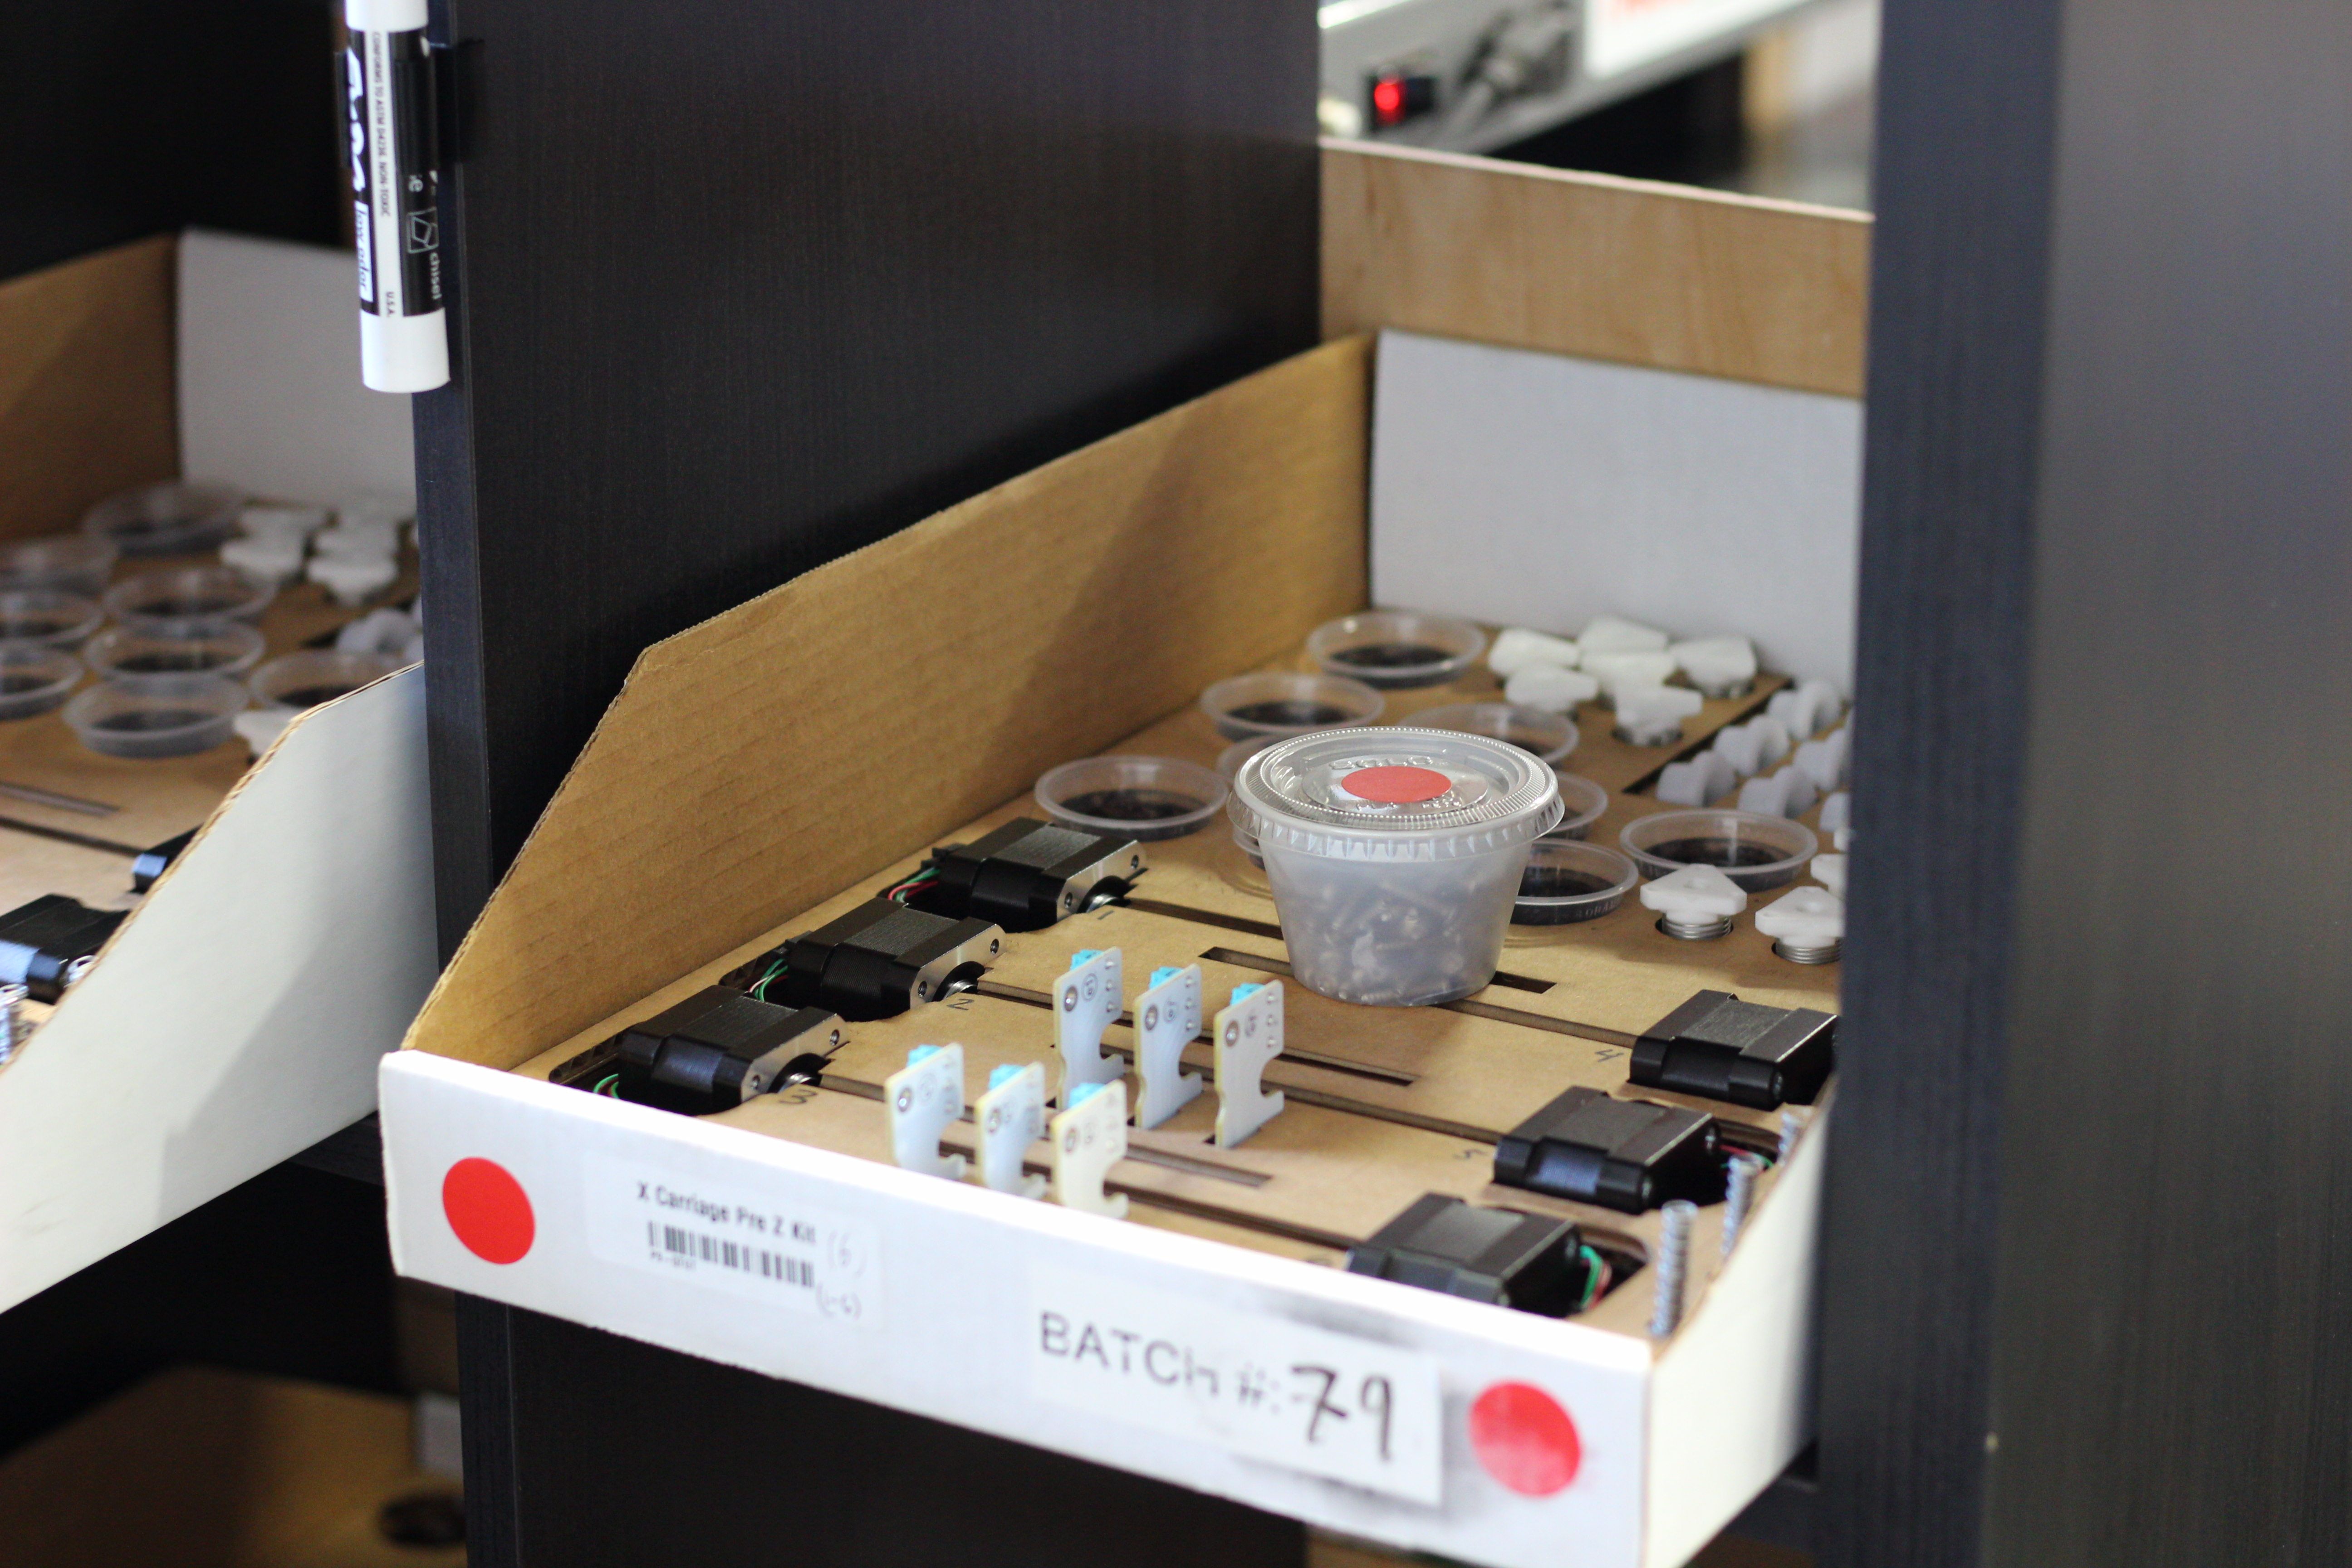
One way to ensure that parts are properly handled and inventory is kept to a minimum is with proper visual controls. To this end, Othermachine Co has custom cardboard bins made that perfectly cradle all the precision parts for each process in their own color coded container. Since the shop floor is quite small, it lets them focus on making spindle assemblies one day and motion assemblies another without having to waste time between each step. Also, someone can rekit the parts for a recently completed step easily without interrupting work on the current process going on.
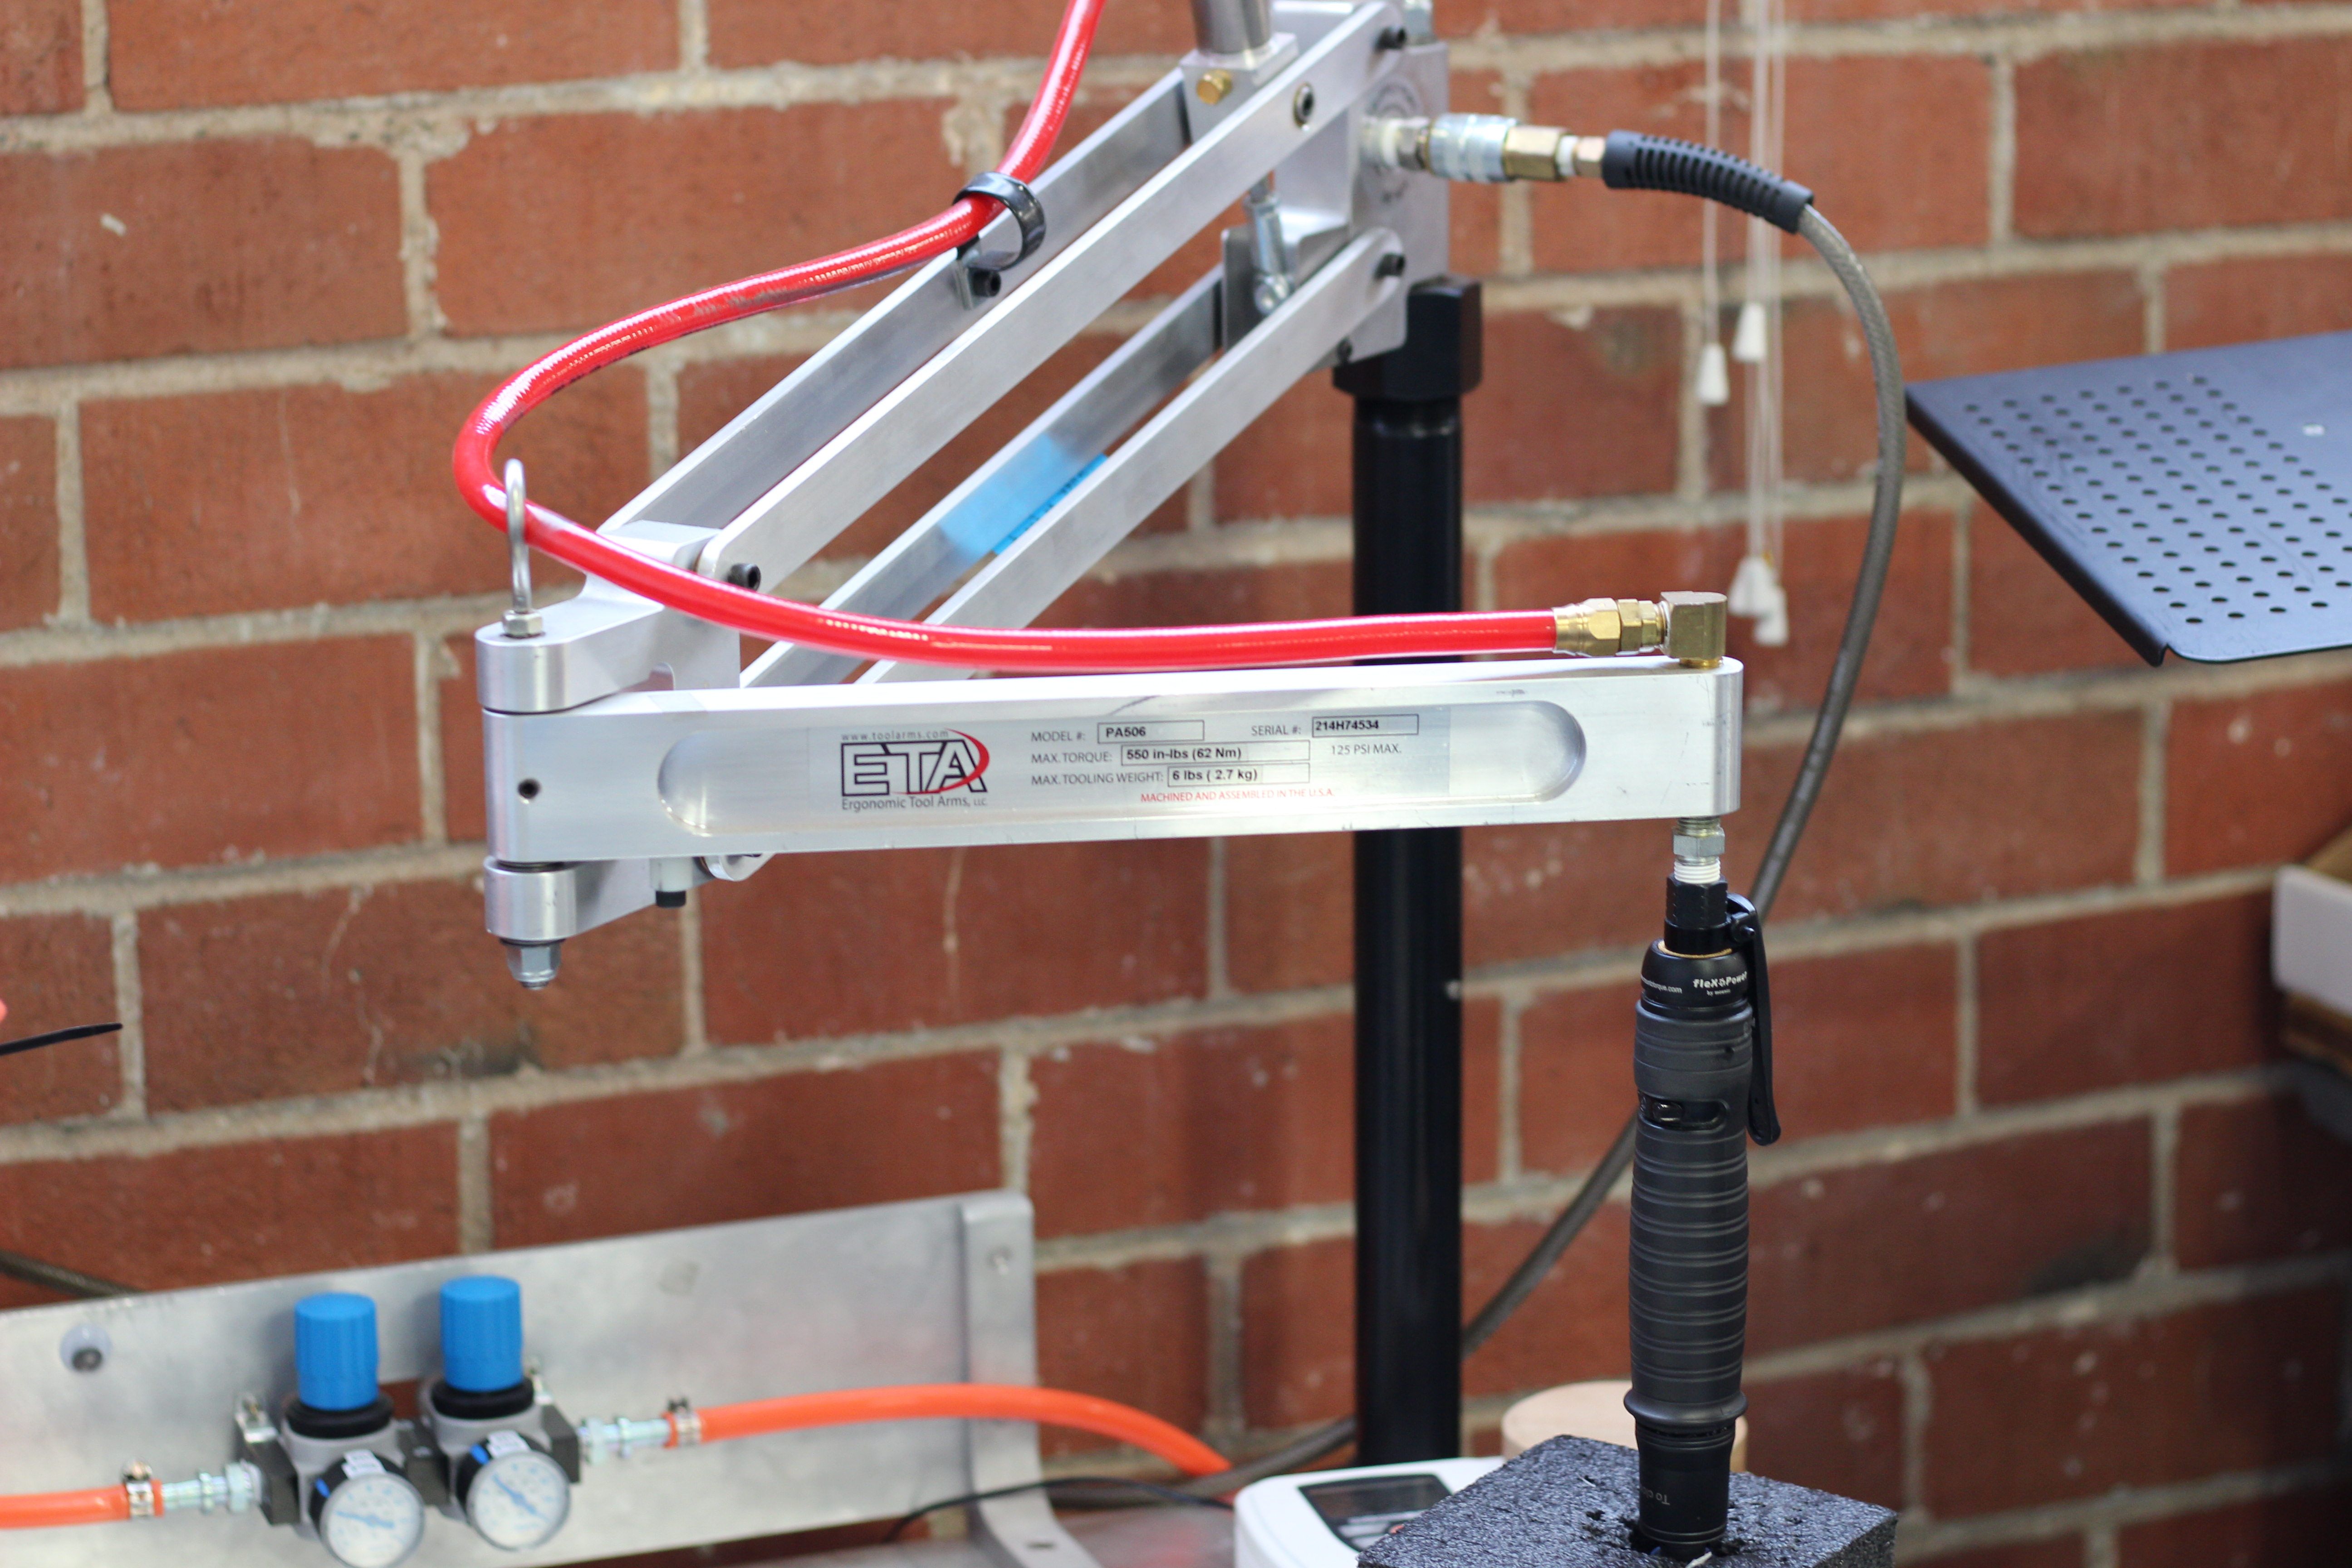
It’s hard to define what’s over processing and what isn’t. My favorite example of what isnt, and something I’ve fought for on nearly every factory floor I’ve worked on is proper torque limiting screwdrivers. They’re a little expensive, but they are a wonderful tool that helps to avoid costly rework and over processing. For example, let’s say you didn’t have a torque limiting screwdriver. Maybe your customers would complain that occasionally a screw came loose. Now, one way to solve this would be the liberal application of Loctite. Another way would be an additional inspection step. Both of these are additional and completely uneccessary steps as most screws will hold as long as they are torqued properly.
In one factory I worked in, it was often a problem that a recently hired worker would overtorque a screw, either stripping it or damaging the parts it was mating together. A torque limiting screwdriver takes the worker’s physical strength out of the equation, while reducing their fatigue throughout the day. It’s a win/win. Any time a crucial step can go from unknown to trusted with the application of a proper tool or test step it is worth it.
Another section where Othermachine Co. applied this principle is with the final machining step for the CNC bed. The step produces a large amount of waste chips. Rather than having an employee waste time vacuuming out every Othermill after it has gone through this process, they spent some time designing a custom vacuum attachment. This essentially removed an entire production step. Not bad!
With the proper management of waste it is entirely possible to save money and improve a process at the same time. It takes a bit of training to learn how to see it. It helps to have an experienced person around in order to learn how to properly respond to them, but with a bit of practice it becomes a skill that spreads to all areas of life. Have any of you had experience with this kind of problem solving? I’ve really enjoyed learning from the work stories posted in the comments.
In the previous article in this series on making a personal electronic project into a saleable kit, we looked at the broader picture of the kit market for a new entrant, the importance of gauging whether or not your proposed kit has a viable niche and ensuring that it has a good combination of buildability, instructions, and quality. In this article we will look at specifying and pricing the hardware side of a kit, illustrating in detail with an example project. The project we’ve chosen is a simple NE555 LED flasher which we haven’t built and have no intention of assembling into a kit for real, however it provides a handy reference project without the circuit itself having any special considerations which might distract from the job at hand.



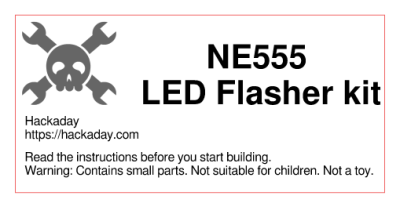 You can now seal the bag or box, the kit is packed. It only remains to give it a label that has all the pertinent information and is attractive to the customer. You will probably want to put your logo or web address on the label as well as any small print required, alongside the most important feature — the kit description. We’ve put a warning about small parts and curious children, you may also want to put any reglatory or compliance information here. For example in Europe you might have a CE mark and a WEEE logo. Once you have your design sorted you can run it up in your favourite label designing software – we used