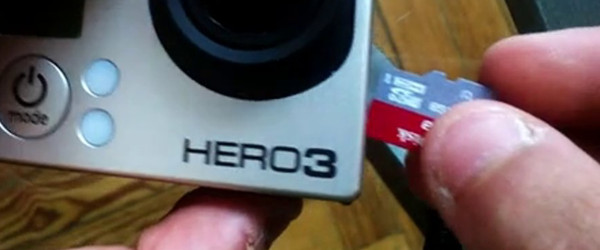
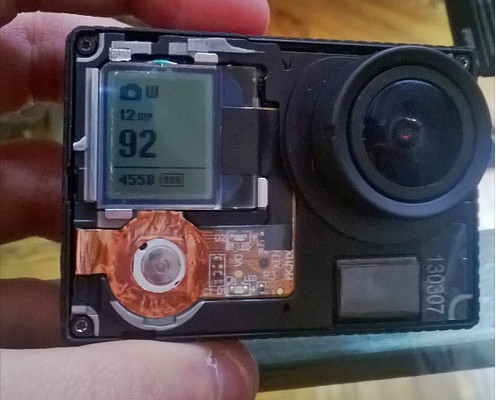
GoPro cameras come out of the box with a huge set of features. Most people will be satisfied, or possibly even overwhelmed by the available options, but if you’re able to do some of these hacks, you’ll be able to expand your camera’s capabilities even more. They can, however, void your warranty, so as with most hacking, do these at your own risk.
We’re happy to announce that community voting for The Hackaday Prize starts today. It’s an interface that we’ve been calling Astronaut or Not! We have hundreds of prizes to give away and this is your chance to decide who some of them go to.
Best Project Concept
This week we’re voting on the best project concept. Don’t vote on projects based on how much work they have done or how many pictures there are, pick the ones that have the potential to be the the best project. We’ll be sending shirts to the top 10 projects voted on over the next few days.
We don’t want this to be purely a popularity contest, so we’re shaking things up a bit. Instead of voting for a particular project we’re pairing the entries in random head-to-head match-ups, with Hackaday readers deciding the ultimate ranking. Check out the contenders, learn a bit about each project, then choose the one you think is more worthy of The Hackaday Prize.
Submit your entry now to be included!
Astronaut or Not isn’t going to decide the top prizes, all entries will still be reviewed by our various judging panels. We are planning to give away different prizes with each round of voting. So make sure you post your entry right away to get in on these giveaways!
His friends call him [Jeroen], but everyone else on the Internet knows this god of hacks and mods as [Sprite_TM]. He’s done everything from hacking hard drive controllers to making the best computer ever made even better. As one of the preeminent hardware hackers around, we’re proud to have [Sprite] as a judge in The Hackaday Prize, and happy to interview him on his thoughts on connected devices, the cloud-based Internet of Things, and his process of opening up black box devices for some sometimes subtle modifications.
You’re well known for your highly technical electronic hacks on your
blog SpritesMods. What about the professional side of your life, what kind
of projects keep you busy there?
I’m a software developer for a big broadcasting equipment manufacturer. Every now and then a hardware project comes along and I try to grab those too.
This week we’re getting to know The Hackaday Prize Judge [Jack Ganssle] a little better. His depth of experience with embedded systems is formidable, and recently I was very interested to learn about his mission to improve the quality of the product in the embedded code universe. We’ll get to that in a little bit, but I wanted to start off with [Jack’s] answer to my final question.
Is there anything else you’d like our audience to know about you?
My entry into this field was when the first 8 bit processor (the 8008) came out, and still find it endlessly fascinating. I write a lot about embedded topics, and give talks and seminars, on all of the continents except Antarctica (so far!). We live in heavily-wooded Finksburg, MD, which is just stunning this time of year, and, since my office is in the house, the commute is pretty tolerable. Other passions include sailing; I wrote an on-line book (www.ganssle.com/jack) about racing alone across the Atlantic. Great trip, other than losing the boat.
The lowly diode, a device with only two leads, can nonetheless do many things. Diodes can detect, rectify, suppress, emit light, detect light, change capacitance, emit microwaves and more. This wide range of use means diodes are included in almost every design and it’s well worth learning more about the inner workings of all kinds of diodes.
My introduction to diodes started like many of my generation with a homemade crystal radio set. My first diode was a piece of pencil graphite in contact with an old fashion safety razor with the joint of the two dissimilar materials — graphite and steel — creating the diode. In this configuration the diode is said to be “detecting” which is the act of turning a weak radio signal into a weak audio signal. At least in my home town of Marion Indiana, one radio station was stronger than the other so that I didn’t have to listen to two stations at once.
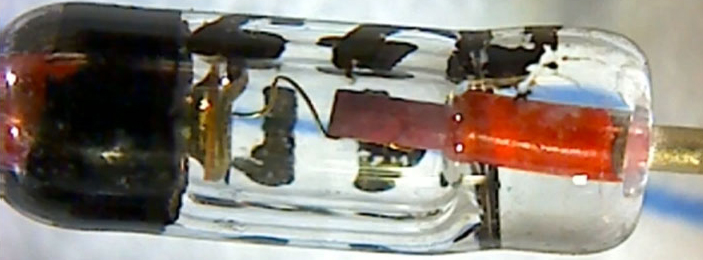
The venerable 1N34A Germanium Signal Diode.
I eventually learned about “real” diodes and the 1N34A Germanium diode was my “goto” diode into my teens. Nowadays looking into a modern version of the 1N34A you can still see the semblance of the old “cat’s whisker” by looking carefully into the diode.
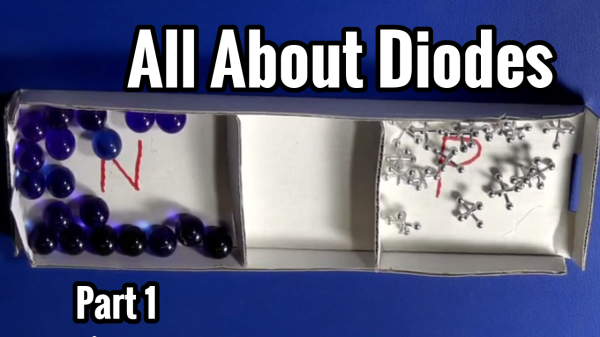
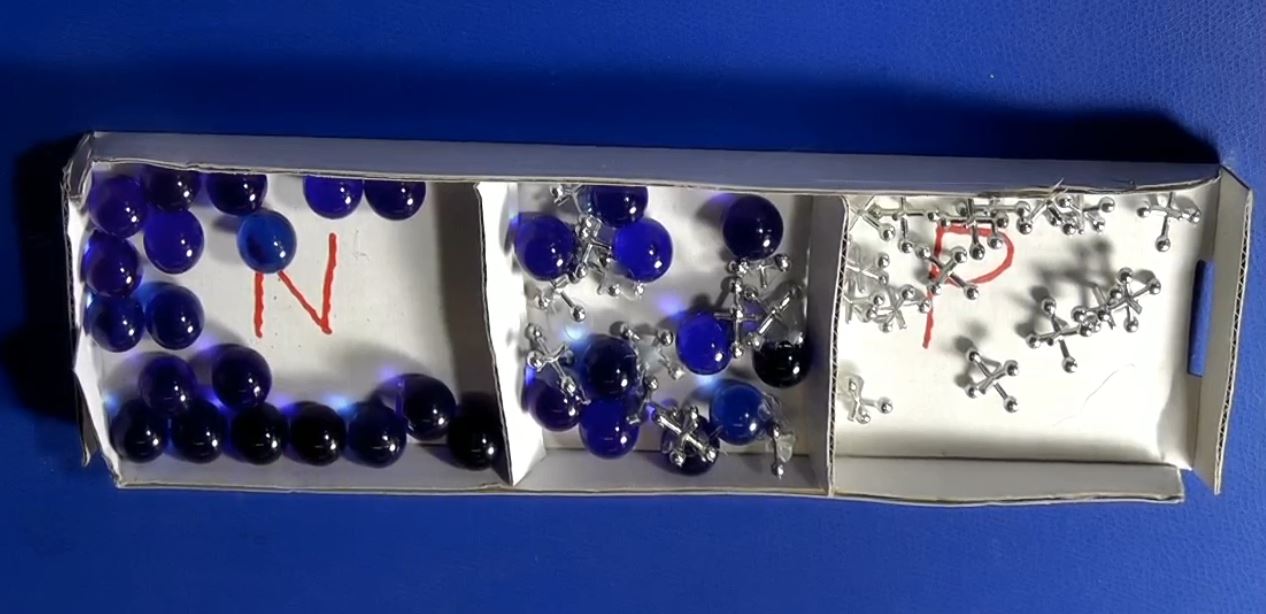
A quick and somewhat inaccurate semblance of the way a diode works can be demonstrated with marbles and jacks representing negative electrons and positive “holes”. Holes are basically an atom missing an electron due to the combination of elements, a process known as doping. Join me after the break for the explanation.
Demonstrating a PN Junction with marbles and Jacks.
Intended trajectory from ICE team in 1986 (blue), 2001 ephemeris of ISEE-3 (white) and current ephemeris (red/green). Click to embiggen.
When last we heard of the progress of commanding the derelict ISEE-3 satellite into stable orbit between the Earth and the sun, the team had just made contact with the probe using the giant dish in Arecibo, sent a few commands, and started gathering data to plot where the spacecraft is and where it will be. A lot has happened in a week, and the team is now happy to report the spacecraft is alive and well, and much, much closer to the intended trajectory than initially believed.
Before last week, the best data on where ISEE-3 was heading was from a 13-year-old data set, leaving the project coordinators to believe a maneuver of about 50-60 m/s was necessary to put the spacecraft into the correct orbit between the Earth and the sun. With new data from Arecibo, that figure has been reduced to about 5.8 m/s, putting it extremely close to where the original ICE navigation team intended it to go, all the way back in 1986. This also gives the team a bit of breathing room; the original planned maneuver to capture the spacecraft required nearly a third of the available fuel on board. The new plan only requires the spacecraft expend about 5% of its fuel stores. This, of course, brings up the idea of continuing the planned mission of the rebooted ISEE-3 beyond the Earth-Sun L1 point, but that is very much putting the cart before the horse.
Of course, getting ranging data of the spacecraft is only a small part of what has happened with the ISEE-3 part this week. Thanks to the ‘away team’ sent to Arecibo to install hardware and attempt to make contact with the satellite, both transceivers are working, telemetry is being downloaded from the probe, and work has begun on refining the exact position of ISEE-3 to compute where and when the spacecraft needs to make its maneuver.
Regular Hackaday feature and software defined radio god [Balint] was on hand with the away team at Arecibo to install his company’s SDR unit on the largest dish on the planet. His happy dance of the first data from ISEE-3 made the blog rounds, but the presentation (PDF) and photo gallery tell the story of working on the largest dish on the planet much better.
There’s still a lot of work to be done by the ISEE-3 team as they figure out how best to capture the spacecraft and prepare for the burn in the following week. They should have the exact orbit of ISEE-3 nailed down early this week, and after that, ISEE-3 could on a path back home in less than two weeks.
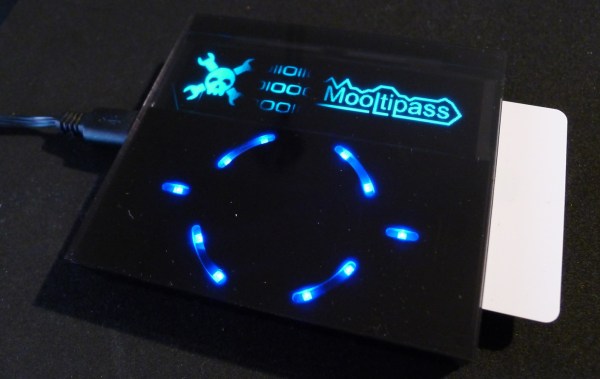
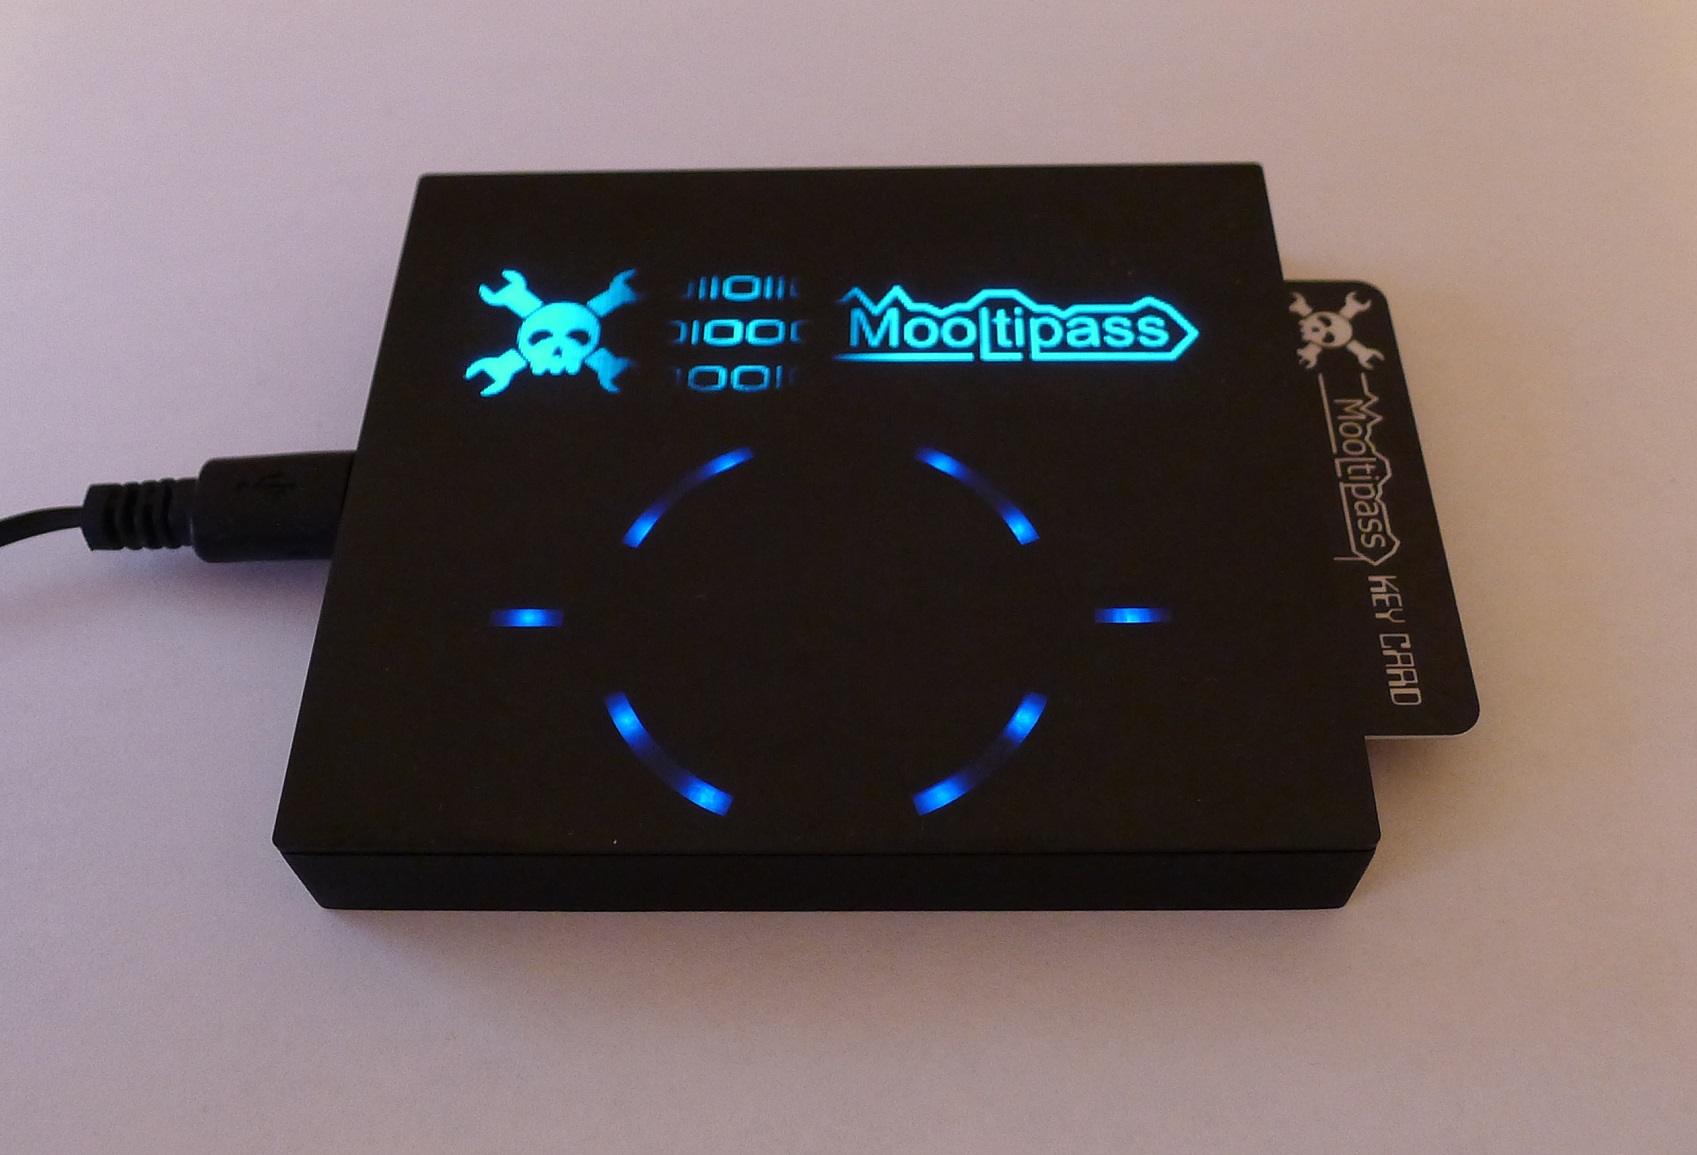
The last few weeks have been quite tense for the Mooltipass team as we were impatiently waiting for our smart cards, cases and front panels to come back from production. Today we received a package from China, so we knew it was the hour of truth. Follow us after the break if you have a good internet connection and want to see more pictures of the final product…



 You’re well known for your highly technical electronic hacks on your
 I’m a software developer for a big broadcasting equipment manufacturer. Every now and then a hardware project comes along and I try to grab those too.

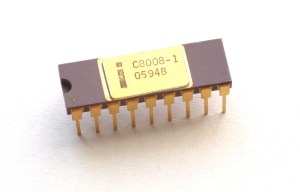 My entry into this field was when the first 8 bit processor (the 8008) came out, and still find it endlessly fascinating. I write a lot about embedded topics, and give talks and seminars, on all of the continents except Antarctica (so far!). We live in heavily-wooded Finksburg, MD, which is just stunning this time of year, and, since my office is in the house, the commute is pretty tolerable. Other passions include sailing; I wrote an on-line book (www.ganssle.com/jack) about racing alone across the Atlantic. Great trip, other than losing the boat.