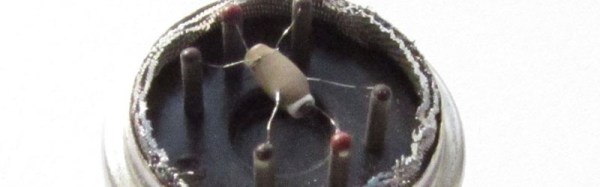
If you need a sensor to detect gasses of some sort, you’ll probably be looking at the MQ series of gas sensors. These small metal cylinders contain a heater and some electrochemical sensor. Wire the heater up to a voltage, and connect one end of the resistor to an ADC, and you have a sensor for alcohol vapors, hydrogen sulfide, carbon monoxide, or ozone, depending on which model of sensor you’ve picked up.
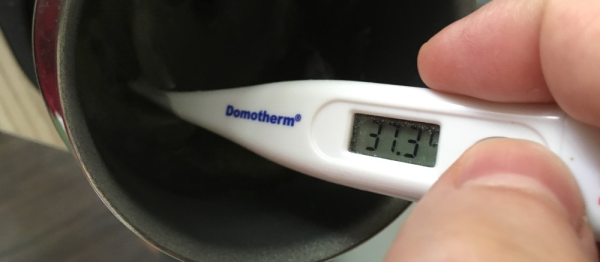
These are simple analog devices, and as you would expect they’re sensitive to both temperature and humidity. [Davide Gironi] wanted a more accurate gas sensor, so he’s diving into a bit of overengineering and correlating the output of these sensors against temperature and humidity.
There’s a difference between accuracy and precision, and if you want to calibrate gas sensors, you’ll need to calibrate them against something. Instead of digging out a gas sensor of known precision, [Davide] took the easy way out: he graphed the curves on the datasheets for these sensors. It’s brilliant in its simplicity.
These numbers were thrown into R, and with a bit of work, [Davide] had a look up table of various concentrations of gasses plotted against certain resistances. In testing these sensors, he found a higher correlation between humidity and temperature and gas concentrations, which one would expect.
The files for these sensors are available on [Davide]’s website, and he included a neat little video showing everyone what went into these calculations. You can check that out below.