Over on Hackaday.io there’s a fun and playful write-up for a fun and playful project — the Piko, an ESP32 powered smartwatch.
Our hackers [Iloke Alusala], [Lulama Lingela], and [Rafael Cardoso] teamed up to design and manufacture this wrist-worn fitness wearable. Made from an ESP32 Beetle C6 and using an attached accelerometer with simple thresholds the Piko can detect if you’re idle, walking, jogging, or sprinting; and at the same time count your steps.
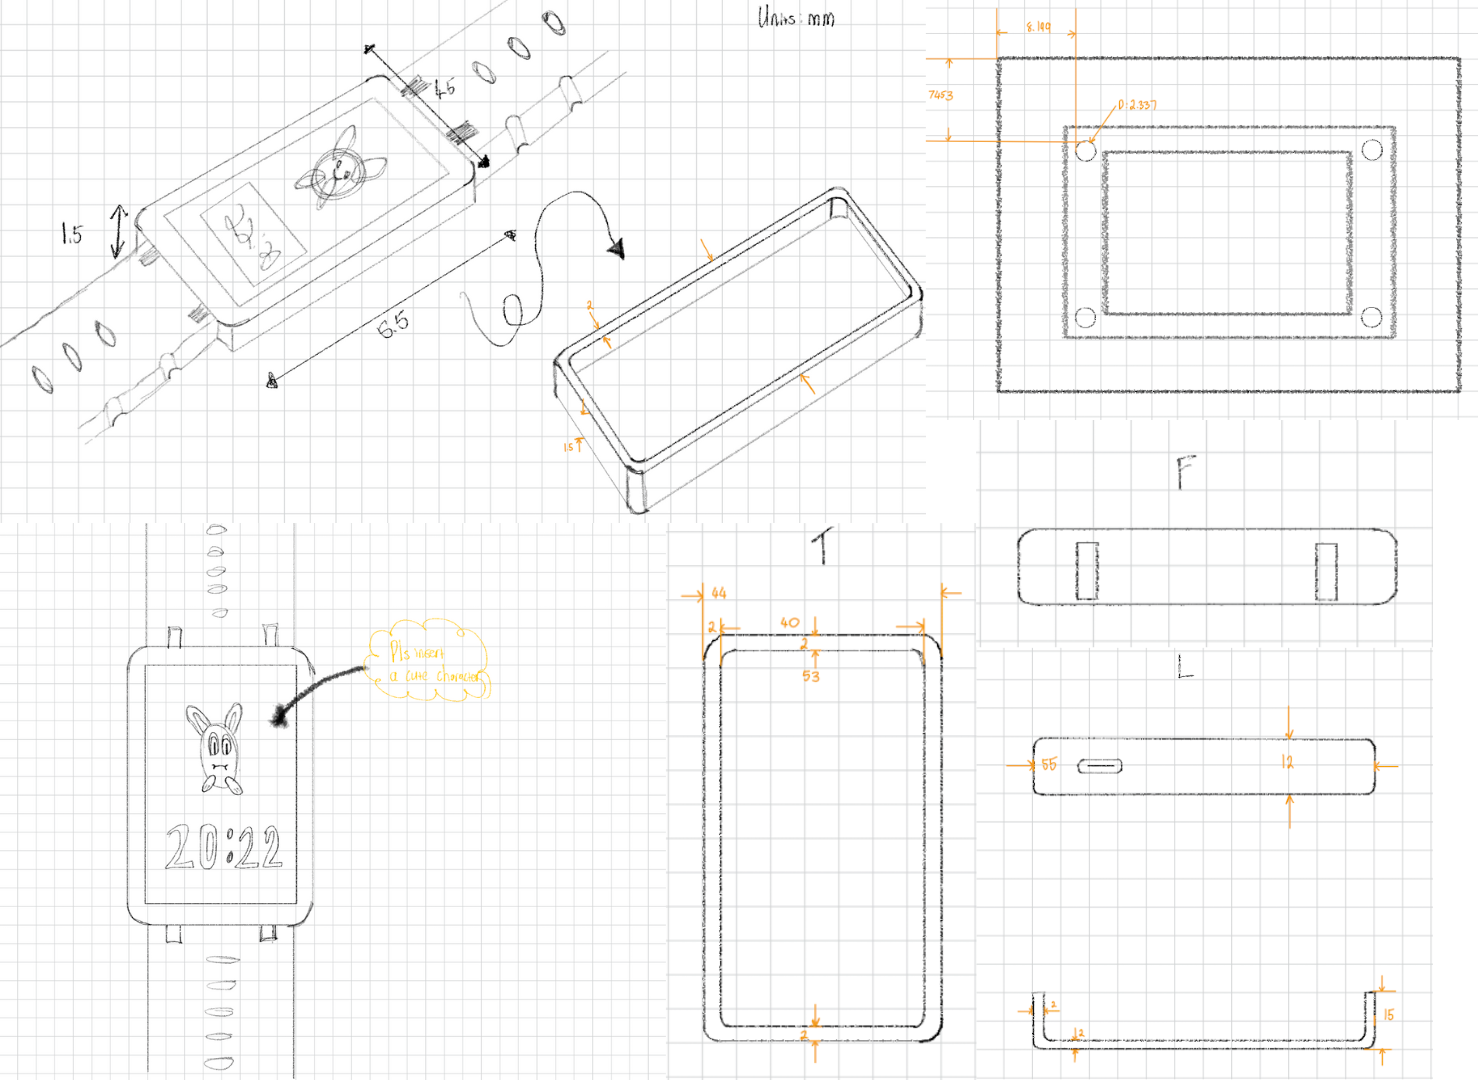
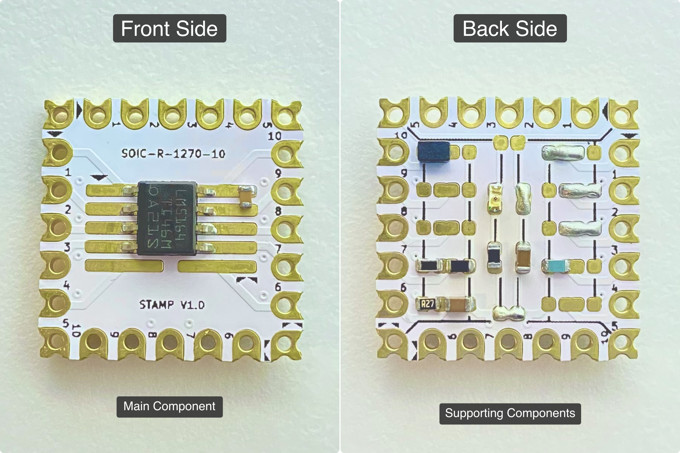
The team 3D printed the requisite parts in PLA using the printer in their university makerspace. In addition to the ESP32 and printed parts, the bill of materials includes a 240×240 IPS TFT LCD display, a LIS331HH triple-axis accelerometer, a 200 mAh battery, and of course, a watch strap.
Demonstrating splendid attention to detail, and inspired by the aesthetic of the Tamagotchi and pixel art, the Piko mimics your current activity with a delightful array of hand-drawn animations on its display. Should you want to bring a similar charm to your own projects, all the source is available under the MIT license.
If you’re interested in smartwatch technology be sure to check out our recent articles: Smartwatches Could Flatten The Curve Of The Next Pandemic and Custom Smartwatch Makes Diabetes Monitoring Easier For Kids.