[Bithead’s] already built some home automation to control the lighting and temperature in his house while he’s away, but he wanted to take things a step further and have the house automatically anticipate his arrival and adjust the environment accordingly. The project takes advantage of geofencing to create a perimeter around the home that listens for a transceiver in [Bithead’s] car. We featured a similar project with a Raspi a few months ago, which locked the doors upon driving away.
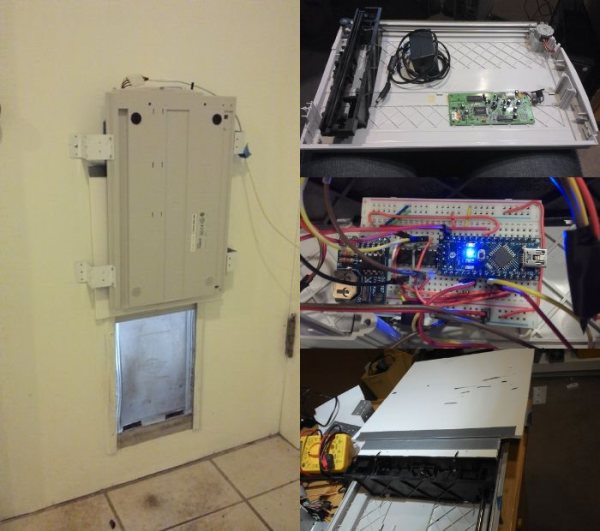
[Bithead’s] implementation uses a pair of Digi Xbee Pro XSC radios with U.FL antennas to provide an impressive 2+ mile range of communication. The home-based Xbee hooks up to a Parallax Xbee USB adapter and subsequently into his computer—its antenna sits in a nearby window on the top floor of his house to maximize range. For his car, [Bithead] originally opted for an Xbee shield and an Arduino Uno, but he’s recently overhauled the build in favor of an Arduino Fio, which reduced the footprint and increased the range. Check out his page for the build log specifics and more pictures.