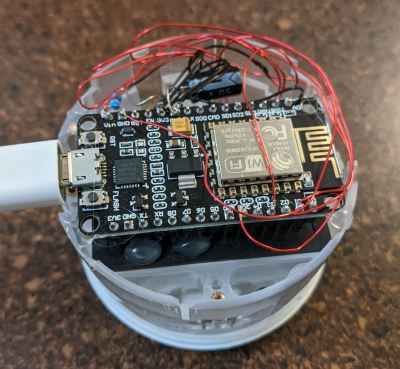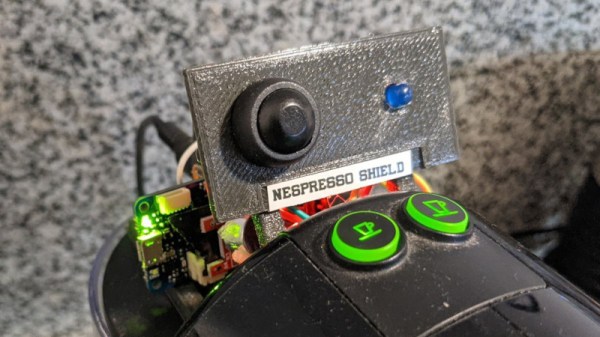
Monitoring an appliance with a microcontroller usually follows a well-worn path of diving inside and finding somewhere in the electrical circuitry that can be connected through some kind of interface to a microcontroller. For his Nespresso pod coffee machine, [Steadman] eschewed tearing into the device, and instead chose to monitor the sound it makes. A commodity sound threshold sensor board is hooked up to an Arduino MKR Zero, and this set-up logs coffee consumption. It’s important to note how this generation of Arduino is no longer one of the simple boards of old, instead it sports an RTC and SD card alongside its SAMD21 Cortex-M0+ processor so it is perfect for just such a datalogging project. The coffee data can be saved into a CSV file viewable by a spreadsheet, for which code is provided.
We like this project for its non-invasive simplicity, and we can see that there could be plenty of other similar machines that could benefit from an analagous technique for non-invasive monitoring. While the pages of Hackaday are full of coffee machine projects we see surprisingly few pod coffeemakers, perhaps because our readers are a canny bunch who balk at paying a premium for their caffeine. If you do happen to have a Nespresso machine though, perhaps you’d like some help identifying the capsules.
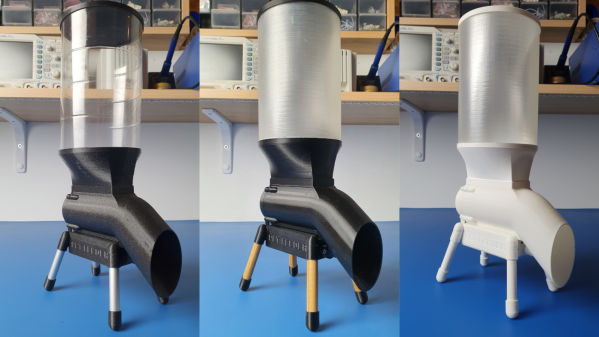
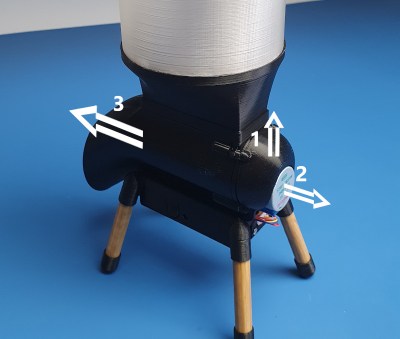 But by far the most effort he needed was in getting the mechanical design perfected. He had to go through several rounds of prototype iterations – after all, his cat deserved the very best in feeder design. The basic parts of the design are simple – a stepper motor drives an auger that pushes the cat food from the main container and deposits it in the bowl. Check out the detailed assembly instructions and pictures on his blog. The best part of his design is how easy it is to take it apart the feeder for cleaning. The stepper motor is held in place by a snap fit end piece without using any screws. The main body then just slides out from the top of the electronics box. Check out [Sebastian]’s cat feeder video after the break for details.
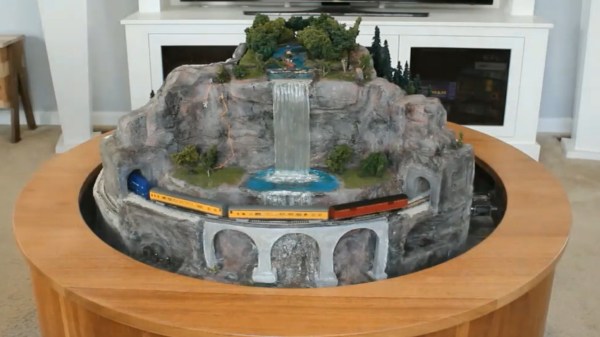
 This isn’t [Peter’s] first rodeo. In his demo video below he shows off a coffee table train he built 20 years ago using a rectangular layout under glass. This time the circular design means a spherical volume can rotate around two skateboard bearing pivot points, revealing the mountainous scene on one side and the boring old wood table on the other. But what happens to the N-scale train itself when gravity is reversed? There’s a brilliant solution to that!