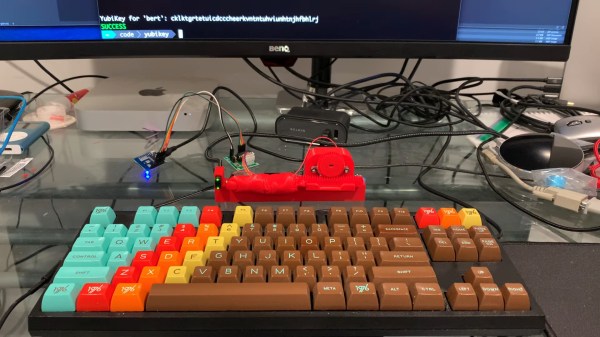
[Bertrand Fan] is not a fan of the tiny, hard-to-actuate button on the average Yubikey. Before all that is 2020 occurred, [Bert] had the little 2FA nano-donglette plugged into a spare USB port on the side of their laptop so that it was always available wherever the laptop traveled. Now that working from home is the norm, [Bert] has the laptop off to the side, far out of reach.
 A USB-C extension cable certainly made it more accessible, but did nothing for the actuation fail rate of the tiny button. Fed up by inconvenience and looking for a lockdown project, [Bert] decided to make a button-pressing robot finger that’s driven by a spare key on their groovy TKL keyboard.
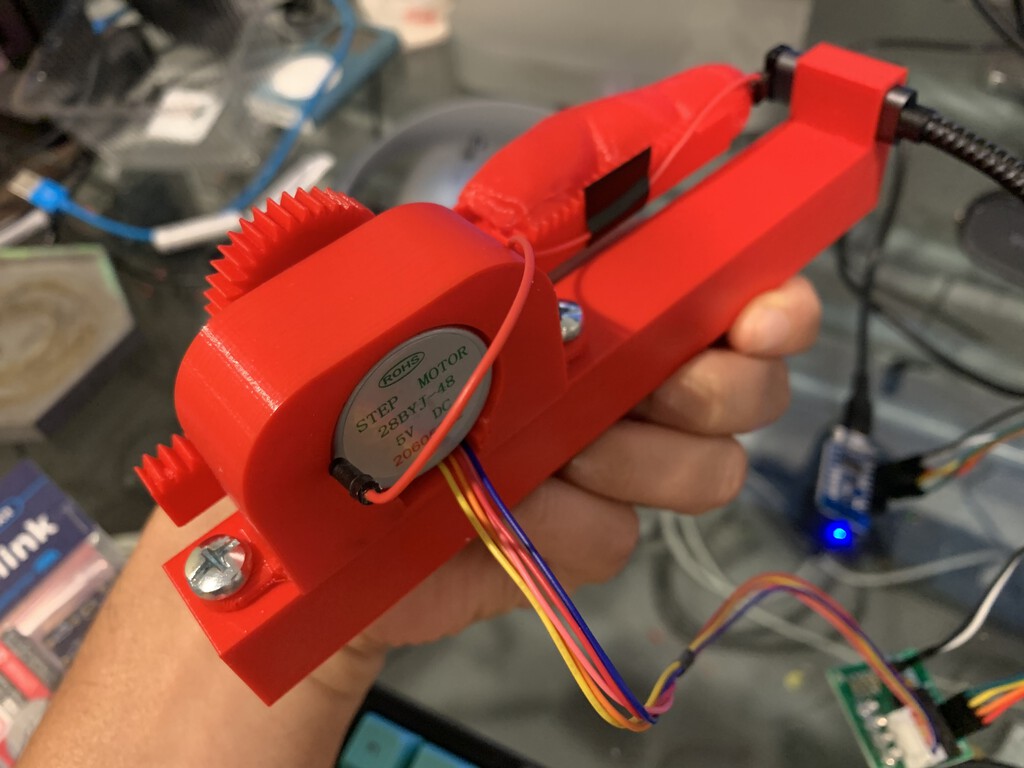
It runs on a Wemos D1 mini and uses a small stepper motor to push a 3D-printed finger along a rack-and-pinion actuator. Since the Yubikey requires capacitive touch, [Bert] added a screw to the finger tip that’s wired to ground. Now all [Bert] has to do is press a decidedly cooler key to make the finger press the button for him. Check out a brief demo after the break.
If this security flaw makes you uncomfortable, perhaps this 2FA launch console is more to your liking. And as we saw recently, if you don’t like the cost of Yubikeys, you can roll your own 2FA device with a blue pill.