Sure, you can buy a portable monitor off your favorite e-tailer, but with perfectly fine displays in devices like laptops being tossed out every single day, why not repurpose those instead? That’s what [ScuffedBits] recently did with the panels pulled from some old laptops.
A good question with any such salvaged panel is just how practical it is to still use them, with disqualifying features being things like passive-matrix TFTs as well as the use of CCFL backlighting as with one of the three panels demonstrated in the video.
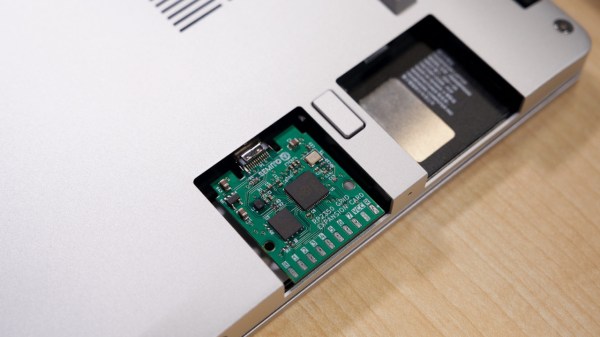
Looking up the model number of a panel on a site like panelook.com will tell you the display technology, resolution and other important details before you decide to commit to using it. If it’s using a LED backlight and at least Low-Voltage Differential Signaling (LVDS) but ideally eDP you can likely find a cheap driver board for it that has all the requisite inputs like HDMI and power.
The hardest part is probably the case for the panel, as they’re rather thin and fragile. Here [ScuffedBits] opted to 3D print two different types of cases, with the second variant probably being the best version as it protects most of the panel. Installing these is quite easy: slide the panel into the first half, then add the second half of the case to close it up. Permanently keeping the case in place was left as an exercise to a future [ScuffedBits], while demonstrating why it’s definitely the hardest part of repurposing an old laptop display.
Continue reading “Turning A Junk Laptop Screen Into A Portable Monitor”