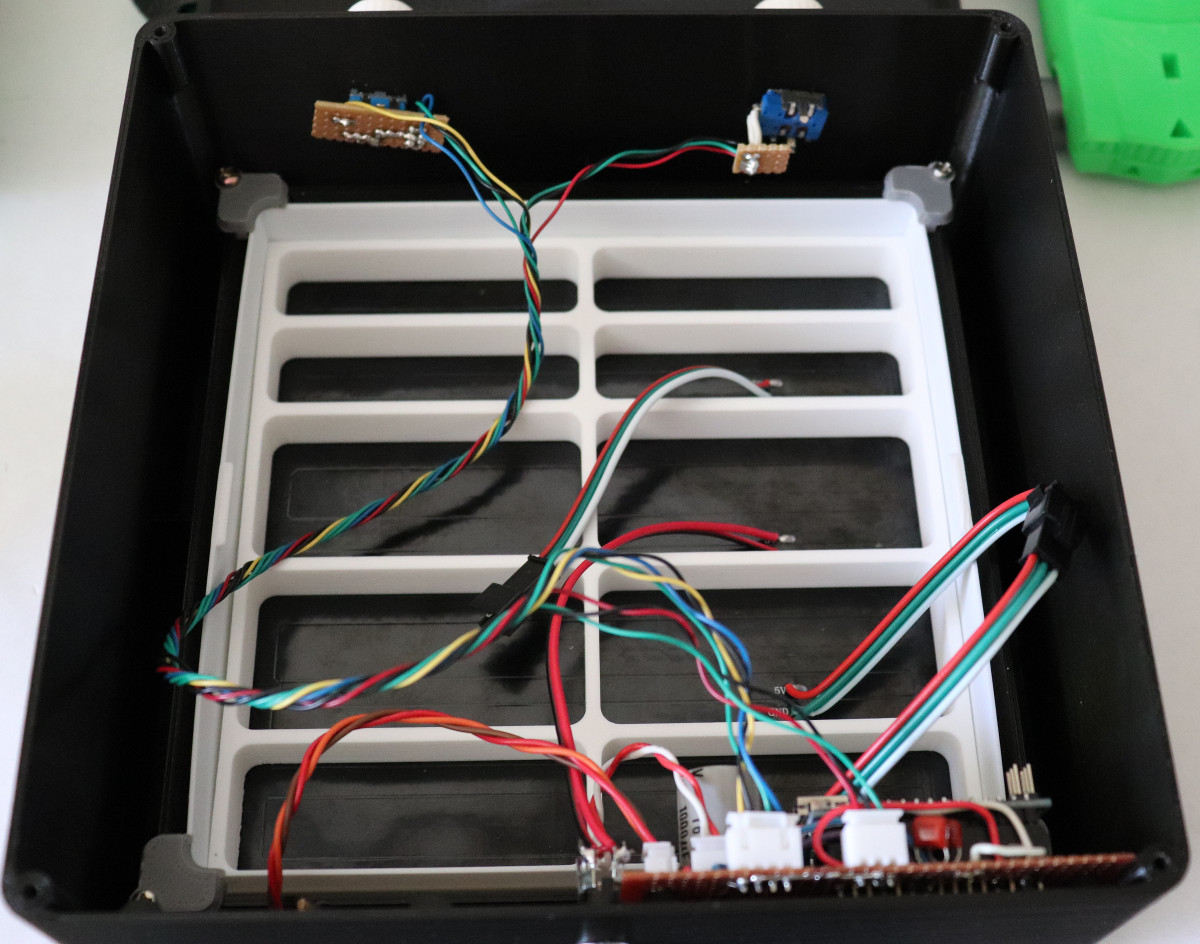
High-Power LED + 3D Printer = Mega Flashlight

If you remember old computer magazines (or browse them today), you’ll see that back in the late 1970s and early 1980s, you weren’t always sure what you were going to do with a computer. Games were a staple, but they weren’t very exciting. Visionaries talked about storing recipes, writing Christmas letters (to send via snail mail), and keeping home inventories. You probably don’t do any of those things with your computer today, unless you count e-mailing instead of sending Christmas cards. We think sometimes 3D printers fall into that category today. Sure, you want one. But what are you really going to do with it? Print keychains?

That’s why we always like seeing practical designs for 3D printed items. Like this 100W flashlight. The electronics part of the build is simple enough: a 100W LED module, an off-the-shelf driver board, plus an old PC cooler and some batteries. But the 3D printed parts makes it all come together and it looks great!

Continue reading “High-Power LED + 3D Printer = Mega Flashlight”

Engineer’s Primer On DIY Christmas Light Shows

Each year brings new Christmas light shows, with synchronised music and wild blinking decorations to light your eyeballs ablaze. Now, many of us have dabbled in the dark arts of blinken, tinkering with LEDs or flashing a neon bulb or two. There’s plenty of tutorials on how to control all manner of lights, but they’re often written for novices. Learning the basics of electronics for the nth time when you just need to know the specifics of a protocol or what IC you need can be a total drag. That’s why [Bill Porter] has written the Engineer’s Guide to DIY Computer Controlled Holiday Lights.

[Bill] covers the topic from start to finish – not just the technical side of things, but practical considerations about where to source components, and timescales for keeping your project on track. It’s no coincidence this is coming out in January – if you want to get something big up and running for Christmas, it’s time to start now! The guide gives links to forum communities that put in large group orders for parts early, and ship them slow to save money.

Other areas covered include software for creating advanced sequences for your lighting setup, which allow you to map animations over your entire layout. There’s also tips on which controller hardware to use for incandescent lights and the now-ubiquitous WS2811 strings. Even better, [Bill] shares specific tips on how to avoid common problems like voltage drop over long pixel runs and communication issues.

It’s a testament to [Bill] and his experience – the guide is an excellent way to get right up to speed with the state of the art in DIY Christmas light shows, and will save you from all manner of pitfalls. If you need to build something big this year and don’t want to reinvent the wheel, this is for you.

It’s not the first time we’ve heard from [Bill] either – check out his stunning wedding invitations or his repair of a science museum exhibit.

Candle with flicker led that you blow out

Blowing Out A Candle Flicker LED: The Death Of Flame

One day there will be no more need for flames. [slider2732] has put yet another nail in the coffin of this most ancient of all technology by making a candle that uses a flicker LED that you blow out. A little more miniaturization and we’ll have them fully integrated into the size of birthday cake candles (Hint hint, hackers!).

You may have seen these candle flicker LEDs.  They have a small chip inside them that modulates the LED’s light to flicker like a candle. We’ve even reported on what [Cpldcpu] found when he reverse engineered them first here and then here.

What [slider2732] did was to buy an electronic candle that used one of the LEDs actually shaped like a flame, and to drill a hole near the ‘flame’. He them embedded a microphone behind the hole. That goes to an LM386 amplifier circuit and from there to an Arduino Pro Mini all powered by a LiPo. As you’d expect, the Arduino code is very simple, just watch the pin from the amplifier and based on an internal variable, turn the LED on or off. We really like how none of the electronics is visible and how you actually have to lean over and blow into the top of the candle to blow it out. You can see this demonstrated in the video below.

Continue reading “Blowing Out A Candle Flicker LED: The Death Of Flame”

Wifi-Controlled Christmas Ornaments!

Trimming one’s Christmas tree can be an enjoyable tradition year after year, but every once in a while some variation on  the established order can be just as fun. Seeking some new ornaments to and desiring to flex his skills, Instrucables user [Gosse Adema] created a LED-illuminated, phone-controlled, deltrahedron Christmas tree ornaments.

Wemos DI Mini Pros are the brains of these little guys, WS2182b RGB LED strips — being the superb go-to’s that they are — light the ornament, and a 5 V power supply keep them lit. [Adema] used the Wemos specifically to create a web server unique to each ornament, and goes into incredible detail on how to program each one — now there’s an arrangement of words you wouldn’t expect to see — providing all the code he used, as well as the models to 3D print the deltahedron.

Continue reading “Wifi-Controlled Christmas Ornaments!”

Animated EV Charge Cable Enlightens Us

[ch00f] was searching for an idea to build for his father this Christmas, and cast his gaze across those novelty phone charging cables that have “flowing” LEDs along their length. Not one to stick to the small scale, he set out to create a flowing LED effect for a Tesla EV charger.

ch00f-led-ev-chargerThe basic components behind the build are a current transformer, a NeoPixel LED strip, and an ATtiny44 to run the show. But the quality of the build is where [ch00f]’s project really shines. The writeup is top notch — [ch00f] goes to great lengths showing every detail of the build. The project log covers the challenges of finding appropriate wiring & enclosures for the high power AC build, how to interface the current-sense transformer to the microcontroller, and shares [ch00f]’s techniques for testing the fit of components to ensure the best chance of getting the build right the first time. If you’ve ever gotten a breadboarded prototype humming along sweetly, only to suffer as you try to cram all the pieces into a tiny plastic box, you’ll definitely pick something up here.

Perhaps you’d like to check out this teardown of a Tesla Model S battery. Video after the break.

Continue reading “Animated EV Charge Cable Enlightens Us”

Colorful, Touch-Sensitive Light Table Is Ready For Gaming

It’s an ambitious build for sure — you don’t start with $500 worth of wood if you don’t intend for the finished product to dazzle. And this 240-pixel touch-sensitive light box coffee table does indeed dazzle.

Sometimes when we see such builds as these, fit and finish take a back seat to function. [dasdingo89] bucks that trend with a nicely detailed build, starting with the choice of zebrawood for the table frame. The bold grain and the frosted glass top make for a handsome table, but what lurks beneath the glass is pretty special too. The 240 WS2812 modules live on custom PCBs, each thoughtfully provided with connectors for easy service. There’s also an IR transmitter-receiver pair on each board to detect when something is placed over the pixel. The pixel boards are connected to custom-built shift register boards for the touch sensors, and an Arduino with Bluetooth runs the whole thing. Right now the table just flashes and responds to hand gestures, but you can easily see this forming the basis of a beautiful Tetris or Pong table.

This build reminds us a little of this pressure-sensitive light floor we featured recently, which also has some gaming possibilities. Maybe [dasdingo89] and  [creed_bratton_] should compare notes and see who can come up with the best games for their platform.

[via r/DIY and a tip from emptycanister]

Bluetooth Speaker With Neopixel Visual Display!

Finding a product that is everything you want isn’t always possible. Making your own that checks off all those boxes can be. [Peter Clough] took the latter route and built a small Bluetooth speaker with an LED visualization display that he calls Magic Box.

A beefy 20W, 4Ohm speaker was screwed to the lid of a wooden box converted to the purpose. [Clough] cut a clear plastic sheet to the dimensions of the box, notching it 2cm from the edge to glue what would become the sound reactive neopixel strip into place — made possible by an electret microphone amplifier. There ended up being plenty of room inside the speaker box to cram an Arduino Pro Mini 3.3V, the RN-52 Bluetooth receiver, and the rest of the components, with an aux cable running out the base of the speaker. As a neat touch, neodymium magnets hold the lid closed.

Continue reading “Bluetooth Speaker With Neopixel Visual Display!”