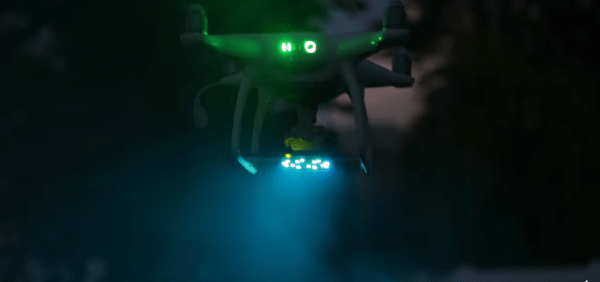
Sometimes it’s not so much what you put together, it’s how you use it. The folks at Adafruit have put up a project on how to dress up your drone with ‘UFO lights’ just in time for Halloween. The project is a ring of RGB LEDs and a small microcontroller to give any quadcopter a spinning ‘tractor beam light’ effect. A 3D printed fixture handles attachment. If you’re using a DJI Phantom 4 like they are, you can power everything directly from the drone using a short USB cable, which means hardly any wiring work at all, and no permanent changes of any kind to the aircraft. Otherwise, you’re on your own for providing power but that’s probably well within the capabilities of anyone who messes with add-ons to hobby aircraft.
One thing this project demonstrates is how far things have come with regards to accessibility of parts and tools. A 3D printed fixture, an off-the-shelf RGB LED ring, and a drop-in software library for a small microcontroller makes this an afternoon project. The video (embedded below) also demonstrates how some unfamiliar lights and some darkness goes a long way toward turning the otherwise familiar Phantom quadcopter into a literal Unidentified Flying Object.
Continue reading “Easy UFO Lights On Your Drone For Halloween”


 I guess you might have a couple of lingering questions. First you’ll likely bemoan your lack of your own fabrication facility (I’m still eyeing those used 1 micron fab lines that crop up on eBay from time to time). And secondly you might be asking yourself… why?
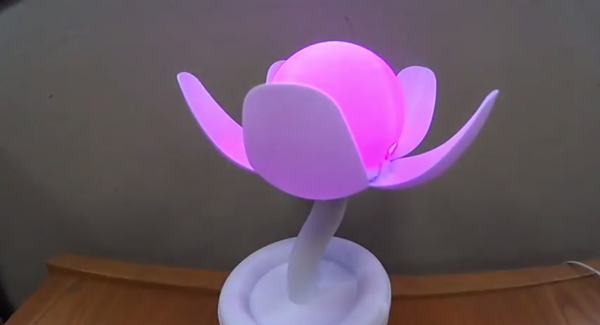
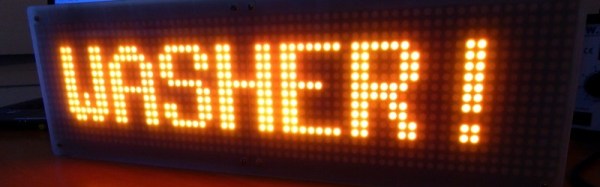
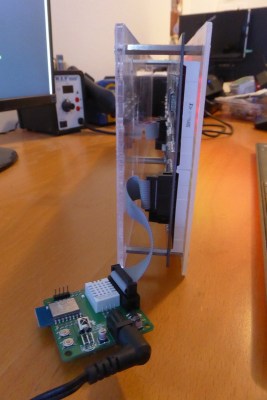 He wanted to try out SMD soldering so he built a custom PCB to hold the ESP-12, power supply, passive components, and a connector and he describes his methods and results. Instead of hardcoded messages, he wanted the system to be configurable and display messages coming in, not only from his laundry system, but also from other sensors. A web interface, built with jQuery and WebSockets, running on the ESP-12 allows the user to subscribe to a topic on the broker and show a customized name and value on the display when a payload is available.