Remember the WOPR from WarGames? The fictional supercomputer that went toe-to-toe with Matthew Broderick and his acoustic coupler was like a love letter to the blinkenlight mainframes of yesteryear, and every hacker of a certain age has secretly yearned for their own scaled down model of it. Well…that’s not what this project is.
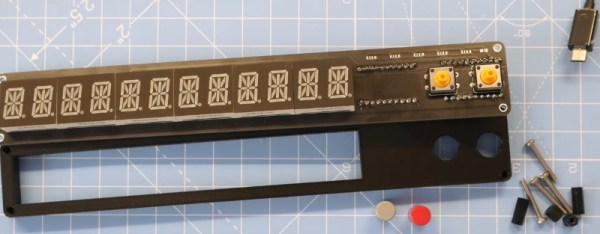
The [Unexpected Maker] is as much a WarGames fan as any of us, but he was more interested in recreating the red alphanumeric displays that ticked along as the WOPR was trying to brute force missile launch codes. These displays, complete with their thoroughly 1980s “computer” sound effects, were used to ratchet up the tension by showing how close the supercomputer was to kicking off World War III.
Of course, most us don’t have a missile silo to install his recreated display in. So when it’s not running through one of the randomized launch code decoding sequences, the display doubles as an NTP synchronized clock. With the retro fourteen segment LEDs glowing behind the smoked acrylic front panel, we think the clock itself is pretty slick even without the movie references.
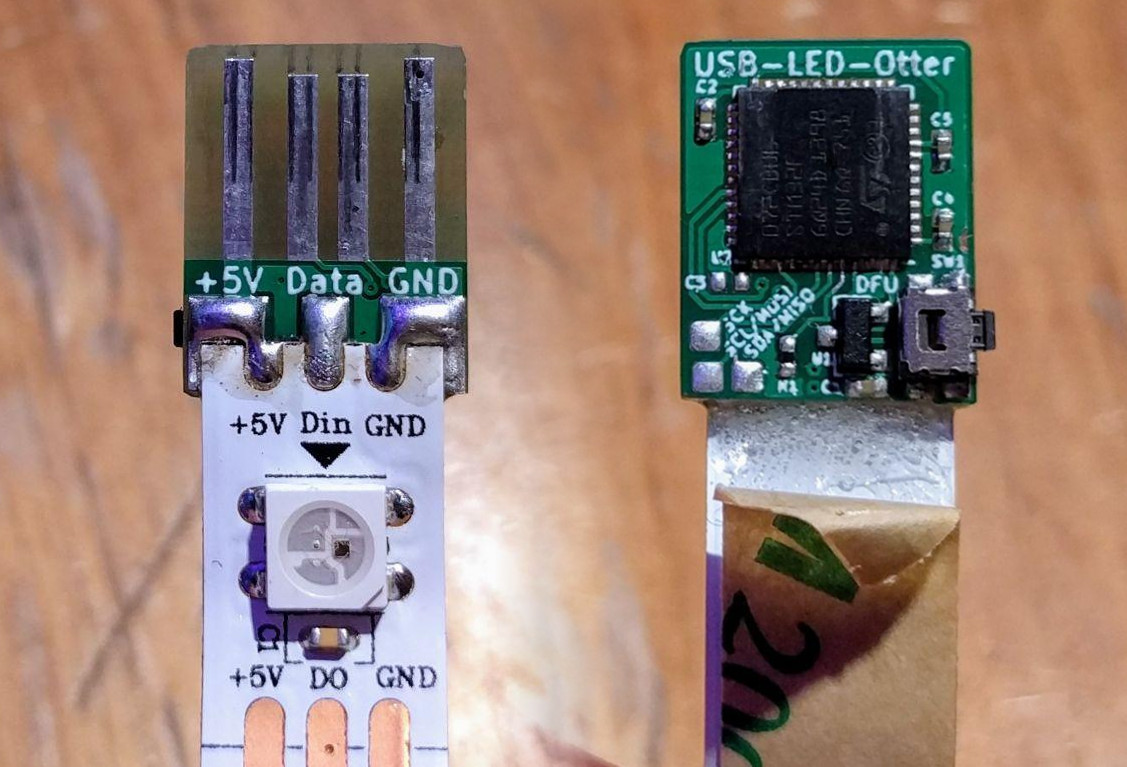
Beyond the aforementioned LEDs, [Unexpected Maker] is using a ESP32 development board of his own design called the TinyPICO. An associated audio “Shield” with an integrated buzzer provides the appropriate bleeps and bloops as the display goes through the motions. Everything is held inside of an understated 3D printed enclosure that would look great on the wall or a desk.
Once you’ve got your launch code busting LED clock going in the corner, and your illuimated DEFCON display mounted on the wall, you’ll be well on the way to completing the WarGames playset we’ve been dreaming of since 1983. The only way to lose is to not play the game! (Or something like that…)
Continue reading “A Replica From WarGames, But Not The One You Think”