The start-up chime on Macs is probably as recognizable as the default Nokia ringtone in this day and age. Yet much like a ringtone, so too one might want to change the start-up chime on a Mac. This is something which [Doug Brown] has done in the past already on a Power Mac G3 in 2012, which made him instantly an expert on the topic in the eyes of a reader who wanted to know how to change the chime on a 1999 iMac. While the firmware on both these systems is written in Forth, it did take a bit of sleuthing to figure out where the chime was hiding in the firmware image, and how to change it.
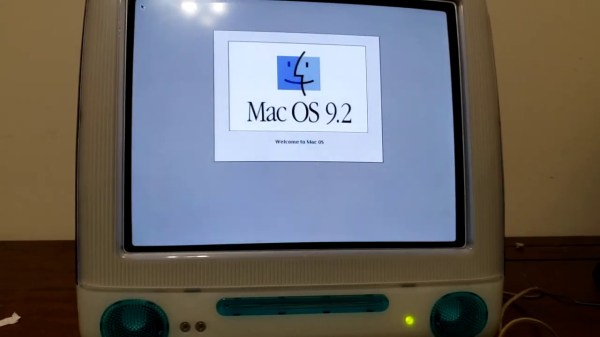
The target iMac is somewhat unique in that it has a G4 PPC CPU rather than the more common G3. The firmware is similar enough that it was a snap to simply search the newer iMac’s firmware for the signature of the chime sound data. This turned out to be the identical QuickTime IMA ADPCM format-encoded data, yet what was different was how this data was integrated into the firmware image. Key is finding the area in the firmware where not only the address of the chime data’s start is defined, but also its length. Finally, the checksums in the firmware image have to be updated so that it matches the patched data.
Reverse-engineering the checksum calculation in the Forth code turned out to be fairly straightforward, but getting the new firmware on the iMac turned out to be the biggest struggle, as [Doug] didn’t want to inflict running a manual firmware update onto this reader he was doing all this work for. This led [Doug] to do some more reverse-engineering using Ghidra to enable the use of the automatic updater like a regular firmware update.
In the end it all worked out great, and now another iMac no longer has the Mac chime on start-up.