Your Microcontroller Is Your IDE

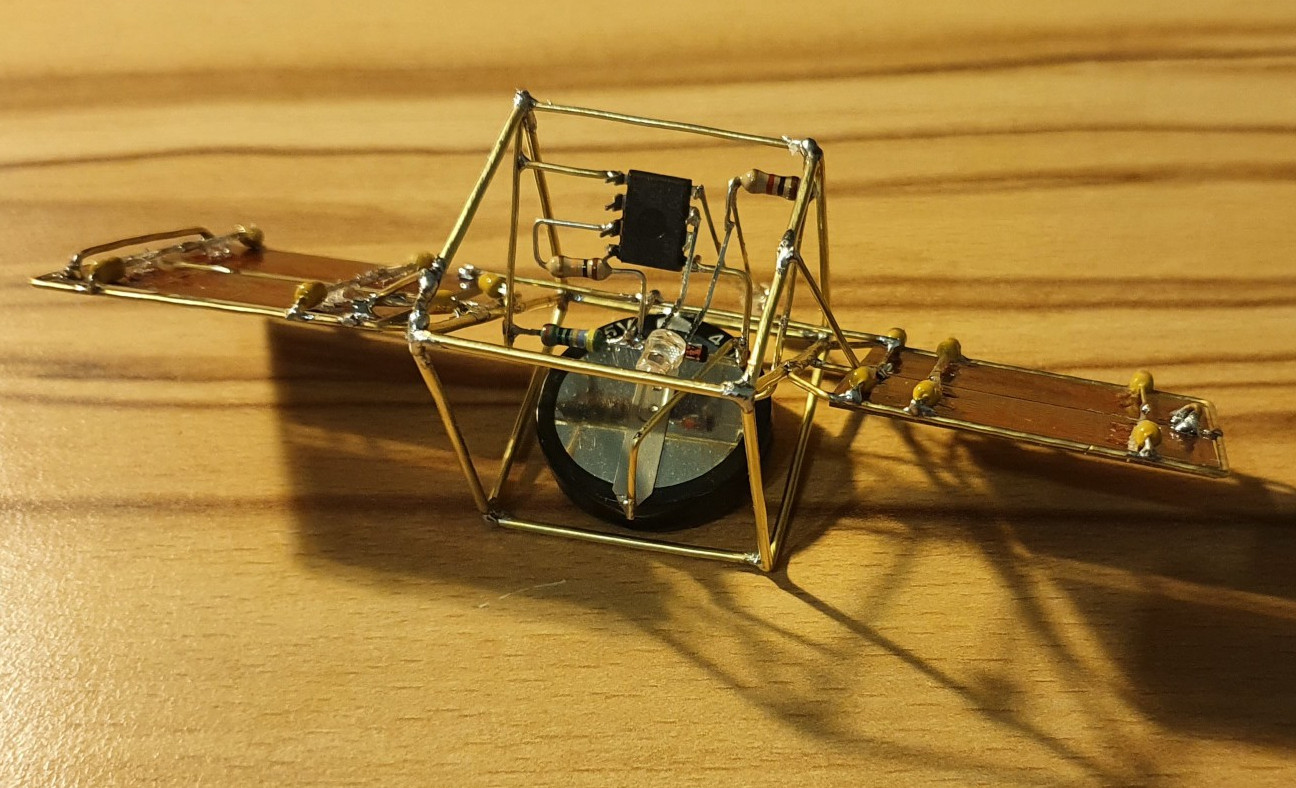
What if your microcontroller IDE was running on the microcontroller itself and not hosted on the computer you use to do the programming? The greatest legacy of Arduino in all its forms has arguably been a software one, in that it replaced annoying proprietary development environments with one that installed easily on a range of operating systems, was easy to use, and above all, worked. The next level of portability is to get rid of any specialize computer-side software. [Ronny Neufeld] wrote MicroIDE for ESP32 as an IDE accessible through a web browser, which interestingly is hosted on the target device itself.

Using the IDE is easy enough, install a binary, connect to the ESP with a web browser, start writing MicroPython code. There is a choice of connecting directly to the chip as a hotspot, or connecting via another WiFi network. The interface is looking pretty slick but he’s at pains to remind us that it’s a work in progress. Sadly there is no source code yet as it’s a binary distribution that is free for non-commercial use, we’d hope that an open-source release might one day happen. It’s not for everyone, but the convenience of accessing the same interface from almost any modern device should help attract a healthy community.

This appears to be the first web-based on-chip ESP IDE we’ve shown you. But it’s not the first on-chip coding example, as this BASIC interpreter shows.

[Main image source: Ubahnverleih / CC0]

Reviving A DOA Smart Bulb With Custom Firmware For Its ESP8266

There are some incredibly cheap WiFi smart bulbs on the market these days, but as is often the case, you tend to get what you pay for. When [Viktor] took delivery of his latest bargain basement bulb, the thing didn’t even work. So much for Quality Assurance. On the plus side, it was a great excuse to pop it open and replace the firmware.

For anyone wondering, [Viktor] never actually figured out why the bulb didn’t work. Its ESP8266-based control board was getting power, and data was getting spit out of the serial port when he connected it to the computer (although he never got the communications settings right to actually see what it was saying). But he also didn’t care much; once he confirmed that the hardware was good, he just uploaded the custom firmware he’d previously developed for another ESP8266 bulb.

Of course, it wasn’t quite that easy. The chances that both bulbs would have used the same GPIO pins to control the red, green, blue, and white LEDs were pretty slim. But after some testing and modifications to the code, he was able to fire them up. The other issue was a bit trickier, as it turned out the bulb’s flash chip was too small to hold his firmware’s web configuration pages. So he had to break out the hot air gun and replace the SPI flash chip with something a bit roomier. We suppose he could have just made smaller web pages… but where’s the fun in that?

Even with the chip swap, this looks a lot easier than building your own smart bulbs from scratch. With so many cheap ESP8266 bulbs on the market, it seems there’s never been a better time to code your own home lighting solution.

The Cheap Way To Glitch An STM8 Microcontroller

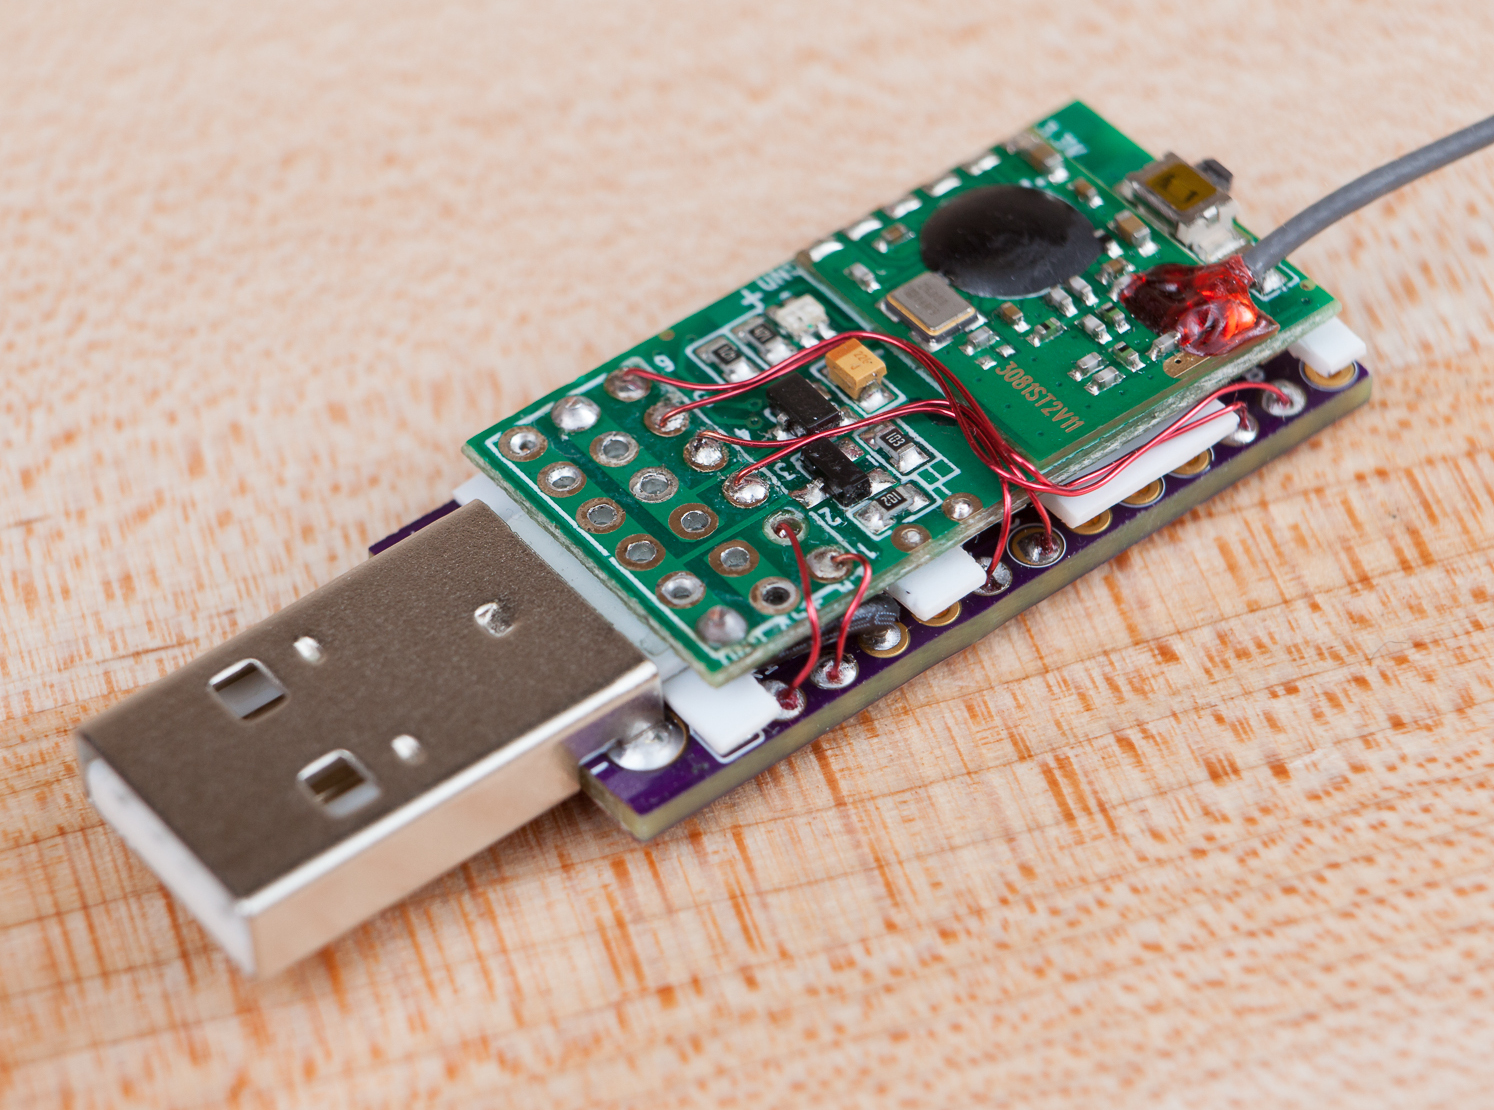
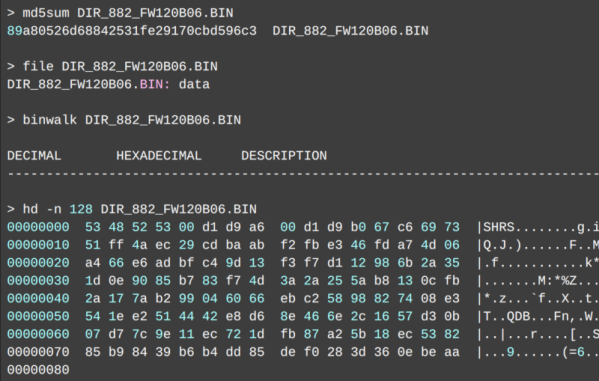
Reverse engineering or modifying a device often requires you to access the firmware stored on a microcontroller. Since companies are usually not fond of people who try to peek into their proprietary data, most commercial devices are readout protected. [rumpeltux] ran into this problem when he tried to dump the firmware on an HC-12 wireless serial communication module for yet undisclosed reasons. Hacking into the device was a challenge that he gladly accepted and in the end, he succeeded by building a low-cost setup for voltage glitching.

Voltage glitching is a form of fault injection that has, e.g., been successfully used to hack the Playstation Vita. It involves the injection of voltage spikes on the power line in order to force the bootloader to skip security checks. The hard thing is trying to find the right shape of the waveform and the best way to inject the signal.

While there are already open-source boards for fault injection like ChipWhisperer, [rumpeltux] chose to build his own setup around an FPGA. By using a cheap EPM240 board, some MOSFET, and a USB-to-Serial converter, the total costs of the glitching setup were under 20 Euros. [rumpeltux] then recorded a larger number of voltage traces on the VCC pin around the reset phase and analyzed the differences. This helped him to pinpoint the best time for injecting the signal and refine the search space. After some unsuccessful attempts to glitch the VCC and GND pins, he got lucky when using one of the voltage regulator pins instead.

Be sure not to miss Samy Kamkar’s talk at Supercon 2019 if you want to know more about hardware attacks or how to eavesdrop on people using a bag of potato chips.

Easy, Secure HTTPS With An ESP8266

Security has always been an issue with IoT devices. Off the shelf devices often have terrible security while DIY solutions can be complicated, needing recompilation every time a website’s fingerprint changes. [Johannes] wrote in to let us know he’s been working on a way to make HTTPS requests easier to do on ESP devices.

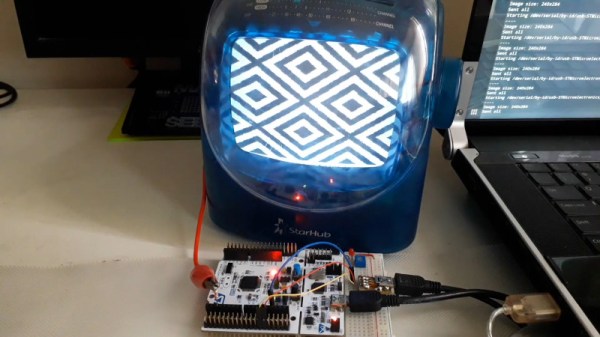
The normal ways to do HTTPS with an ESP8266 is to either use Fingerprints, or to use client.setInsecure(). Fingerprints require the user to know exactly which pages the ESP will connect to and extract the Fingerprints from each of those websites. Since the fingerprints change yearly, this means the fingerprint will have to be re-extracted and the code recompiled each time a fingerprint changes. The use of client.setInsecure() is, obviously, insecure. This may not be an issue for your project, but it might be for others.

[Johannes’] solution is to extract the trusted root certificates and store them in PROGMEM. This allows access to any web page, but the root certificates do expire as well. As opposed to the fingerprints, though, they expire after 20 years, rather than every year, so the program can run for a long time before needing recompilation. This solution also doesn’t require any manual steps – the build process runs a script that grabs the certificates and stores them in files so that they can be uploaded to the SPIFFS written to PROGMEM to be used during HTTPS requests.

He’s come up with a fairly straightforward way to have your IoT device connect to whichever web page you want, without having to recompile every once in a while. Hopefully, this will lead to better security for your IoT devices. Take a look at some previous work in this area.

Review: Calculator Kit Is Just A Few Hacks From Greatness

While most people are satisfied with a calculator application on their smartphone these days, there’s still something to be said for the old fashioned desk calculator. Maybe it’s the fact the batteries last long enough that you can’t remember the last time you changed them, or the feel of physical buttons under your fingers. It could even be the fact that it keeps your expensive smartphone from needing to sit out on the workbench. Whatever the reason, it’s not uncommon to see a real-life calculator (or two) wherever solder smoke tends to congregate.

Which is precisely the idea behind this DIY calculator kit. Available from the usual overseas retailers for about $15 USD, it has some hobbyist-oriented features such as the ability to decode resistor color bands, convert hexadecimal numbers, and calculate resistor values for driving LEDs. If you’re going to keep a knock-around calculator on your bench, why not build the thing yourself?

Given the dual nature of this product, a DIY electronics kit and a functional desk calculator for electronic hobbyists, it seems only appropriate to review both aspects of it individually. Which is good, since there may be more to this product than just the sum of its parts.

Continue reading “Review: Calculator Kit Is Just A Few Hacks From Greatness”

AVR Multi-Tool Learns The Latest Tricks

Like many of us who fiddle with microcontrollers, [Mike] and [Brian] often found themselves using an ISP programmer and a USB-to-serial adapter. But when they started working on the latest generation of ATtiny chips, they found themselves in need of a Unified Program, and Debug Interface (UPDI) programmer as well. So they decided to wrap all three functions into one handy open hardware gadget.

They call their creation the AVR General Purpose Programmer, or AVRgpp for short. It runs on an ATmega328P with a Pro Mini bootloader, which means that the programmer itself is fully compatible with the Arduino IDE. USB-to-serial capability is provided by a CH330N, and a MC14053 digital switch IC is used to select between talking to the AVRgpp’s onboard MCU or the target device.

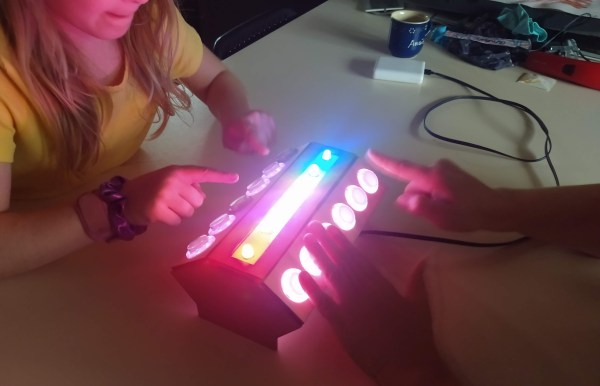
A 128 x 32 I2C OLED and two push buttons are used to select the device’s current mode, and there’s a physical switch to select between 5 V or 3.3 V power for the target. There’s also a ST662 12 V regulator, as UPDI targets occasionally need a high voltage pulse to switch into programming mode. Everything is packaged up in a pocket-sized laser cut enclosure that you can easily toss in your bag.

[Mike] and [Brian] say they are considering putting the AVRgpp into small scale production if there’s enough interest, so let them know if you’d like to get one without having to build it yourself.

Updating The Language Of SPI Pin Labels To Remove Casual References To Slavery

This morning the Open Source Hardware Association (OSHWA) announced a resolution for changing the way SPI (Serial Peripheral Interface) pins are labelled on hardware and in datasheets. The protocol originally included MOSI/MISO references that stand for “Master Out, Slave In” and “Master In, Slave Out”. Some companies and individuals have stopped using these terms over the years, but an effort is being taken up to affect widespread change, lead by Nathan Seidle of Sparkfun.

The new language for SPI pin labeling recommends the use of SDO/SDI (Serial Data Out/In) for single-role hardware, and COPI/CIPO for “Controller Out, Peripheral In” and “Controller In, Peripheral Out” for devices that can be either the controller or the peripheral. The change also updates the “SS” (Slave Select) pin to use “CS” (Chip Select).

SPI is widely used in embedded system design and appears in a huge range of devices, with the pin labels published numerous times in everything from datasheets and application notes to written and video tutorials posted online. Changing the labels removes unnecessary references to slavery without affecting the technology itself. This move makes embedded engineering more inclusive, an ideal that’s easy to get behind.

[2022 Editor’s Note: The OSHWA changed its recommended naming to PICO/POCI for “Peripheral In, Controller Out” and “Peripheral Out, Controller In”. Fine by us! I’ve updated this throughout the rest of the article because it doesn’t change Mike’s original argument at all.]

Continue reading “Updating The Language Of SPI Pin Labels To Remove Casual References To Slavery”