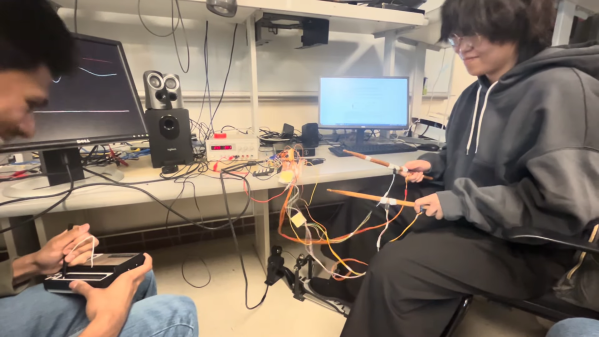
Loop stations are neat things, able to replay one or more loops of audio over and over again while you perform over the top of them. Musicians like [Marc Rebillet], [Reinhardt Buhr], and [Dub FX] have made careers out of this style of performance. [Yaqi Gao], [Xiaoyu Liang] and [Alina Wang] decided to build a loop station of their own, using the popular RP2040 chip.
At its simplest, a loop station must take in audio, record it, and then play it back. Generally, it can do this with several tracks and mix them together, while also mixing in the incoming audio as well. The group achieved this by inputting a guitar signal to the chip via an amplifier and the onboard analog-to-digital converter. The audio can be recorded as desired, and then played back via an external digital-to-analog converter. Live audio from the guitar is also passed through to allow performing over the recorded sound. The group also used an external half-megabyte FRAM chip to allow storing additional audio sample data, which can be trucked out over serial and saved.
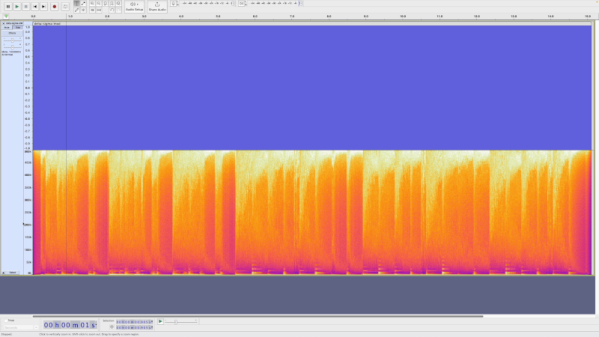
It’s not the cleanest loop station in the world, with a relatively low sample rate causing some artifacts. Regardless, it definitely works, and taught the group plenty about working with digital audio in the process. For that reason alone, we’d call it a success.