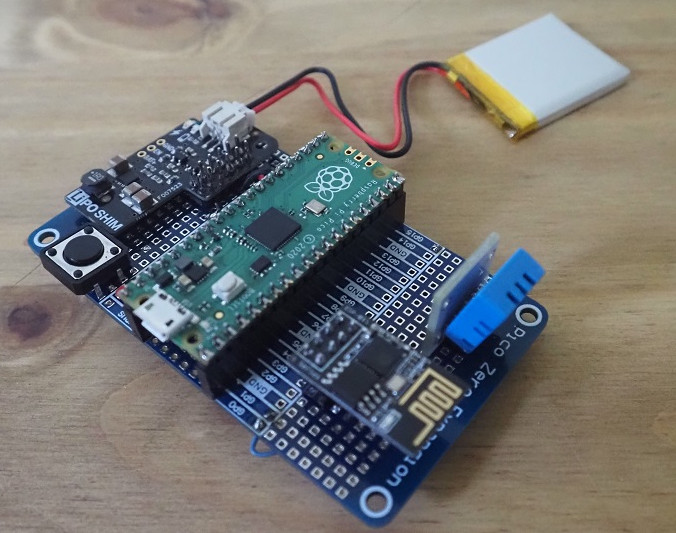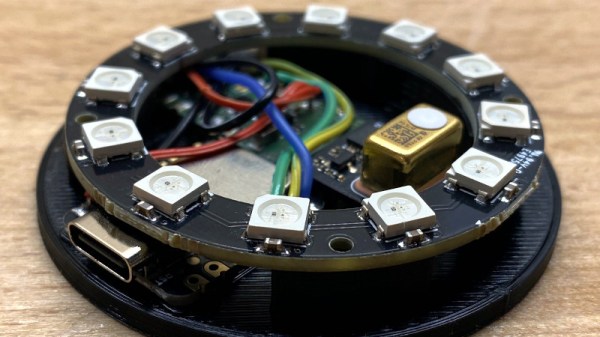
Outwardly, this sleek CO2 monitor designed by [Daniel Gernert] might look like something cooked up in Amazon’s consumer electronics division. But open up that 3D printed case, and you’ll find a surprisingly low parts count that’s been cleverly packed in so as to make the most of the enclosure’s meager internal dimensions.
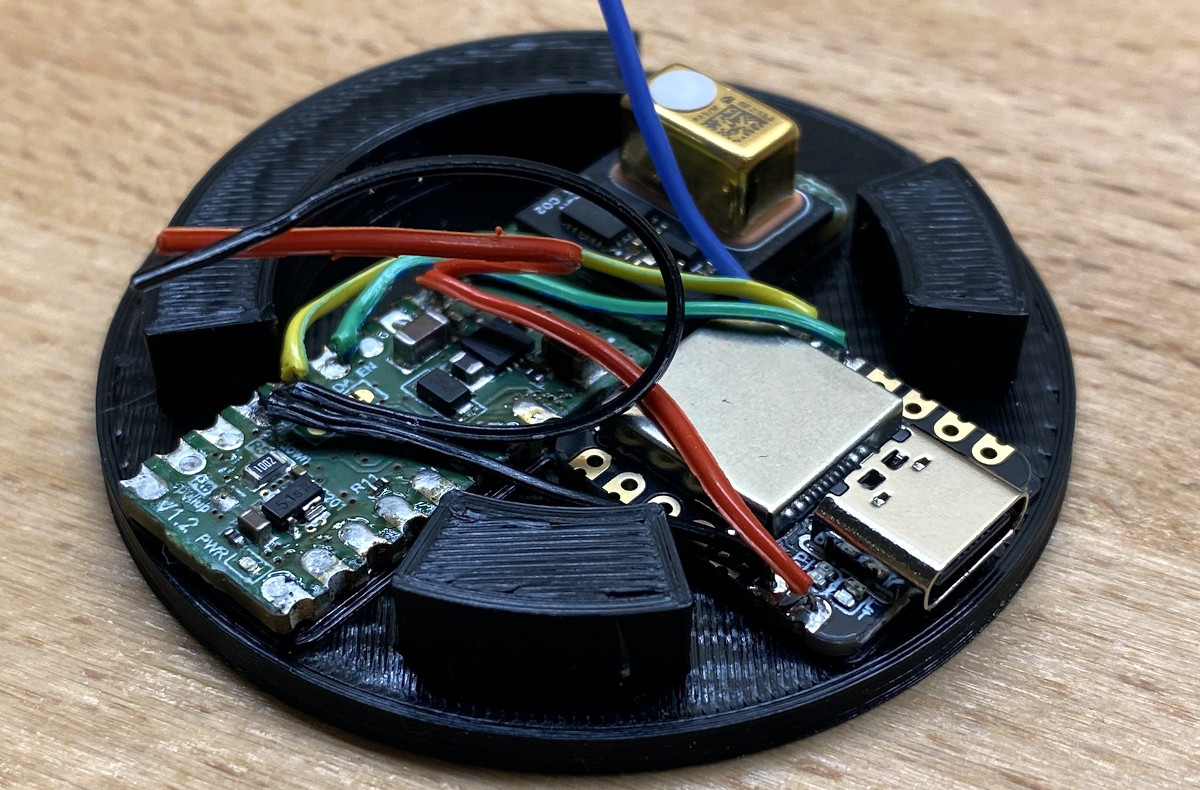
There are, if you can believe it, just three principle components to this device: a Seeed Studio Seeeduino XIAO microcontroller, a Infineon S2GO PAS CO2 sensor board, and a ring of WS2812B LEDs. You could even delete the ring altogether and replace it with a single addressable LED to accomplish the same goal, but we’d say the full ring is money-well-spent if you’re going to spin up your own copy.
Functionality is very straightforward — the LED ring will indicate the detected CO2 concentration by lighting up green and working its way through yellow and onto red. The sensor has no wireless capability, but if you plug it into your computer, you can get a local readout of current conditions.
We love environmental monitoring solutions here almost as much as we love intricately designed 3D printed enclosures. If you’d like to see another project where those two concepts aligned, check out this printable ESP8266 sensor enclosure.