They say experience is the best teacher, and experience tells us they are right. When [Thomas Thiel] couldn’t find any resources about re-creating the groovy ‘caps of thocky old keebs like the Space Cadet and the C64 (or find any to buy), it was time for a little keycap experimentation.
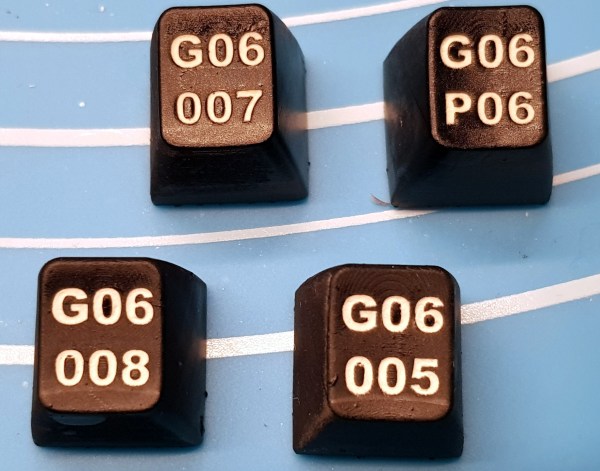
These babies are printed in black resin and the inlay is made with white air-dry clay. After printing, they are sprayed with acrylic, and then [Thomas] works a generous amount of clay into the grooves and seals the whole thing with clear spray. [Thomas] soon figured out that the grooves had to be pretty deep for this to work right — at least 1 mm. And he had better luck thick fonts like Arial Black instead of thin fonts.
Of course, as [Thomas] mentions, you’re not restricted to white or even air-dry clay. You could go nuts with colored clay and make a retro-RGB clackable rainbow.
Still not tactile or custom enough for you? These hand-stitched keycaps are technically re-legendable, though it would take a considerable amount of time.