Need a cool toy for your kids? How about something with a bunch of fun fluid dynamics and a tinge of higher-than-average-voltage danger? Did we mention the subwoofer and bank of high-voltage capacitors? Have we got the project for you: [Robert Hart]’s vortex cannon design.
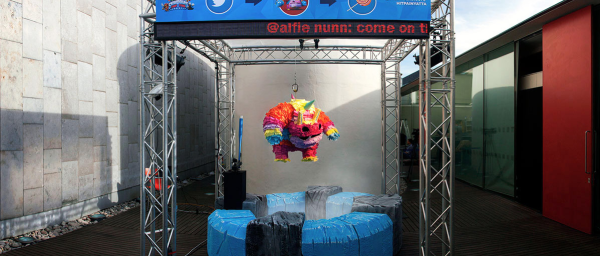
We’ve seen vortex cannons before, where you usually fix a balloon to the back of a trash can. Pull on the balloon membrane and then let it go with a snap, and it sends out a swirling donut of high-pressure air that travels surprisingly far. It’s like smoke rings, but amped up a bit.
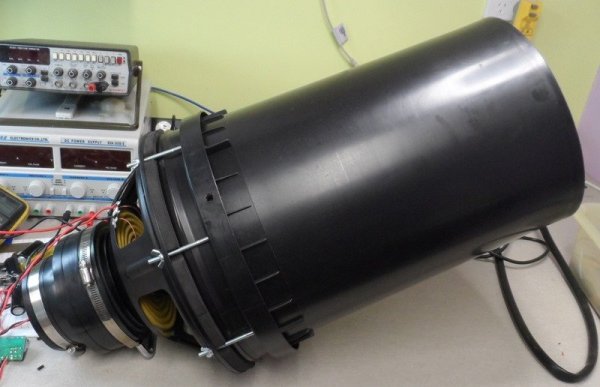
[Robert]’s addition is to bolt on a high-power subwoofer in place of the balloon’s rubber membrane, and generate the air pulse by dumping a capacitor bank into the speaker.
 The circuit design is a bit more clever than we thought at first. The bottom half is a voltage inverter followed by a diode bridge rectifier that essentially makes 320V DC (peak) out of 12V, and stores this in four fairly large capacitors. A pushbutton activates a relay that dumps the capacitors through the speaker.
On top of the circuit is a -12V voltage inverter. Just before firing, the speaker is pulled back a little bit by applying this -12V to the speaker, and then the relay is triggered and the capacitors dump, shooting the speaker cone forward.
 [Robert] is still developing and testing the device out, so if you’re curious or just want to say hi, head on over to Hackaday.io and do so! Be sure to check out his videos. The smoke tests are starting to look good, and we love the control box and high-voltage warning stickers.