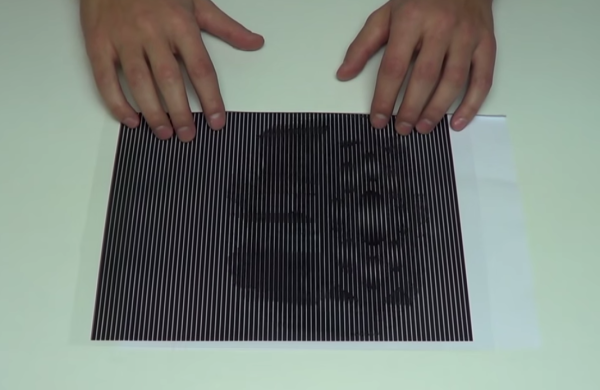
Remember those flipbooks you doodled into your history textbooks while you waited for the lunch bell? [Maric] takes the general principles of flipbooks and turns them on their head, giving our brain a whirl in the process. By splicing multiple frames into one image, he can bring animations to life onto a single page.
The technique is simple, but yields impressive results. By overlaying a pattern of vertical black bars onto his image, only a small fraction of the image is visible at any given point. The gaps in the pattern belong to a single frame from the animation. As [Maric] slides the pattern over the image, subsequent frames are revealed to our eyes, and our brain fills in the rest.
A closer look reveals more detail about the constraints imposed on these animations. In this case, the number of frames per animation loop is given by the widths in the transparency pattern. Specifically, it is the number of transparent slits that could fit, side-by-side, within an adjacent black rectangle.
The trick that makes this demonstration work so nicely is that the animated clips finish where they start, resulting in a clean, continuous illusion.
Don’t believe what you see? [Maric] has linked the pattern and images on his video so you can try them for yourself. Give them a go, and let us know what you think in the comments.
Continue reading “Spliced Animations Come To Life On Their Pages”
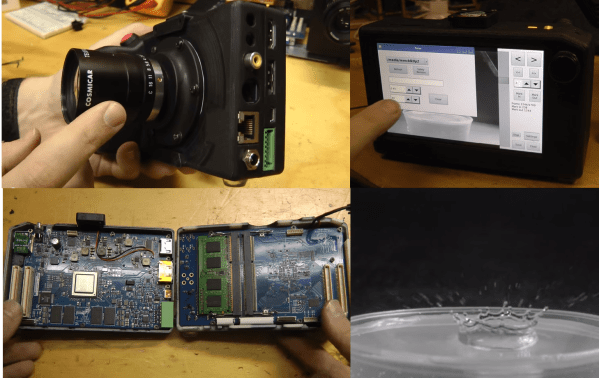
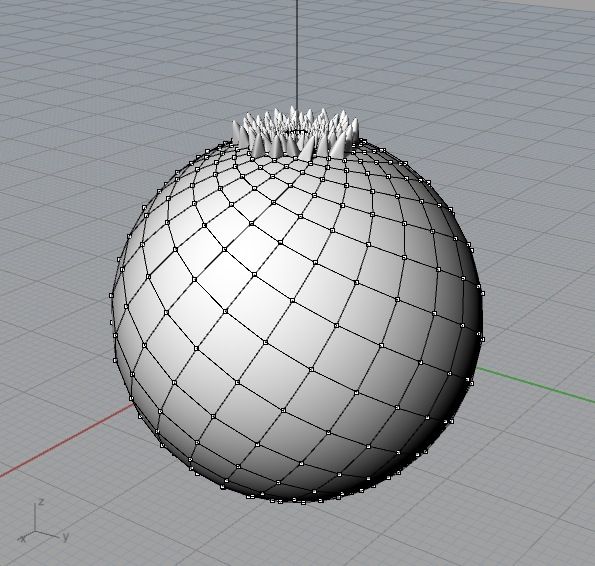 [John] modeled several 3D sculptures in Rhino containing similar geometric properties to those found in pinecones and palm tree fronds. As the segments grow from those objects in nature, they do so in approximately 137.5 degree intervals. This spacing produces a particular spiral appearance which [John] was aiming to recreate. To do so, he used a Python script which calculated a web of quads stretched over the surface of a sphere. From each of the divisions, stalk-like protrusions extend from the top center outward. Once these figures were 3D printed, they were mounted one at a time to the center of a spinning base and set to rotate at 550 RPM. A camera then films the shape as it’s in motion at a 1/2000 sec frame rate which captures stills of the object in just the right set of positions to produce the illusion that the tendrils are blooming from the top and pouring down the sides. The same effect could also be achieved with a strobe light instead of a camera.
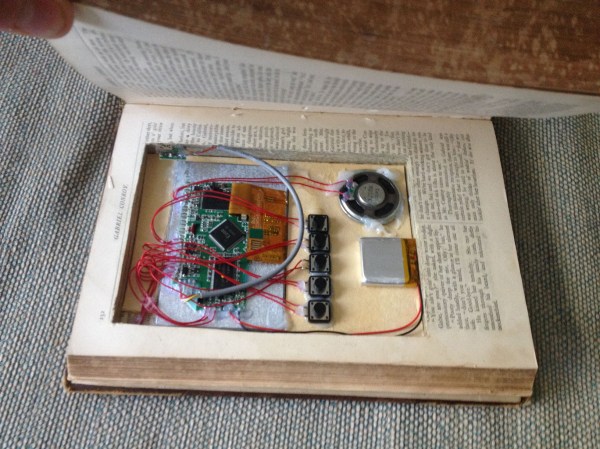

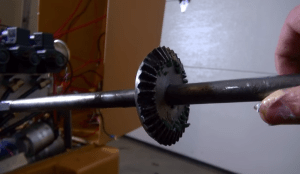 After several years of hard life, the loader came to [djMedic] in need of some TLC. The biggest issue was that the rear axle bevel gear had lost several teeth. This gear is under enormous loads when the loader is turning. A gear made of harder steel was the easy answer. Thankfully, you can order