Why build your own stereo speakers? Some people like to work on cars in their garage. Some people build fast computers. Others seek the perfect audio setup. The problem for a newcomer is the signal to noise ratio among audiophile experts. Forums are generally filled with a vocal group of extremists obsessing on that last tiny improvement in some spec. It can be hard for a beginner to jump in and learn the ropes.
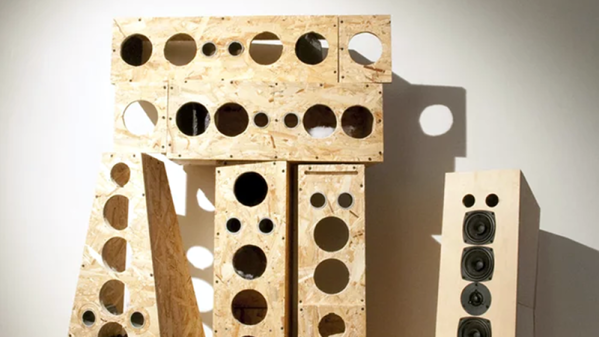
[Ynze] had this problem. He’d finished a custom amplifier and decided to build his own speakers. He found a lot of spirited debates about what was important for good speakers. He tried to wade through the discussions and determine which things had real practical value. The results and his speaker build are documented in a post that you’ll want to check out if you would like to design and build your own speakers.
Some of the topics ranged from solder type to capacitor construction and 700 Euro capacitors. [Ynze’s] goal was to build something that sounded good while keeping costs in line. He claims he spent about 250 Euro and wound up with speakers equivalent to 750 Euro store-bought speakers.
Continue reading “One Man’s Quest To Build His Own Speakers”