For decades now, we’ve been able to quickly and reliably interface musical instruments to computers. These tools have generally made making and recording music much easier, but they’ve also opened up a number of other out-of-the-box ideas we might not otherwise see or even think about. For example, [Joren] recently built a human interface device that lets him control a computer’s cursor using a flute instead of the traditional mouse.
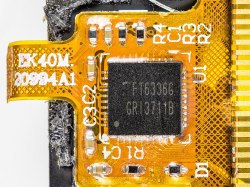
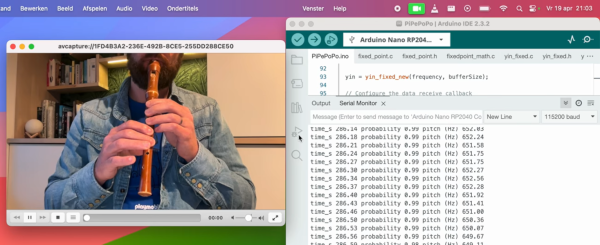
Rather than using a MIDI interface, [Joren] is using an RP2040 chip to listen to the flute, process the audio, and interpret that audio before finally sending relevant commands to control the computer’s mouse pointer. The chip is capable of acting as a mouse on its own, but it did have a problem performing floating point calculations to the audio. This was solved by converting these calculations into much faster fixed point calculations instead. With a processing improvement of around five orders of magnitude, this change allows the small microcontroller to perform all of the audio processing.
[Joren] also built a Chrome browser extension that lets a flute player move a virtual cursor of sorts (not the computer’s actual cursor) from within the browser, allowing those without physical hardware to try out their flute-to-mouse skills. If you prefer your human interface device to be larger, louder, and more trombone-shaped we also have a trombone-based HID for those who play the game Trombone Champ.