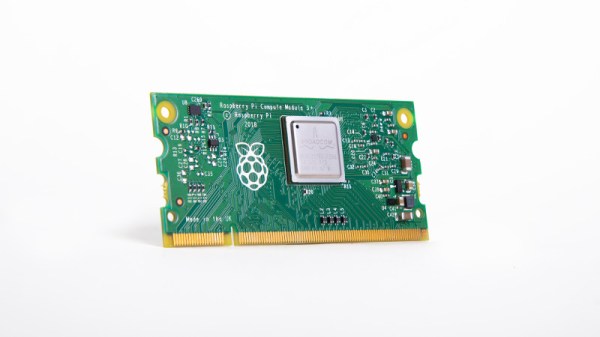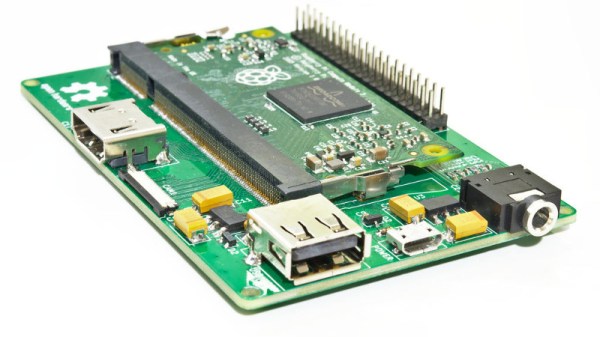
The Raspberry Pi Compute Module hasn’t seen as much attention as it should have in our community, probably because the equivalents from the familiar consumer range can be so much cheaper. When a Raspberry Pi Zero is a similar size to a Compute Module and costs so much less, we can’t blame you for asking what would be the point of using the industrial version.
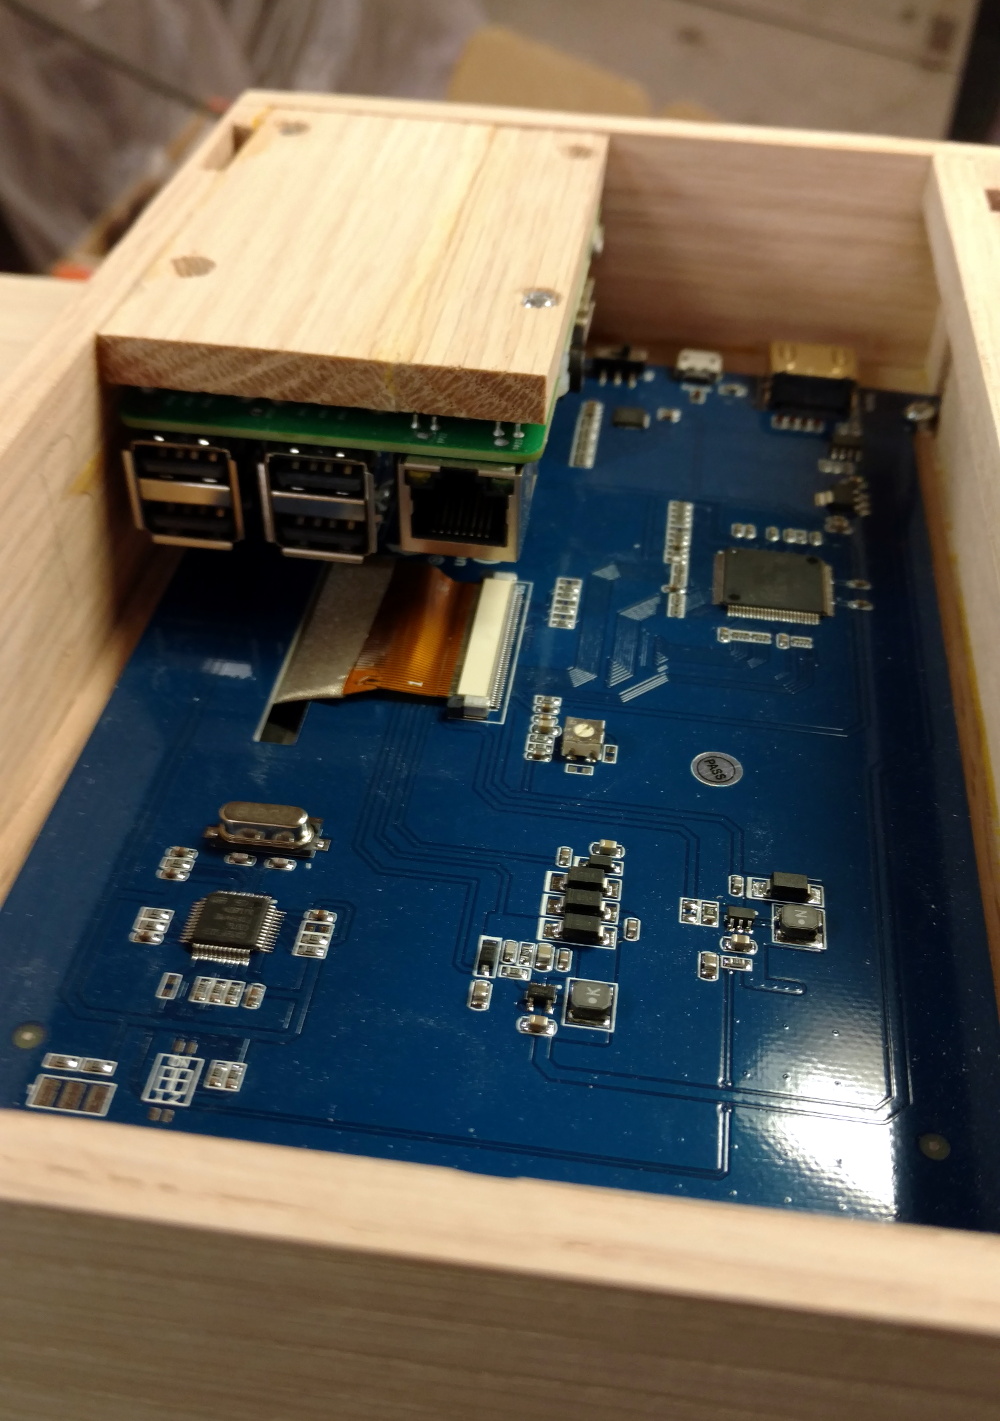
It’s interesting then to see an Instructables piece from [Manolis Agkopian] in which he takes the reader through the process of creating their own Compute Module project. Following hot on the heels of the recent launch of the latest in the range it’s come to us at an appropriate moment to take a fresh look at the fruity computer’s more obscure incarnation. He starts with a description of the Compute Module and its official development board, before taking us through setting up a module and putting an OS on it. Finally he shows us his board design, which he offers us as a jumping-off point for our own projects.
So given that it’s piqued your interest, why might you want to design a Compute Module project? The answer’s simple enough: the consumer boards only provide the subset of features the Pi foundation people deemed appropriate for their mission. A Compute Module project is the equivalent of designing a Raspberry Pi that does it your way, tailored exactly for your needs. If you want an example, look no further than this stereoscopic camera.
Via Hacker News.