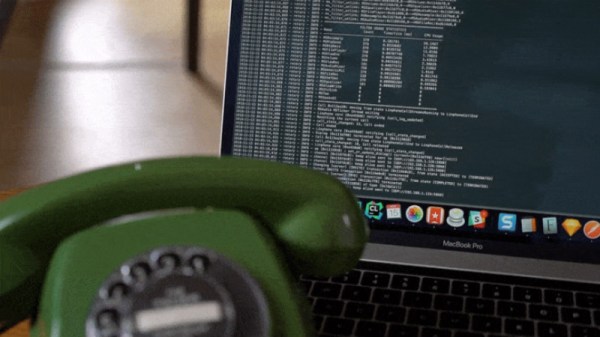
Like many of us, [Zoltan Toth-Czifra] has completely embraced 21st century living. His home is awash in smart gadgets and dodads, from color changing light bulbs to Internet-connected cameras. But he’s also got a soft spot for the look and feel of vintage hardware, like the rotary phone he keeps kicking around to remind him of the old days. He recently decided to bridge these two worlds by turning the rotary phone into a modern voice controlled assistant.
The first piece of the puzzle was getting the old school phone connected to something a bit more modern, namely a Raspberry Pi. He didn’t want to hack the vintage phone apart, so he picked up a Grandstream HT801, an adapter that’s used to convert analog telephones to VoIP. [Zoltan] says this model specifically fit the bill as it had a function that allows you to configure a number to dial as soon the phone is lifted off the hook. This allows the user to just pick up the phone and start talking without having to dial anything manually. If you’re looking to pull off a similar setup, you should check to make sure the adapter has this function before pulling the trigger.
With the rotary phone now talking a more modern protocol, [Zoltan] just needed to get the Raspberry Pi side sorted out. He installed a SIP server so it could communicate with the HT801 adapter, and then got to work putting together his virtual assistant. Rather than plug into an existing system, he rolled his own by combining open source packages for controlling his various smart devices with the aptly named SpeechRecognition library for Python.
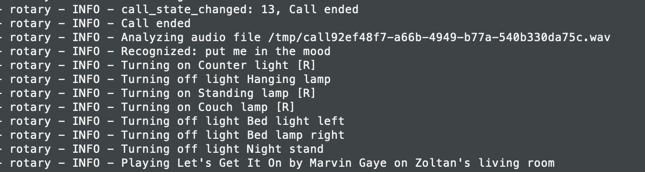
Right now he’s only programmed a few commands that his system can respond to for controlling his lights and music, but mentions that the system is modular enough that he can add new functions easily. He’s put the source for his virtual assistant framework up on GitHub, which he notes was written in less than 200 lines of original code by virtue of utilizing existing libraries for a lot of the heavy lifting. Open source is a beautiful thing.
In the past we’ve seen rotary phones go mobile thanks to GSM upgrades and dragged kicking and screaming onto the modern phone network with a built-in Raspberry Pi. But we think there’s something especially appealing about the approach [Zoltan] took which preserves the phone’s original hardware.
Continue reading “Vintage Rotary Phone Turned Virtual Assistant”