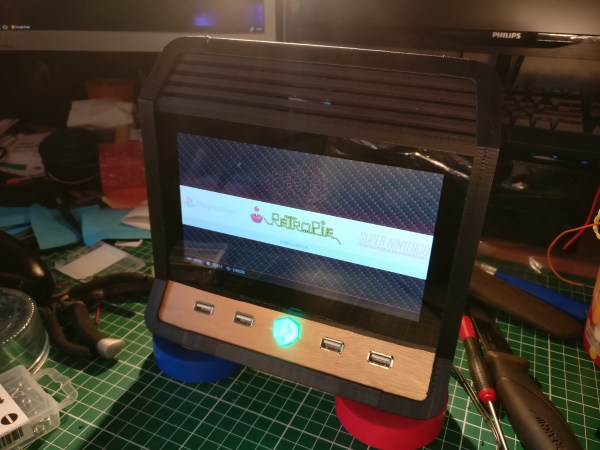
After seeing an Echo Show in the flesh plastic, [anonteapot] was inspired to create his own take on Amazon’s latest on-ramp to their ecosystem. He had the Raspberry Pi and a touch screen, but not much else. He doesn’t even have a dedicated work area at home, much less something as exotic as a 3D printer to run off a custom case. For this decidedly low-tech build, all that was required tool-wise was a razor blade knife and a screwdriver.
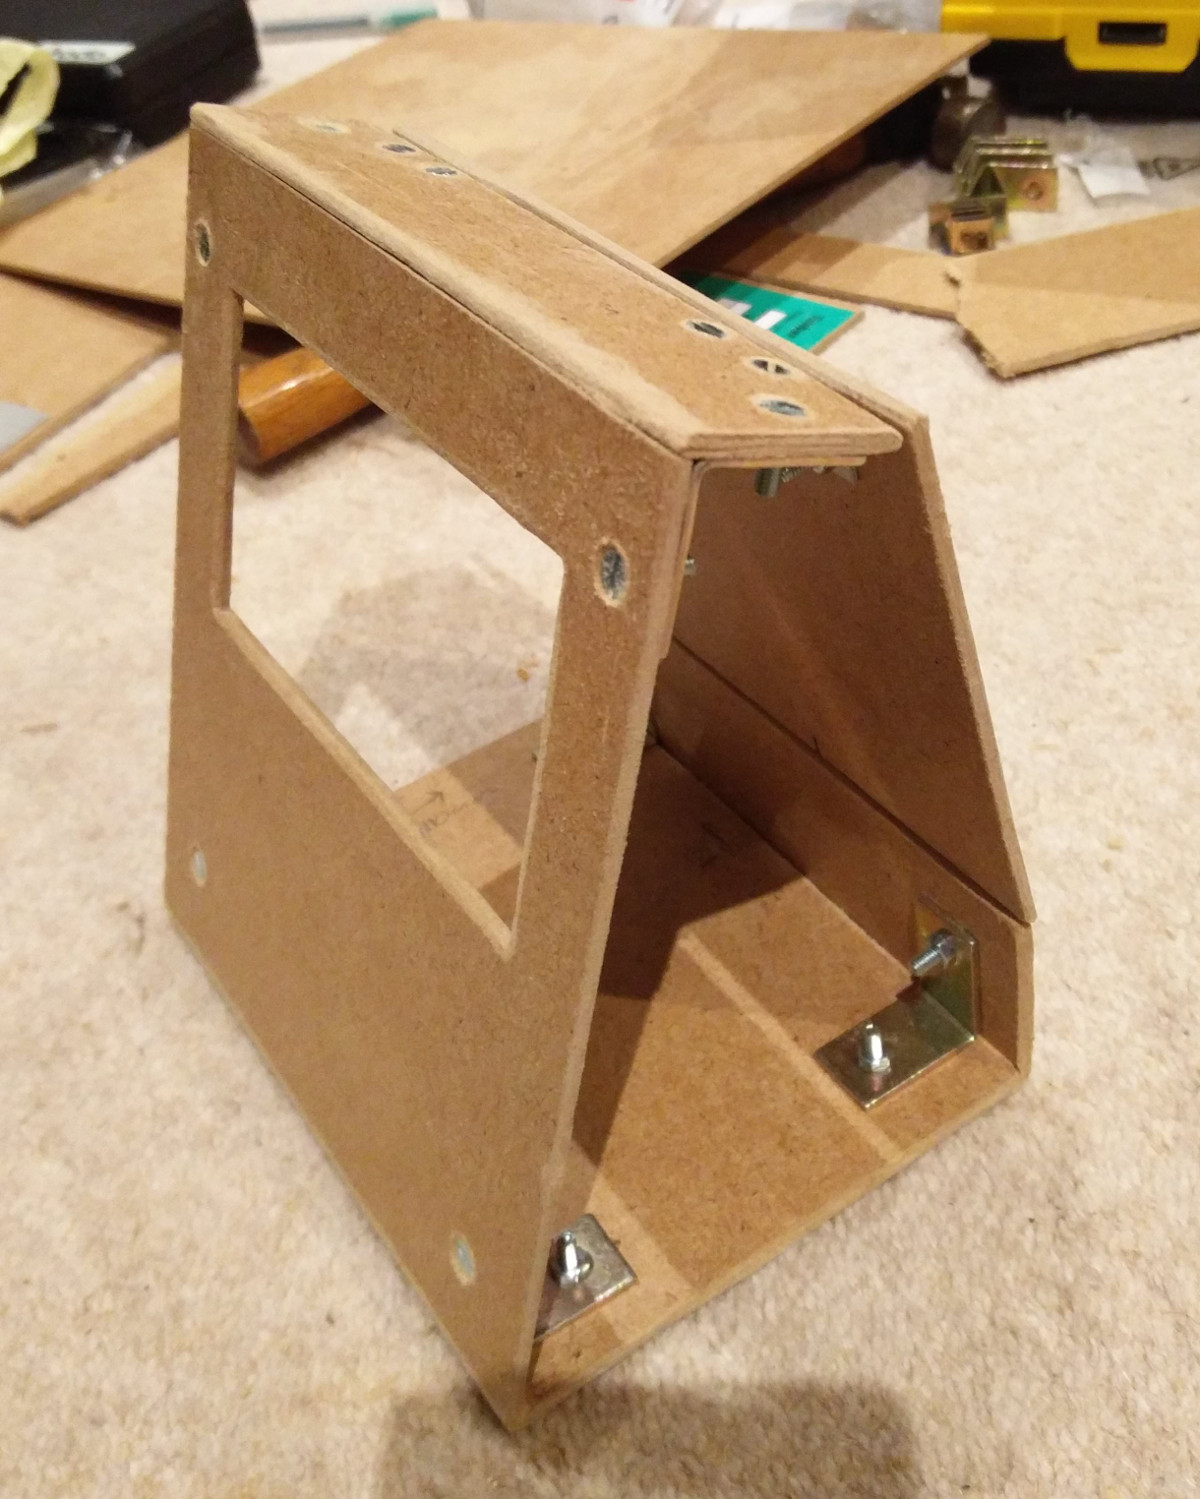 The majority of the device, which he refers to as the PiShow, is made of hand-cut pieces of MDF. In fact, the whole build relied on his ability to neatly cut pieces of MDF with hand tools on his bedroom floor. We wouldn’t suggest such a setup as a general rule, but respect for pushing ahead without so much as a table to work on.
To connect the pieces of MDF, he used angle brackets from the hardware store. These were originally 90 degrees, but he bent them by hand to achieve the angles seen in the final device. He notes that there was no specific angles he was aiming for when putting the box together; he simply wanted something that looked cool and was large enough internally to hold his electronics.
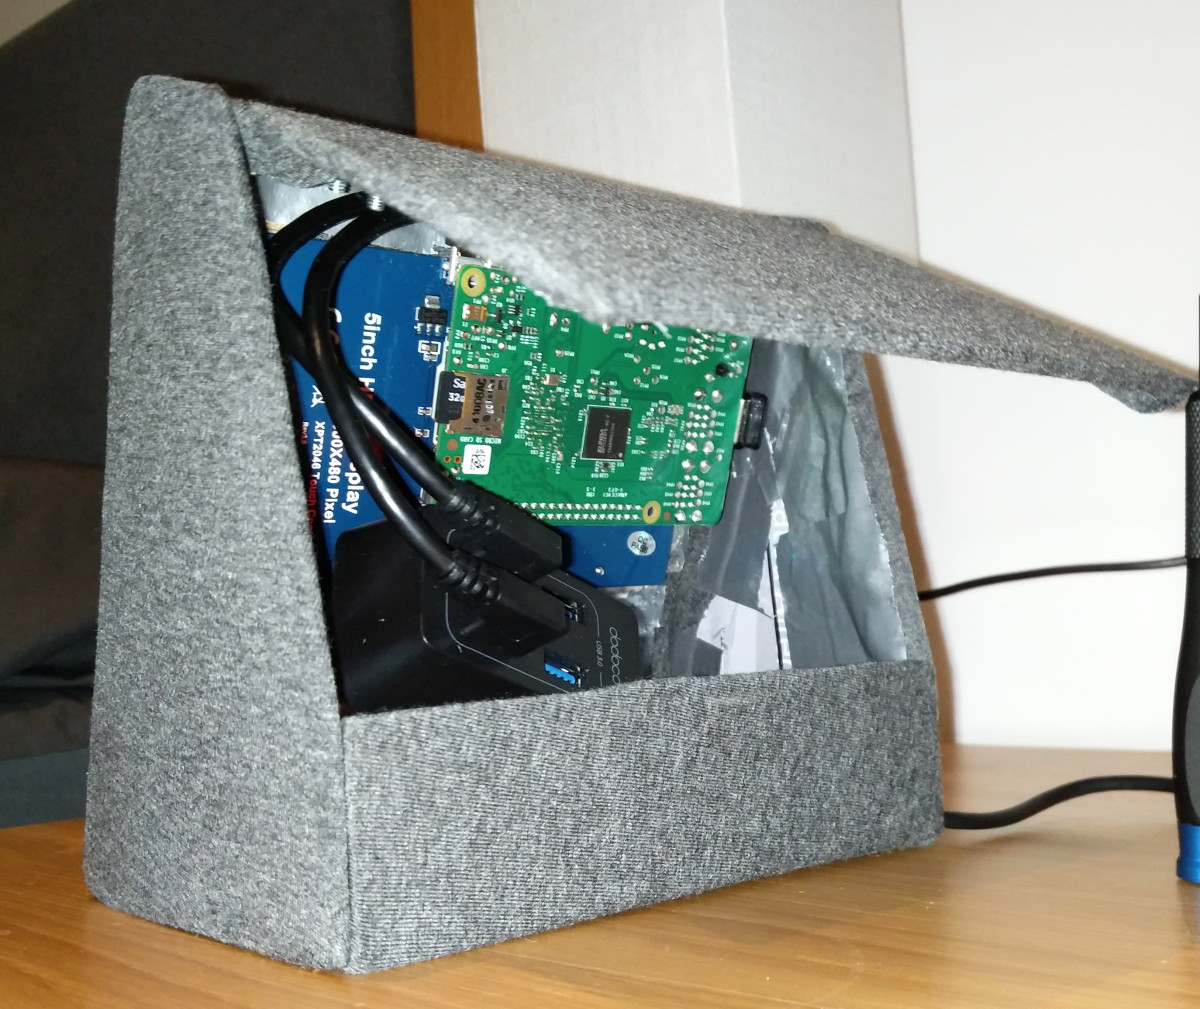
Covering the PiShow is some jersey material that [anonteapot] bought at a local fabric store. It has a little stretch to it so he was able to pull it tight over the MDF frame and keep the wrinkles out. As a general rule we don’t see many projects here at Hackaday that are wrapped in fabric, but we’ve got to admit, it makes for a nice final look.
 The trickiest part of the build ended up being the side panels. While the rest of the frame was relatively simple, the sides needed to precisely conform to some fairly complex geometry. Luckily the side panels aren’t actually holding any weight, so he decided to just cut them out of cardboard. There’s a bit of a gap at the top, but he’s going to try and rectify that with a visit from his glue gun soon.
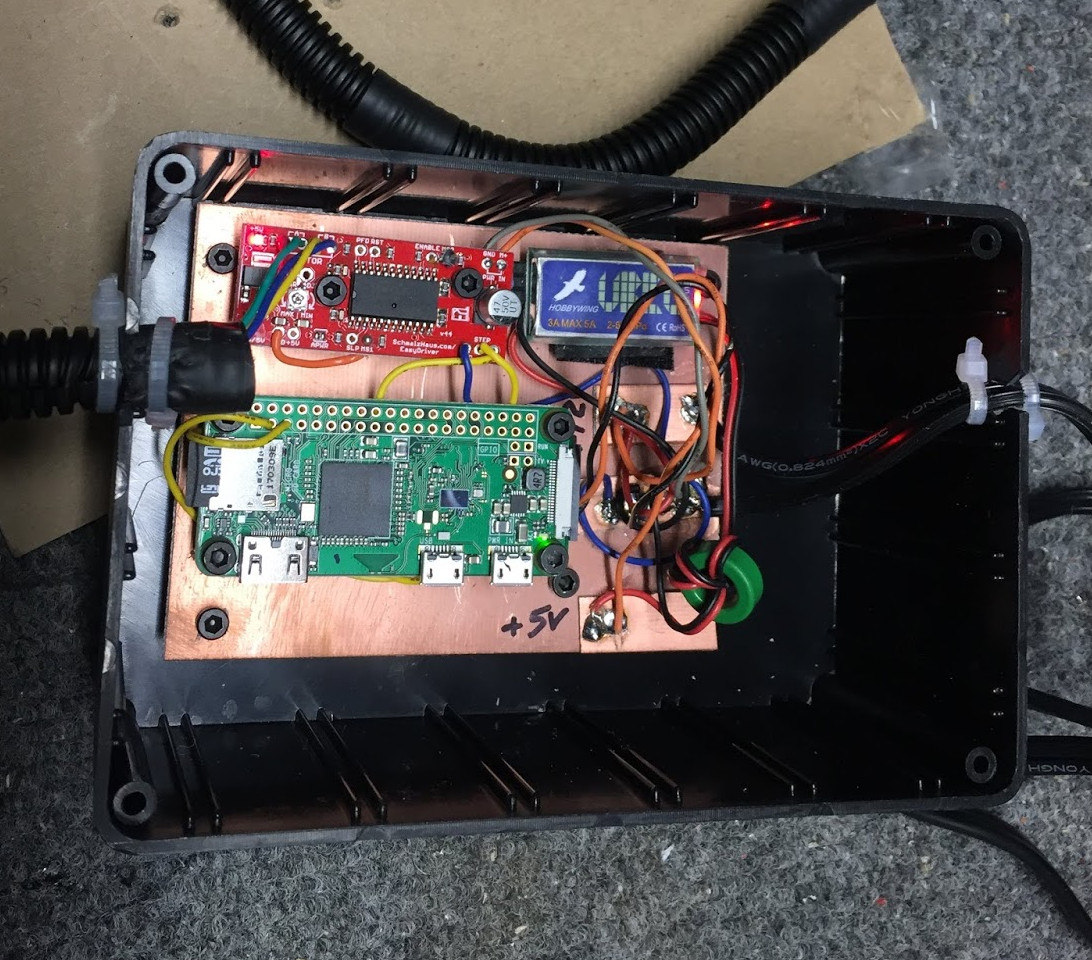
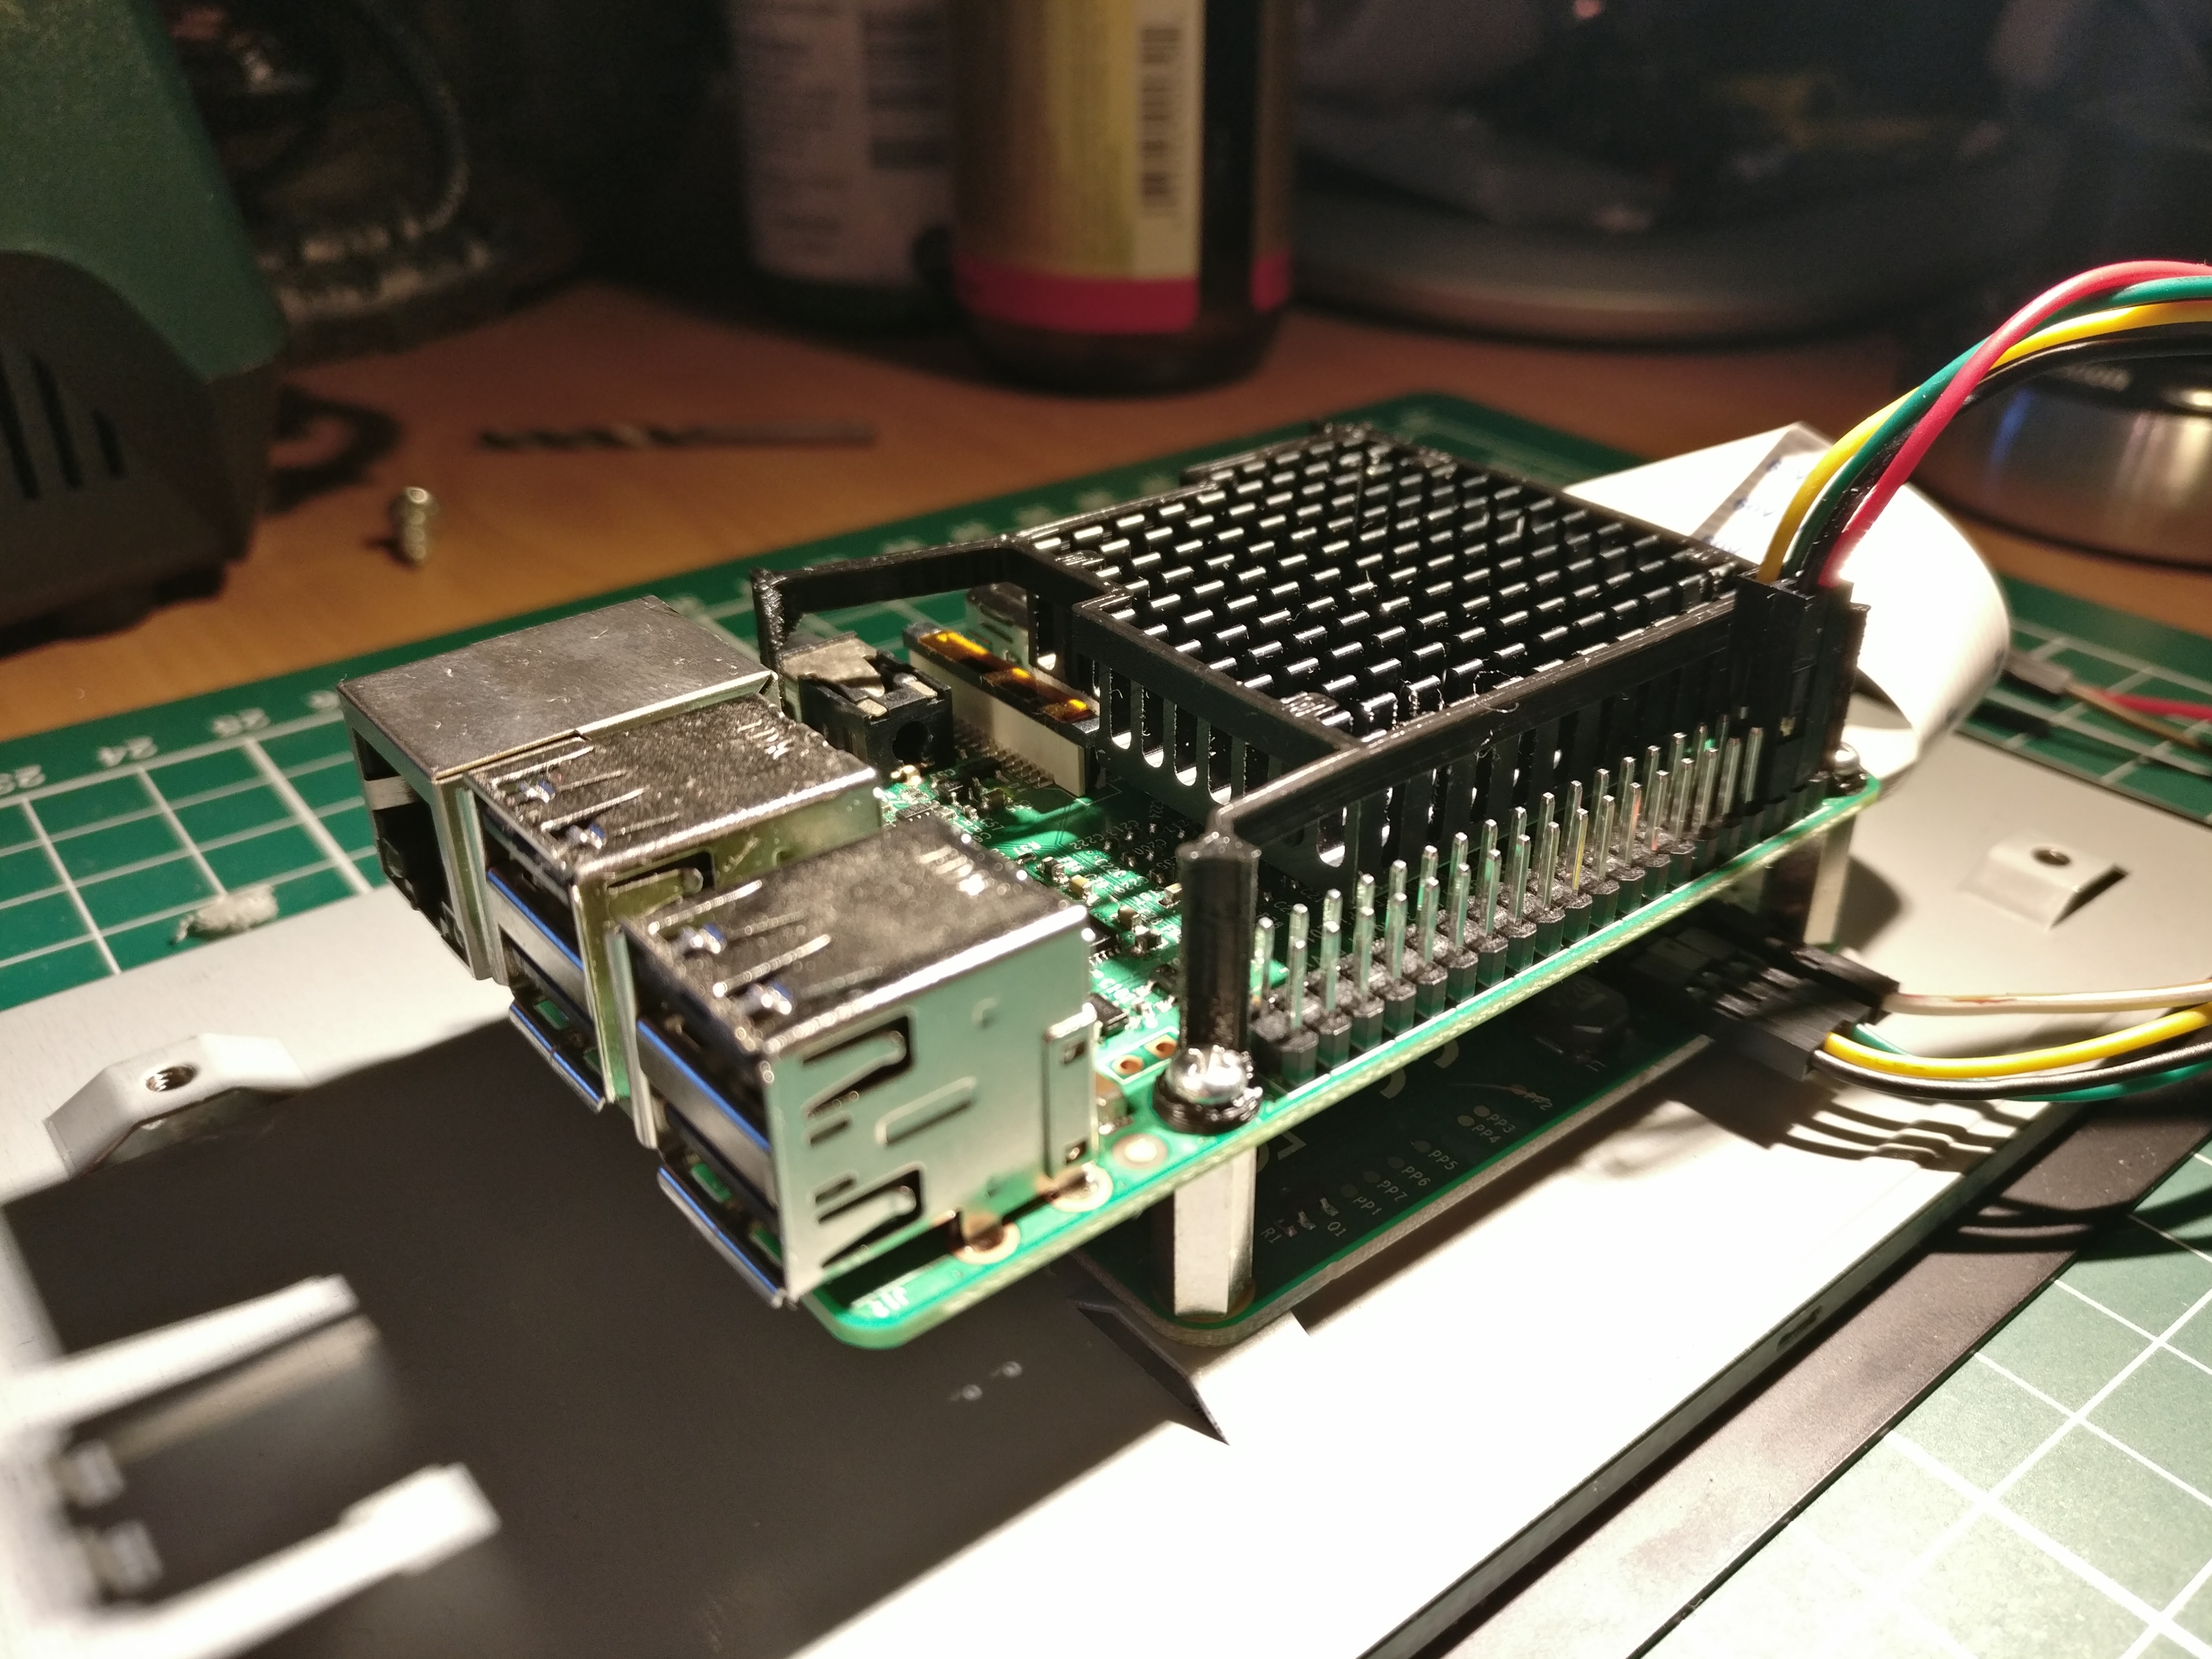
Internally things are sort of just hanging around inside the case, but since this device is never going to move off of the nightstand, it probably doesn’t need to be terribly secure. In truth, getting all the hardware mounted up cleanly with the construction methods available to [anonteapot] would have been a bit tricky anyway.
This is the first time we’ve seen somebody take a swing at replicating the Echo Show, usually we just see people trying to cram the Echo Dot into something else. If the software side is more your thing, be sure to check out this excellent guide on Alexa Skills development by our very own [Al Williams].