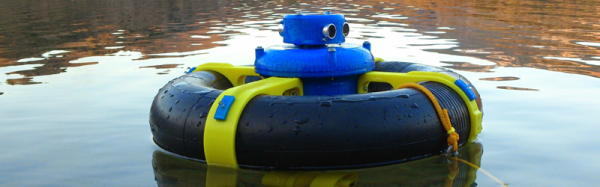
When you think of a robot, you might think of one with wheels, tracks, or even legs. But today’s robots are as likely to have wings, props, or even some way to propel it through the water. If you are bored with quadcopters and want to build a water-going robot, you should check out Jalcboat, an open source robot/boat. Although the project is under development, the videos (see below) show that they’ve made a good bit of progress.
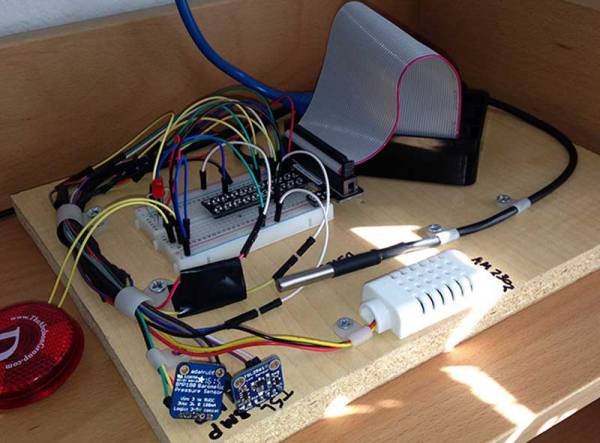
As you might expect, 3D printing is a key ingredient and the files are available on Thingiverse linked above. In addition, the robotic boat has a Raspberry Pi onboard to control brushless motors. The main web site is more of a discussion forum and some of it is in Spanish, so you might want to keep Google translate handy.

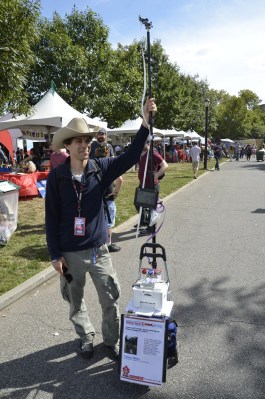 nside the gates, we ran into [Tommy Mintz] who was showing off his