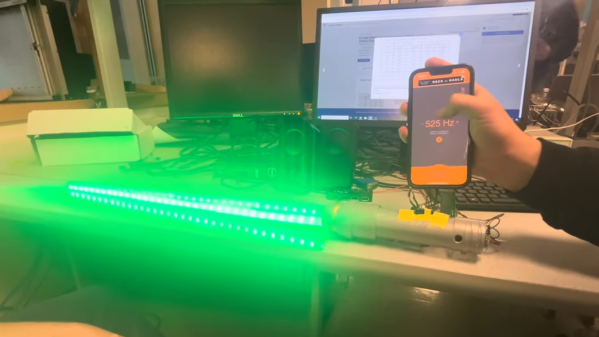
Students [Berk Gokmen] and [Justin Green] developed an RP2040-based LED-illuminated lightsaber as a final project with a bit of a twist. It has two unusual sound-reactive modes: disco mode, and vowel detection mode.
Disco mode alters the color of the saber dynamically in response to incoming sounds. Color and brightness are altered in response to incoming frequencies picked up by the on-board microphone, making a dynamic light show that responds particularly well to music.
The second mode is vowel detection, and changes the lightsaber’s color depending on spoken sounds. The “ee” sound makes the saber red, and the “ah” sound turns it blue. This method requires a lot of processing and filtering, and in the end it works, but is quite dependent on individual speakers for calibration.
The sound functionality centers around FFTs (Fast Fourier Transforms) which are fundamental to processing signals like audio in a meaningful way, and is a method accessible to embedded devices like microcontrollers with ADCs.
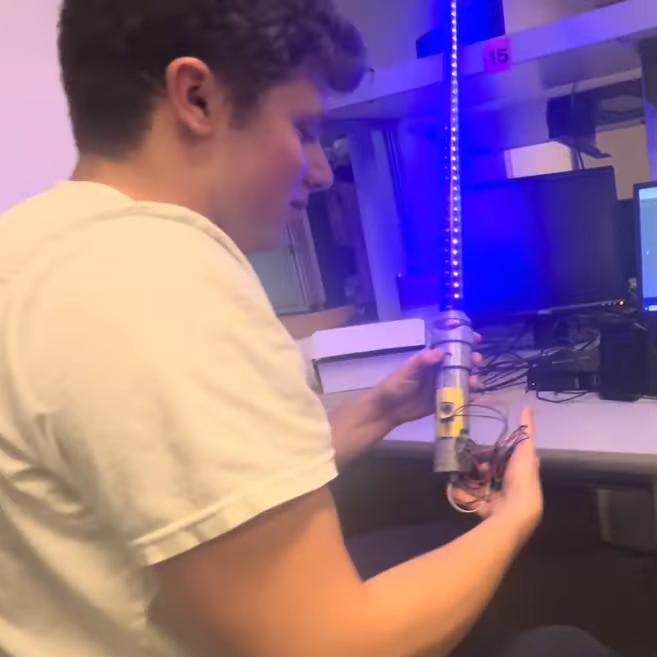
The lightsaber is battery-powered and wireless, and there are loads of details about the finer points of the design (including challenges and tradeoffs) on the project page, and the source code is available on GitHub. A video demonstration and walkthrough is embedded below.
Continue reading “Sound-Reactive Light Saber Flips Allegiance Via Vowel Sounds”