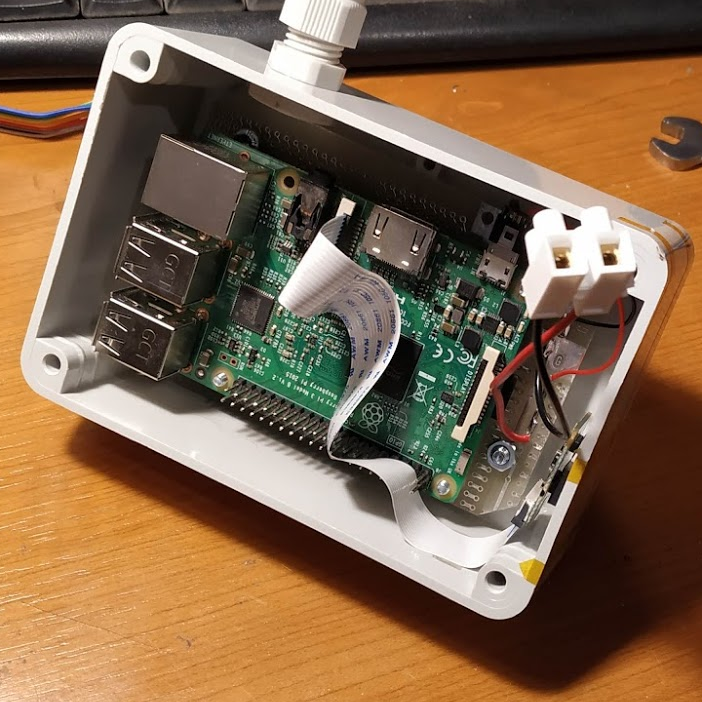
It’s fair to say that among the new product launches we see all the time, anything new from the folks at Raspberry Pi claims our attention. It’s not that their signature Linux single-board computers (SBCs) are necessarily the best or the fastest hardware on paper, but that they’re the ones with meaningful decade-plus support. Add to that their RP2040 microcontroller and its associated Pico boards, and they’re the one to watch.
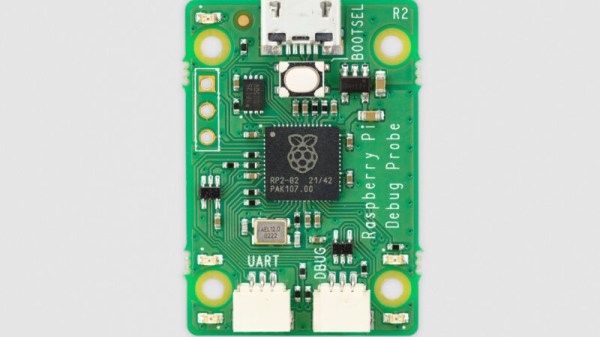
Today we’ve got news of a new Pi, not a general purpose computer, but useful nevertheless. The Raspberry Pi Debug Probe is a small RP2040-based board that provides a SWD interface for debugging any ARM microcontroller as well as a more generic USB to UART interface.
The article sums up nicely what this board does — it’s for bare metal ARM coders, and it uses ARM’s built-in debugging infrastructure. It’s something that away from Hackaday we’ve seen friends using the 2040 for as one of the few readily available chips in the shortage, and it’s thus extremely convenient to have readily available as a product.
So if you’re a high level programmer it’s not essential, but if you’re really getting down to the nuts-and-bolts of an ARM microcontroller then you’ll want one of these. Of course, it’s by no means the first SWD interface we’ve seen, here’s one using an ESP32.
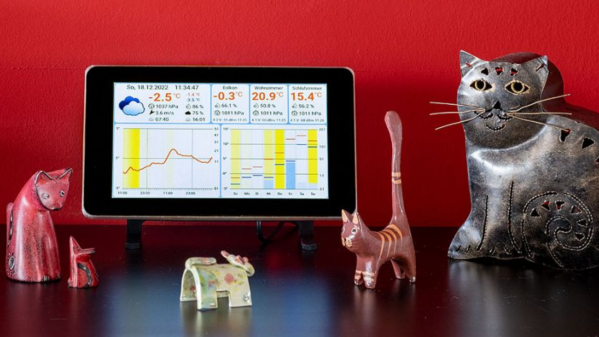
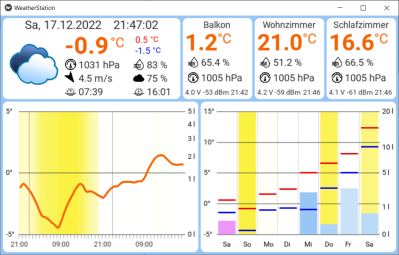 The architecture is quite straightforward. The ESP32 based sensor nodes publish their readings to an MQTT broker running on the Raspberry Pi. The Pi subscribes to these sensor node topics to pick up the relevant sensor data. This makes it easy to add additional sensor nodes in future. Weather forecast data is collected by connecting to the OpenWeatherMap API. All of the collected information is then displayed through an app built using the Kivy: open source Python app development framework.