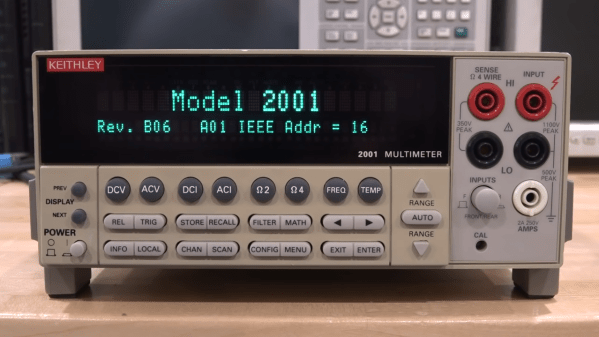
Here’s an interesting and detailed teardown and repair of a Keithley 2001 7.5 Digit multimeter that is positively dripping with detail. It’s also not every day that we get to see someone using x-ray imaging to evaluate the extent of PCB damage caused by failed electrolytic capacitors.

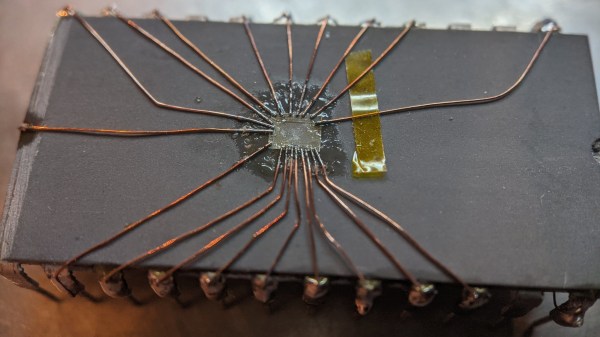
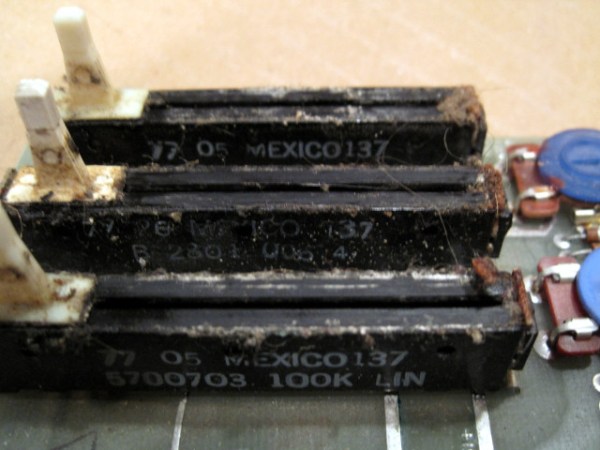
Sadly, this particular model is especially subject to that exact vintage electronics issue: electrolytic capacitor failure and leakage. These failures can lead to destroyed traces, and this particular unit had a number of them (in addition to a few destroyed diodes, just for good measure.) That’s where the x-ray machine comes in handy, because some of the damage is hidden inside the multi-layer PCBs.
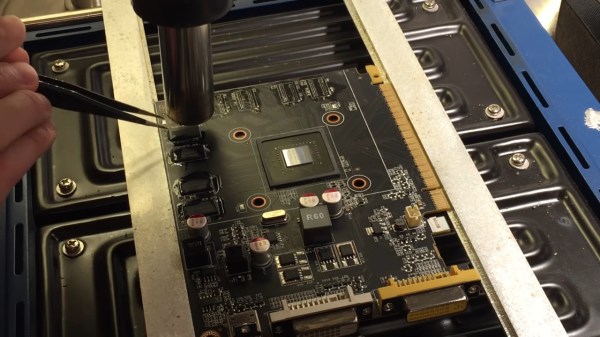
[Shahriar], perhaps best known as [The Signal Path], narrates the entire process of fixing up the high-quality benchtop multimeter in a video, embedded below (or you can skip directly to the x-ray machine being broken out.) [Shahriar] was able to repair the device, thanks in part to it being in relatively good shape, and having the right tools available. Older electronics are not always so cooperative; the older a device is, the more likely one is to run into physical and logical standards that no longer exist.
Continue reading “Vintage Meter Repair? It’s Easier With X-Rays”