KiCad render of µLind pcb

The 6809 8-Bit Microcomputer: A Father-Son Odyssey

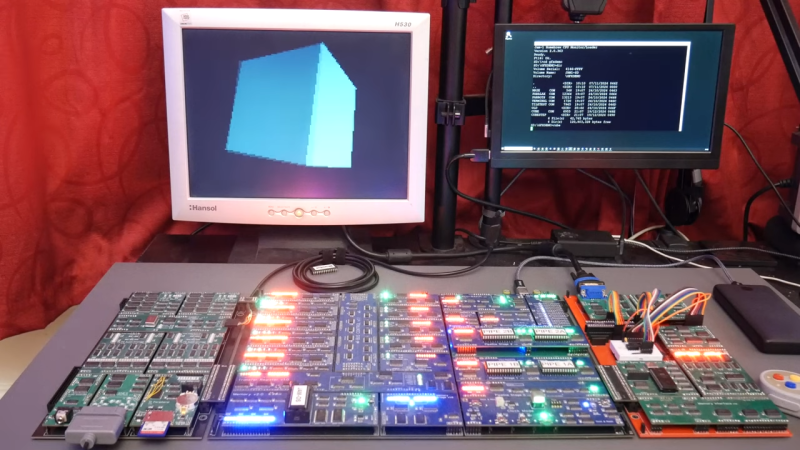
If you’re nostalgic for the golden age of microprocessors and dream of building your own computer, this story might spark your imagination. [Eric Lind], passionate retro enthusiast and his 14-year-old son, embarked on a mission to craft a microcomputer from scratch, centred around the exotic Motorola 6809 chip: the µLind.

What sets this project apart is its ambition: bridging retro computing with modern enhancements. Starting with just a 6809 and some basic peripherals, the men designed a multi-stage roadmap to realize their dream. Each stage brought new challenges: debugging an address decoder, reworking memory management, and evolving glue logic into programmable GAL chips. Fascinatingly, the project isn’t just about nostalgia—it’s a playground for exploring multitasking operating systems and pushing the boundaries of 8-bit computing.

Their creativity shines in solutions like a C64-compatible joystick port, add-on expansion cards, and a memory overkill of 1MB RAM. With every setback—a missing pull-up resistor or a misrouted IRQ signal—their determination grew stronger. By combining old-school know-how with modern tools like KiCad, they’ve created something that is both personal and profoundly inspiring.

[Eric]’s hope and goal is to establish a community of people that want to expand beyond the traditional Z80 and 6502 based SBC’s. Interested? Read [Eric]’s project log on Hackaday.io and start crafting!

How Corroded Can A Motherboard Be?

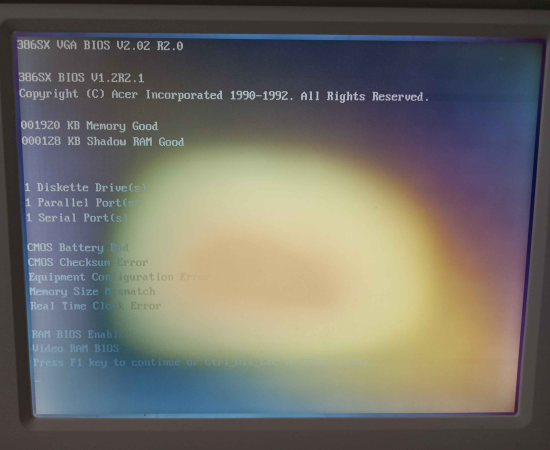
We will admit it. If we found a 386 motherboard as badly corroded as the one [Bits und Bolts] did, we would trash it—not him, though. In fact, we were surprised when he showed it and said he had already removed most of it in vinegar. You can check the board out in the video below.

There was still a lot of work to do on both the front and back of the board. The motherboard was a Biostar and while it isn’t as dense as a modern board, it still had plenty of surface mount parts jammed in.

Continue reading “How Corroded Can A Motherboard Be?”

A Brief History Of Calculator Watches

When humans counted on their fingers, everyone had a state-of-the-art (at the time) calculator at all times. But as we got smarter about calculation, we missed that convenience. When slide rules were king, techies were known to carry them around like swords swinging from their belts. These were replaced with electronic calculators, some also swinging from belt loops, but no matter how small they were, they still were not that handy, no pun intended. That changed around 1975. The Time Computer Calculator company produced an amazing calculator watch for Pulsar. At the time, Pulsar was a brand of the Hamilton Watch Company.

A Pulsar calculator watch (photo: The Smithsonian)

There were a few problems. First, the watch was thick. Despite its size, it had tiny keys, so you had to use a little stylus to push the keys — not as handy as you might wish. On top of that, 1975 display technology used power-hungry LEDs. So, the display was prone to turning off quickly, and the batteries died quickly.

Unsurprisingly, Hamilton, in conjunction with Electro/Data, had earlier rolled out the first LED watch in 1972. With an 18-karat gold case, it went for a cool $2,100 — a whole lot of money in 1972. The first calculator watch was also gold and went for almost $4,000. Soon, though, they brought out a stainless and a gold-filled version that came in at under $500.

Continue reading “A Brief History Of Calculator Watches”

The Lancaster ASCII Keyboard Recreated

It is hard to imagine that there was a time when having a keyboard and screen readily available was a real problem for people who wanted to experiment with computers. In the 1970s, if you wanted a terminal, you might well have built a [Don Lancaster] “TV Typewriter” and the companion “low cost keyboard.” [Artem Kalinchuk] wanted to recreate this historic keyboard and, you know what? He did! Take a look at the video below.

The first task was to create a PCB from the old artwork from Radio Electronics magazine. [Artem] did the hard work but discovered that the original board expected a very specific kind of key. So, he created a variant that takes modern MX keyboard switches, which is nice. He does sell the PCBs, but you can also find the design files on GitHub.

Continue reading “The Lancaster ASCII Keyboard Recreated”

Exploring The Gakken FX Micro-Computer

Early computer kits aimed at learning took all sorts of forms, from full-fledged computer kits like the Altair 8800 to the ready-made MicroBee Computer-In-A-Book. For those just wanting to dip their toes in the computing world, many low-cost computer “trainers” were released, and Japan had some awesome ones. [Jason Jacques] shows off his Gakken Micro-Computer FX-System (or is it the FX-Computer? Or maybe the FX-Micom? It seems like they couldn’t make up their minds). In any event, it was a combination microcomputer and I/O building blocks system running a custom version of the Texas Instrument TMS1100 microprocessor. Specifically designed to introduce users to the world of computing, the included guide is very detailed and includes 100 example programs and lots of information on how all the opcodes work.

This 4-bit system is similar to the Kenbak computer, with a very simple instruction set and limited address space. However, adding electronic components in plastic blocks brings this machine to a new level of interactivity. Connections can be made to and from the microcomputer block, as well as to the on-board speaker and simple input/output pins.  The example circuit displayed on the front cover of the box enables the microcontroller to connect to the speaker and allows a switch to light up a small incandescent bulb. We can imagine many users wiring up all sorts of extra components to their FX-Computers, and with the advent of 3D printing, it wouldn’t be difficult to create new blocks to insert into the grid.

Continue reading “Exploring The Gakken FX Micro-Computer”

Ruined 1993 ThinkPad Tablet Brought Back From The Brink

Collecting retrocomputers is fun, especially when you find fully-functional examples that you can plug in, switch on, and start playing with. Meanwhile, others prefer to find the damaged examples and nurse them back to health. [polymatt] can count himself in that category, as evidenced by his heroic rescue of an 1993 IBM ThinkPad Tablet.

The tablet came to [polymatt] in truly awful condition. Having been dropped at least once, the LCD screen was cracked, the case battered, and all the plastics were very much the worse for wear. Many of us would consider it too far gone, especially considering that replacement parts for such an item are virtually unobtainable. And yet, [polymatt] took on the challenge nonetheless.

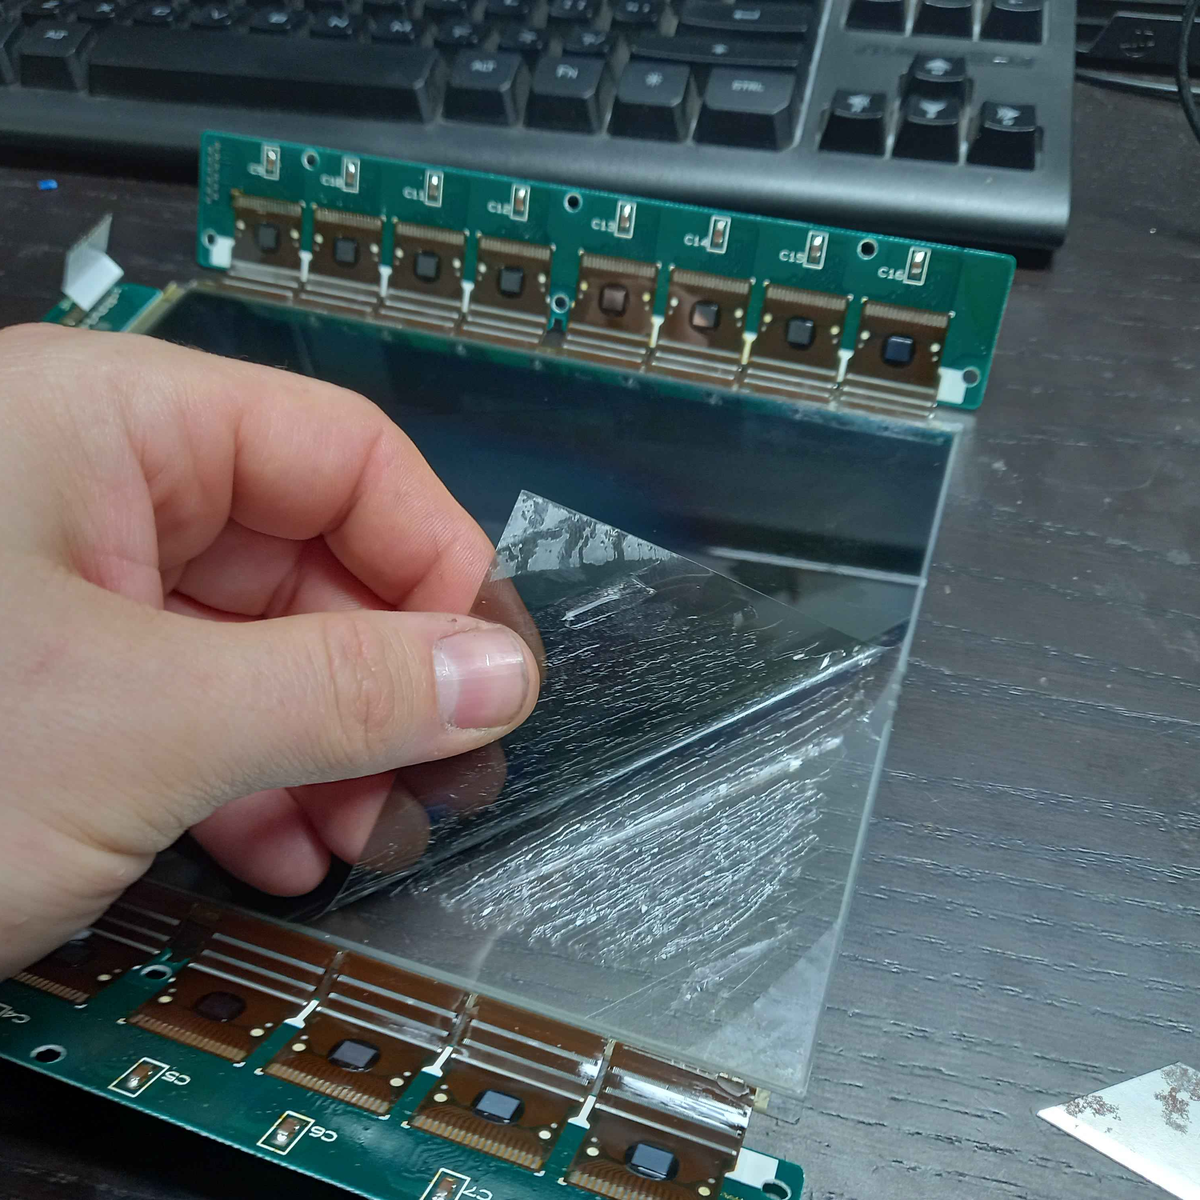
Despite its condition, there were some signs of life in the machine. The pen-based touch display seemed to respond to the pen itself, and the backlight sort of worked, too. Still, with the LCD so badly damaged, it had to be replaced. Boggling the mind, [polymatt] was actually able to find a 9.4″ dual-scan monochrome LCD that was close enough to sort-of fit, size-wise. To make it work, though, it needed a completely custom mount to fit with the original case and electromagnetic digitizes sheet. From there, there was plenty more to do—recapping, recabling, fixing the batteries, and repairing the enclosure including a fresh set of nice decals.

The fact is, 1993 IBM ThinkPad Tablets just don’t come along every day. These rare specimens are absolutely worth this sort of heroic restoration effort if you do happen to score one on the retro market. Video after the break.

Continue reading “Ruined 1993 ThinkPad Tablet Brought Back From The Brink”

Completing The UE1’s Paper Tape Reader And First Squiggles

The UE1 tape reader in its nearly finished glory. Note the resistor to regulate the motor speed. (Credit: David Lovett, Usage Electric)
The UE1 tape reader in its nearly finished glory. Note the resistor to regulate the motor speed. (Credit: David Lovett, Usagi Electric)

On today’s installment of UE1 vacuum tube computer construction, we join [David Lovett] once more on the Usagi Electric farm, as he determines just how much work remains before the project can be called done. When we last left off, the paper tape reader had been motorized, with the paper tape being pulled through smoothly in front of the photodiodes. This left [David] with the task to create a PCB to wire up these photodiodes, put an amplification circuit together (with tubes, of course) to amplify the signal from said photodiodes, and add some lighting (two 1-watt incandescents) to shine through the paper tape holes. All of this is now in place, but does it work?

The answer here is a definite kinda, as although there are definitely lovely squiggles on the oscilloscope, bit 0 turns out to be missing in action. This shouldn’t have come as a major surprise, as one of the problems that Bendix engineers dealt with back in the 1950s was effectively the same one: they, too, use the 9th hole on the 8-bit tape as a clock signal, but with this whole being much smaller than the other holes, this means not enough light passes through to activate the photodiode.

Continue reading “Completing The UE1’s Paper Tape Reader And First Squiggles”