This week we saw a couple DIY tools for small-run manufacturing at home that help make your life easier if you’re climbing out of the happy bucket and into the pit of despair — when you’re making enough of the item that it’s not fun any more, but you still don’t have the volume to leave the manufacturing to someone else.
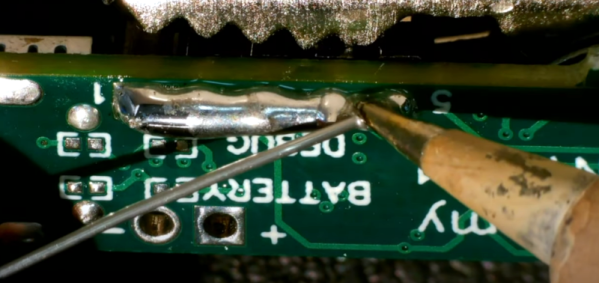
The first was an automatic through-hole soldering machine made from a 3D printer. This actually makes sense even if you’re getting boards assembled for you, because through-hole pads are a lot more expensive than SMT parts, and they usually charge per pin. Put a 2×20 pin header on your project, and it can end up costing a lot. Or you can robotificate the solution.
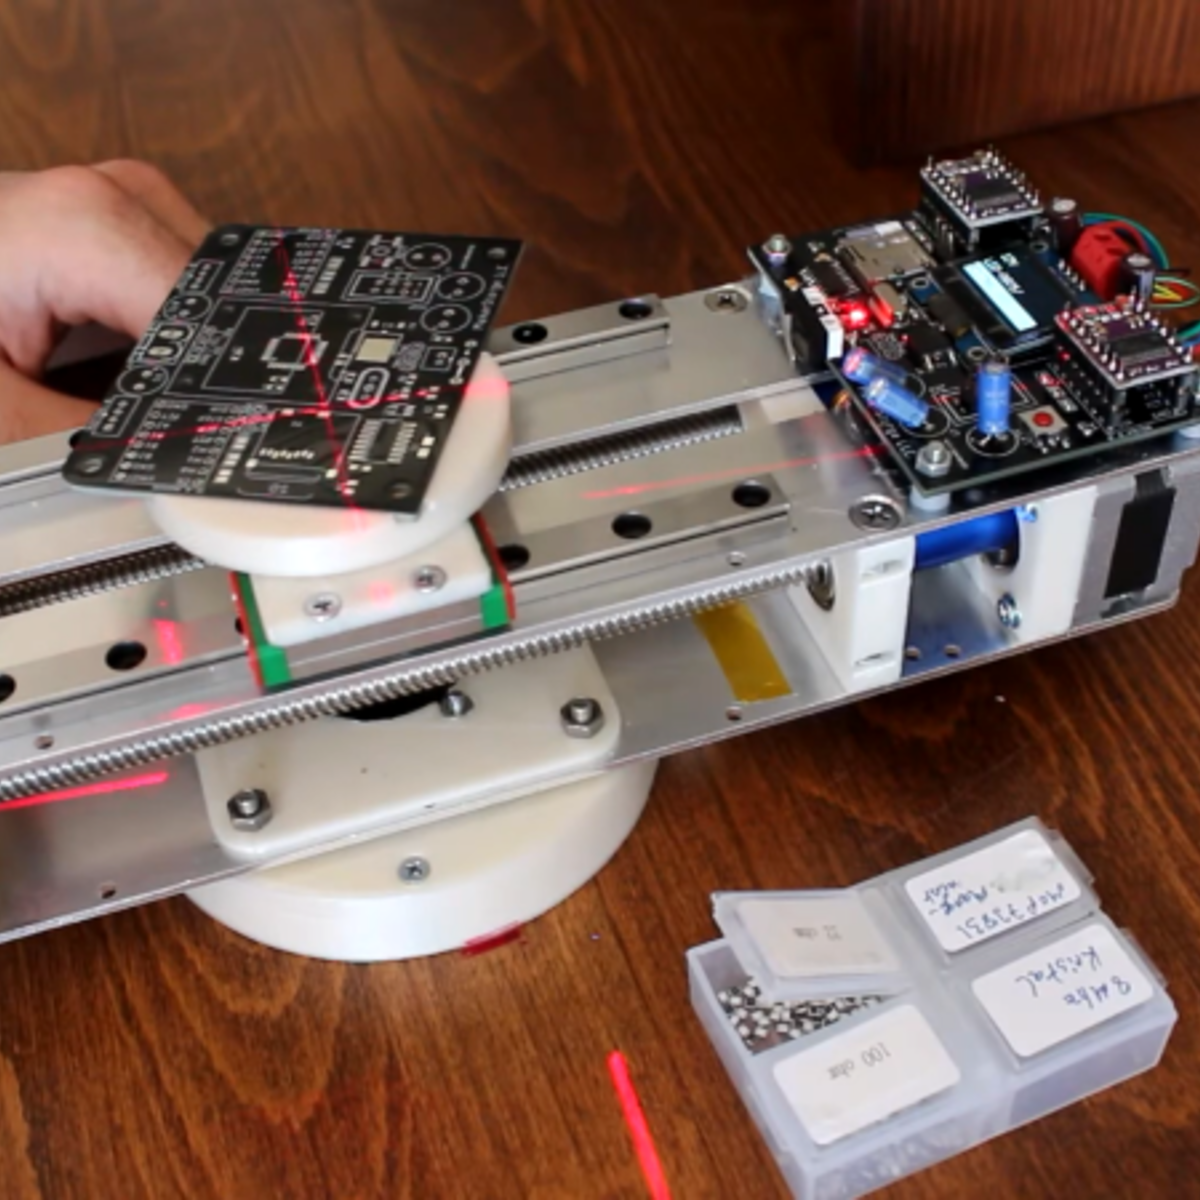
 This week’s second solution really caught my eye. PnPassist is machine that turns your PCB around, locates a laser crosshair over the next SMT piece that you need to place, and even has an OLED screen that tells you what to put there. There are many great mechanical design choices here, but what really drew my attention is how well this machine fills a gap between manual and fully automatic pick-and-place.
I know you hate looking back and forth between the board and the schematic or parts list, trying to find just where Q23 is on the darn board, or looking up resistor values. With PnPassist, you still have to do the placing, but with machine guidance. If you don’t have the money or the space for a fully automatic PnP, this is an obvious win, but also for short runs when loading up the reels takes more time than populating the board, this could be a huge win.
I love this kind of human-capability-enhancing machine, and I’m always happy to see a design like this. It reminds me of the very clever Shaper Origin, or even just this handy automatic XY table for drilling many precise holes. In all these cases, there’s some part of the problem that would be hard to solve, require extremely bulky or expensive machinery, or can just be more simply accomplished by a meatbag. But combining machine precision with the human element produces something more than the sum of the parts.
What’s your favorite human-enhancing tool?