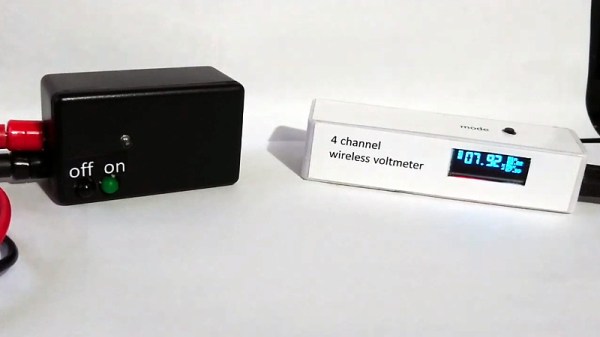
If you’re reading Hackaday, you almost certainly have a voltmeter. Matter of fact, we wouldn’t be surprised to hear you had two of them. But what if you needed to monitor four voltage levels at once? Even if you had four meters, getting them all connected and in a convenient enough place where you can see them all at once is no small feat. In that case, it sounds like the multi-channel wireless voltmeter put together by [Alun Morris] is for you.
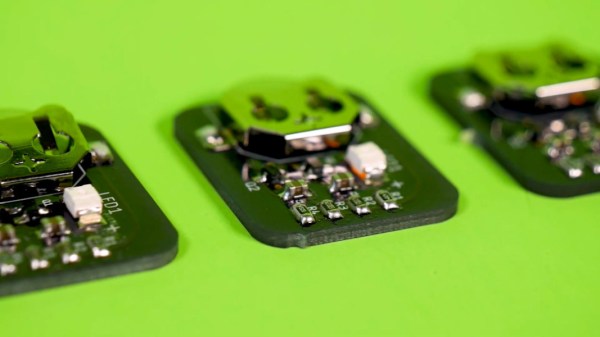
Built as an exercise in minimalism, this project uses an array of components that most of us already have kicking around the parts bin. For each transmitter you’ll need an ATtiny microcontroller, a nRF24L01+ radio, a small rechargeable battery, and a handful of passive components. On the receiver side, there’s an OLED screen, another nRF radio module, and an Arduino Nano. You could put everything together on scraps of perfboard like [Alun] has, but if you need something a bit more robust for long-term use, this would be a great excuse to create some custom PCBs.
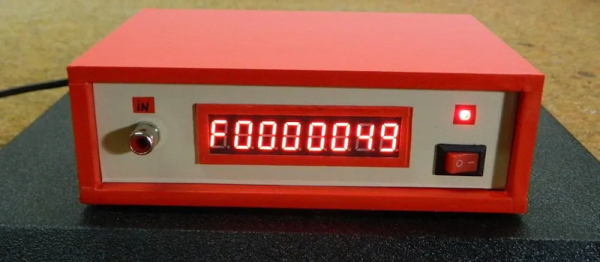
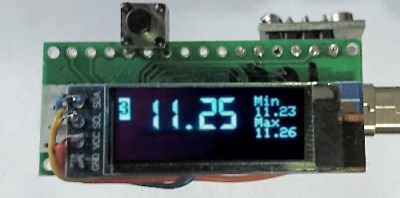 While the hardware itself is pretty simple, [Alun] clearly put a lot of work into the software side. The receiver’s 128 x 32 display is able to show the voltages from four transmitters at once, complete with individual indicators for battery and signal level. When you drill down to a single transmitter, the screen will also display the minimum and maximum values. With the added resolution of the full screen display, you even get a very slick faux LCD font to ogle.
Of course, there are some pretty hard limitations on such a simple system. Each transmitter can only handle positive DC voltages between 0 and 20, and depending on the quality of the components you use and environmental considerations like temperature, the accuracy may drift over time and require recalibration. Still, if you need a way to monitor multiple voltages and potentially even bring that data onto the Internet of Things, this is definitely a project to take a look at.
Continue reading “Wireless Quad Voltmeter Brings It All Together” →