Even if you don’t work in a nuclear power plant, you might still want to use a Geiger counter simply out of curiosity. It turns out that there are a lot of things around which emit ionizing radiation naturally, for example granite, the sun, or bananas. If you’ve ever wondered about any of these objects, or just the space you live in, it turns out that putting together a simple Geiger counter is pretty straightforward as [Alex] shows us.
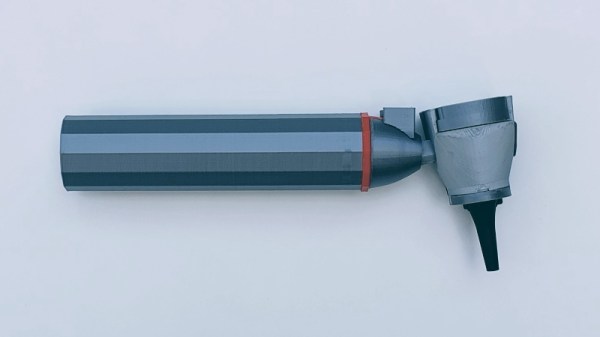
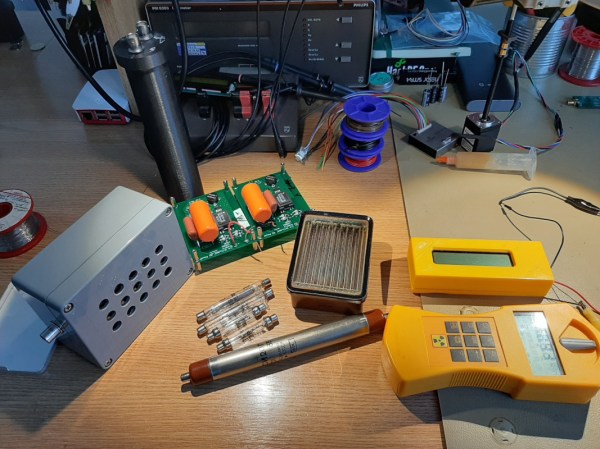
The core of the Geiger counter is the tube that detects the radiation. That’s not something you’ll be able to make on your own (probably) but once you have it the rest of the build comes together quickly. A few circuit boards to provide the tube with the high voltage it needs, a power source, and a 3D printed case make this Geiger counter look like it was ordered from a Fluke catalog.
The project isn’t quite finished ([Alex] is still waiting on a BNC connector to arrive) but seems to work great and isn’t too complicated to put together, as far as Geiger counters go. He did use a lathe for some parts which not everyone will have on hand, but a quick trip to a makerspace or machinist will get you that part too. We’ve seen some other parts bin Geiger counters too, so there’s always a way around things like this.