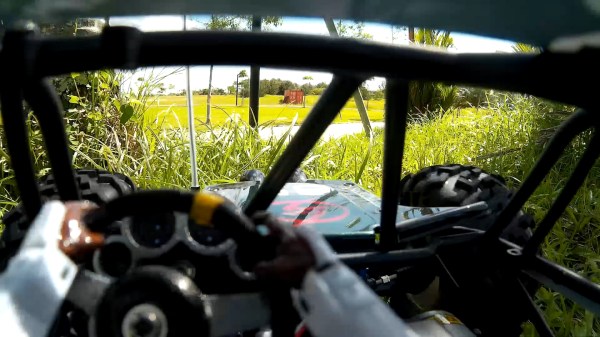
You’ve perhaps noticed that [Jeremy Cook] is rather prolific on YouTube, regularly putting out videos on his latest and greatest creations. He wanted to add a head-mounted GoPro to his video production bag of tricks, but found it was a little trickier than expected to get the camera to point where he was actually looking. The solution? A 3D printed laser “sight” for the GoPro that let’s him zero it in while creating videos.
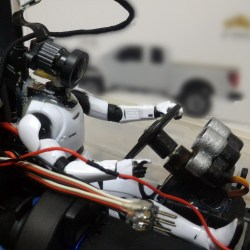
The idea here is very simple: put a small laser module on the same mount as the GoPro itself so you’ll have a handy red dot showing more or less where the camera is looking. The position of the red dot relative to the center-point of the camera’s field of view is going to vary slightly with range, but with something like a GoPro that’s shooting a very wide area to begin with, it’s not really a problem in practice.
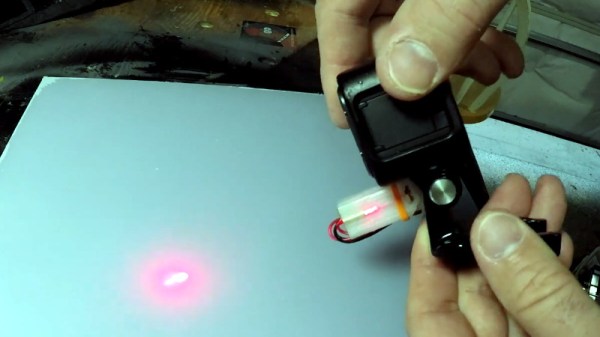
Sounds like a good idea, but won’t that leave a weird red dot in all the videos? [Jeremy] is already ahead of you there, and added a small push button switch to the front of the module so he can quickly and easily turn the laser on and off. The idea is that he turns the laser on, gets the dot roughly where he wants the camera pointed, and then turns it back off.
[Jeremy] has put the STL files for the single-piece 3D printed module up on his GitHub for anyone who might find them useful. Besides the printed part, you just need to provide a suitably sized 3.7 V LiPo battery and the laser diode itself. If you need to find a good supply of cheap lasers, you might want to check the clearance rack at the big box store.
Continue reading “A Laser Aiming Module For First Person Hacking”