Fans of science fiction and related genres have always been disappointed by real life. The future holds so much promise on paper, yet millions were disappointed upon reaching 2015 to find that hoverboard technology still eluded us. It’s not all bad, though – [abetusk] has developed a cyberpunk jacket so you can live out your grungy hacker fantasies in real life.
The effect is achieved with specially designed jacket patches. Nylon fabric is lasercut with artwork or lettering, and then placed over an electroluminescent panel. The fabric acts as a mask and is glued onto the EL panel, and the assembly is then attached to the back of the jacket with velcro.
It’s a build that focuses on more than just a cool visual effect. The attention to detail pays off in robustness and usability – wires are neatly fed through the lining of the jacket, and special strain relief devices are used to avoid wires breaking off the EL panels. The extra effort means this is a jacket that can withstand real-world use, rather than falling apart in the middle of a posed photo shoot.
Everything is well documented, from artwork creation to final assembly, so there’s no reason you can’t replicate this at home – and the final results are stunning. Our take is that electroluminescent technology is the way to go for retro and cyberpunk looks, but LEDs can be fun too – like in this high-powered Burning Man build.
Continue reading “Cyberpunk Jacket Is The Garment Of Choice For The Streets Of 2019”


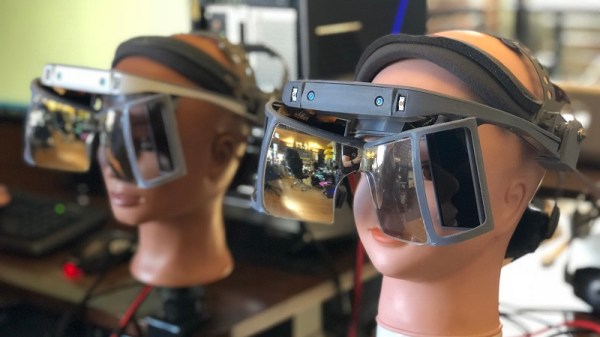
 A serious setback to the aspiring AR hacker has been the fact that while the design is open, the lenses absolutely are not off the shelf components. [Smart Prototyping] aims to change that, and recently announced in a blog post