Security researcher [Fran Brown] sent us this tip about his Tastic RFID Thief, which can stealthily snag the information off an RFID card at long range. If you’ve worked with passive RFID before, you know that most readers only work within inches of the card. In [Fran’s] DEFCON talk this summer he calls it the “ass-grabbing method” of trying to get a hidden antenna close enough to a target’s wallet.
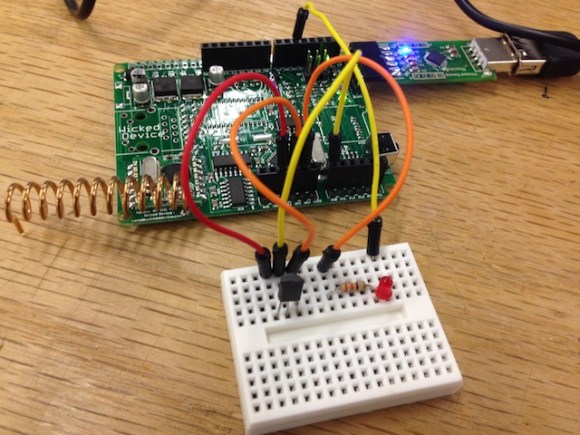
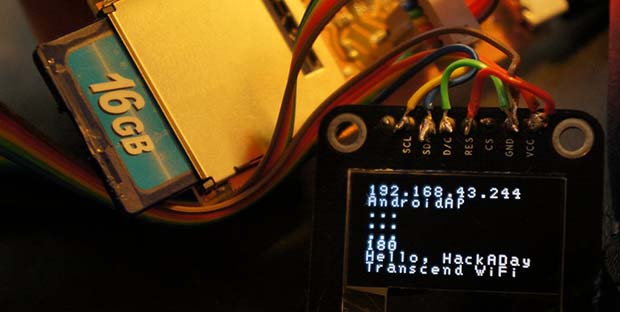
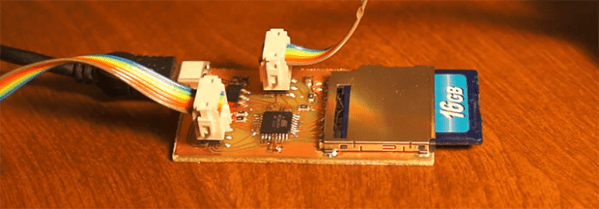
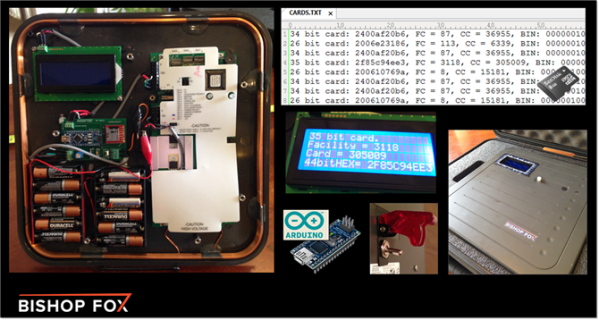
His solution takes an off-the-shelf high-powered reader, (such as the HID MaxiProx 5375), and makes it amazingly portable by embedding 12 AA batteries and a custom PCB using an Arduino Nano to interpret the reader’s output. When the reader sees a nearby card, the information is parsed through the Nano and the data is both sent to an LCD screen and stored to a .txt file on a removable microSD card for later retrieval.
There are two short videos after the break: a demonstration of the Tastic RFID Thief and a quick look at its guts. If you’re considering reproducing this tool and you’re picking your jaw off the floor over the price of the reader, you can always try building your own…
Continue reading “RFID Reader Snoops Cards From 3 Feet Away”