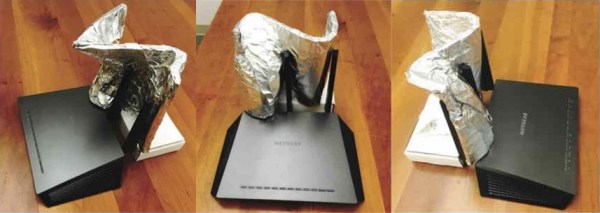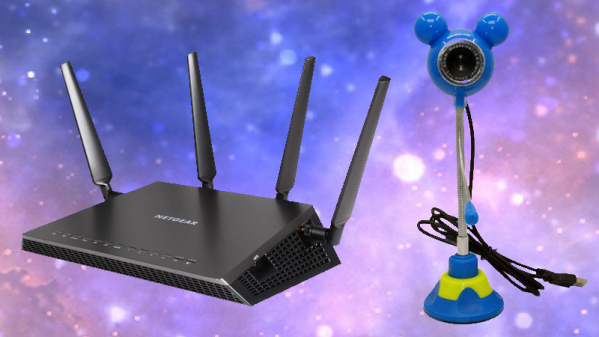
A home security camera can be great for peace of mind, and keeping an eye on the house while you’re away. The popular option these days is an IP-based device that is accessible over the Internet through an ethernet or wireless connection to your home router. But what if you could cut out the middle man, and instead turn your router itself into the security camera? [Fred] is here to show us how it’s done.
The hack begins by parsing the original router’s firmware. Through a simple text search, a debug page was identified which allowed telnet access to the router to be enabled. This gives access to a root shell, allowing full control over the Linux system running the show.
After backing everything up, [Fred] grabbed the source code from Netgear and recompiled the kernal with USB video and Video4Linux2 support. This allows the router to talk to a standard USB webcam. It’s then a simple matter of using opkg to install software to set up the router to record video when motion is detected.
Overall, it’s fairly straightforward, but [Fred] came up with an ingenious twist. Because the router itself is acting as the security camera, he is able to set up the camera to only arm itself when his smartphone (and thus, [Fred] himself) is not at home. This prevents the recording of footage of [Fred] moving around the house, allowing the router to only record important footage for security purposes.
It’s possible to do great things with routers – most of them are just tiny boxes running Linux anyway. Check out this one used as an online energy meter.
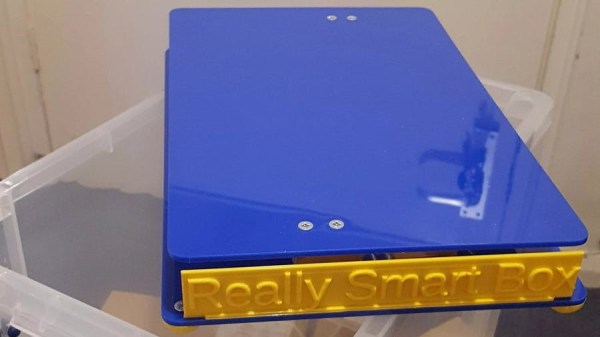
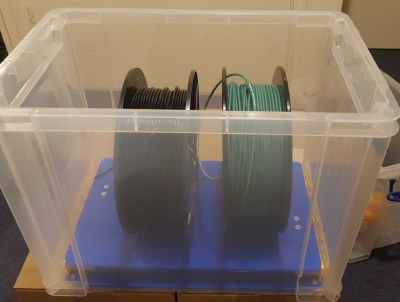 It does this by measuring the weight of the stuff piled on top of it, while also monitoring temperature and humidity. The platform communicates this information wirelessly to a back end, allowing decisions to be made about stock levels, usage, and monitoring of storage conditions. It’s clearly best applied to consumables or other stock that comes and goes. The Really Smart Box platform is battery-powered, but spends most of its time asleep to maximize battery life. The prototype uses the SigFox IoT framework for the wireless data, which we have seen before in a