Filament Dust Filter Helps Keep Your Print Quality High

If we’re honest, our workshop isn’t as clean as it probably should be, and likely many makers out there will say the same. This can have knock-on effects, such as iron filings clogging motors, or in this case, dust affecting the quality of 3D prints. Aiming to tackle this, [3Demon] built a fun Spongebob-themed dust filter for their 3D printer.

The filter works in a simple way. The Spongebob shell is 3D printed in two halves, with a hinge joining both parts. Inside each half, a section of sponge is stuck inside. The two halves are then closed with a snap fit, with the filament passing through a hole in Spongebob’s head and out through the (square) pants. With the sponge packed in nice and tight, dust is wiped from the filament as it feeds through bob to the printer.

While it’s important to install carefully to avoid filament feed issues, it’s an easy way to automatically clean filament during the printing process. You may be surprised just how dirty your filament gets after sitting on the shelf for a few months. Getting rid of such contamination decreases the likelihood of annoying problems like delaminations and jams. Avid printers may also want to consider making their own filament, too. Happy printing!

Testing Carbon Fibre Reinforced Filament By Building An Over-Engineered Skateboard

Advances in filaments for FDM 3D printers have come in leaps and bounds over the past few years, and carbon fibre (CF) reinforced filament is becoming a common sight. Robotics extraordinaire [James Bruton] got his hands on some CF reinforced PLA, and ended up building a completely over-engineered 3D printed skateboard. (Video, embedded below.)

[James] started by printing some test pieces with a 0.5 mm and a big 1.2 mm nozzle with and without the CF, which he subjected to cantilever deflection tests. The piece with CF was 20% stiffer than without.

[James] then built an extremely strong and cool looking skateboard deck with alternating section of the CF PLA and toughened PLA, totalling 2.7 kg of filament. It was extremely strong, so after bolting on a set of trucks and wheels, he did some mild riding at a local skate park, where it survived without any problems. He admits it was completely over-engineered, but points out in that the internal cavities in the deck is the perfect place for batteries on an electric long board.

Designing something from the ground up with the strength and weaknesses 3D printing in mind, leads to some very interesting and innovative designs, of which this is a perfect example, and we hope to see many more like it. We’ve featured a number of [James]’ project, including the remote controlled bowling ball he built for [Mark Rober] and his impressive OpenDog and Start Wars robots.

Continue reading “Testing Carbon Fibre Reinforced Filament By Building An Over-Engineered Skateboard”

Slow Cooking Filament

Getting good results from a 3D printer is like Goldilocks’ porridge. There are a lot of things that have to be just right. One common thing that gives people poor results is damp filament. This is especially insidious because the printer will work fine and then after some period time results degrade but it is no fault of the printer mechanics or electronics. There are many ways to attempt to dry filament, but [HydeTheJekyll] prefers using a slow cooker modified to operate with low air pressure.

We assume this works because the low pressure reduces the boiling point of water, allowing the water to boil off at temperatures that won’t distort the filament. The modifications aren’t very severe. You’ll need some hose and a pump along with some silicone caulk and petroleum jelly.

Continue reading “Slow Cooking Filament”

Courtesy of [david.reid]

Bent PETG Fills A Nixie Gap

Have you ever thought that Nixie tubes are cool but too hard to control with modern electronics? And that they’re just too expensive? [david.reid] apparently thought so and decided to create his own version of a Nixie tube, and it doesn’t get much cheaper than this.

PETG Nixie Tube

While working on a 3D printed locomotive with his son, [david.reid] used clear PETG (Polyethylene Terephthalate Glycol) 3D printer filament to move light from LEDs to various parts of the locomotive. He found this was a success, but roughed up the outside of the filament to see what would happen. Lo and behold, a warm glow appeared on the surface of the tube! Like any good hacker, his next thought was of Nixie tubes, as you have seen in many clocks.

His basic idea is that with a little heat you can bend the filament into any shape that you like ([david.reid] uses custom molds). You then use some sandpaper to roughen up the outside wherever you’d like light to show, and add an LED at the bottom to light it up!

[david.reid] isn’t the first person to modernize Nixie Tubes. Over the years, we’ve seen them combined with Wi-Fi boards, individual LED segments, or even laser cutters & WS2812s!

Now’s a great time to get started on a project for the Hackaday Prize! If you’re looking for somewhere to start, we’d love to at least see your own take on a clock!

Creating Modular Storage Out Of Used Filament Spools

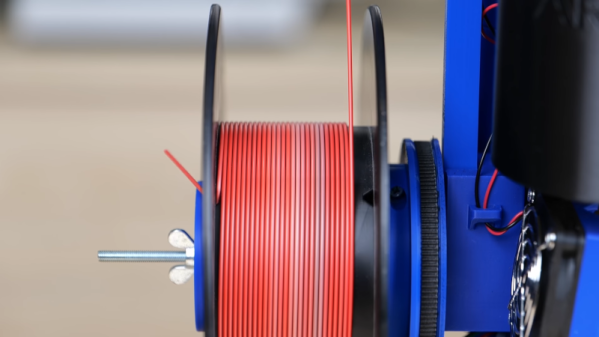
[Alec Richter] had a good idea on how he could convert the leftover filament spindles from his 3D printer into multi-compartment storage. An empty spindle is fitted with several trays that rotate out from the circle for easy access. With multiple spools rotating on a central axle, you can really see how a bunch of parts could be organized in a column, though not being able to see through the sides probably limits its use somewhat — most of the modular component storage we’ve seen has clear trays.

He has designed drawer bases with removable compartment trays, along with alignment jigs to help you get the drawer installed perfectly the first time. You can download the designs (14 files!) but you need to sign up for an account first. Also, [Alex]s designs fit very specific spindles so be sure of your measurements, etc.

Hackaday is awash in posts about modular storage, like this computer tower turned storage shelf and this technique for using peanut butter jars for storage.

[mucho apreciado for the tip, George!]

3D Prints That Fold Themselves

3D printing technologies have come a long way, not only in terms of machine construction and affordability but also in the availability of the diverse range of different printing materials at our disposal. The common consumer might already be familiar with the usual PLA, ABS but there are other more exotic offerings such as PVA based dissolvable filaments and even carbon fiber and wood infused materials. Researchers at MIT allude to yet another possibility in a paper titled “3D-Printed Self-Folding Electronics” also dubbed the “Peel and Go” material.

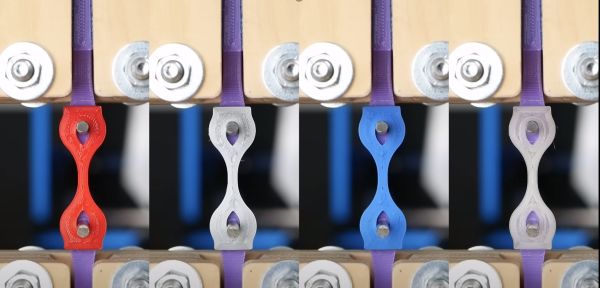
The crux of the publication is the ability to print structures that are ultimately intended to be intricately folded, in a more convenient planar arrangement. As the material is taken off the build platform it immediately starts to morph into the intended shape. The key to this behavior is the use of a special polymer as a filler for joint-like structures, made out of more traditional but flexible filament. This special polymer, rather atypically, expands after printing serving almost like a muscle to contort the printed joint.

Existing filaments that can achieve similar results, albeit after some manual post-processing such as immersion in water or exposure to heat are not ideal for electronic circuits. The researchers focus on this new materials potential use in manufacturing electronic circuits and sensors for the ever miniaturizing consumer electronics.

If you want to experiment printing extremely intricate structures, check out how [_primoz_] brilliant technique revolutionized how the 3D printing community prints thin fibers, bristles, and lion sculptures.

Continue reading “3D Prints That Fold Themselves”

This Old Mouse Keeps Track Of Filament Usage

Keeping track of your 3D-printer filament use can be both eye-opening and depressing. Knowing exactly how much material goes into a project can help you make build-versus-buy decisions, but it can also prove gut-wrenching when you see how much you just spent on that failed print. Stock filament counters aren’t always very accurate, but you can roll your own filament counter from an old mouse.

[Bin Sun]’s build is based around an old ball-type PS/2 mouse, the kind with the nice optical encoders. Mice of this vintage are getting harder to come by these days, but chances are you’ve got one lying around in a junk bin or can scrounge one up from a thrift store. Stripped down to its guts and held in place by a 3D-printed bracket, the roller that used to sense ball rotation bears on the filament on its way to the extruder. An Arduino keeps track of the pulses and totalizes the amount of filament used; the counter handily subtracts from the totals when the filament is retracted.

Simple, useful, and cheap — the very definition of a hack. And even if you don’t have a 3D-printer to keep track of, harvesting encoders from old mice is a nice trick to file away for a rainy day. Or you might prefer to just build your own encoders for your next project.

Continue reading “This Old Mouse Keeps Track Of Filament Usage”