Multi Material 3D Printing Makes Soft Robot

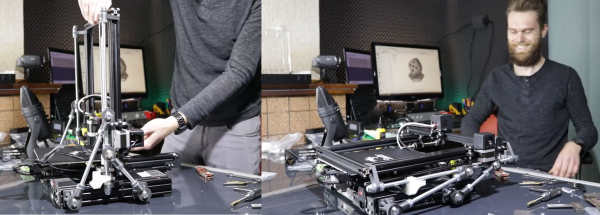
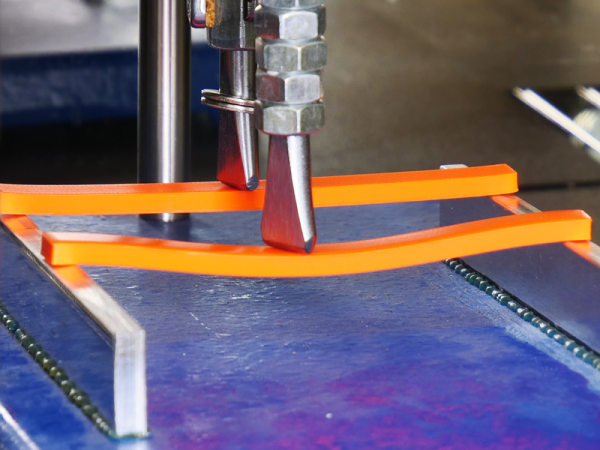
When you zoom in on a fractal you find it is made of more fractals. Perhaps that helped inspire the Harvard 3D printers that have various arrays of mixing nozzles. In the video below you can see some of the interesting things you can do with an array of mixing nozzles. The coolest, we think, is a little multi-legged robot that uses vacuum to ambulate across the bench. The paper, however, is behind a paywall.

There are really two ideas here. Mixing nozzles are nothing new. Usually, you use them to mimic a printer with two hot ends. That is, you print one material at a time and purge the old filament out when switching to the new filament. This is often simpler than using two heads because with a two head arrangement, both the heads have to be at the same height, you must know the precise offset between the heads, and you generally lose some print space since the right head can’t cross the left head and vice versa. Add more heads, and you multiply those problems. We’ve also seen mixing nozzles provide different colors.

Continue reading “Multi Material 3D Printing Makes Soft Robot”

Wipe Your Nozzle To Avoid Stringing

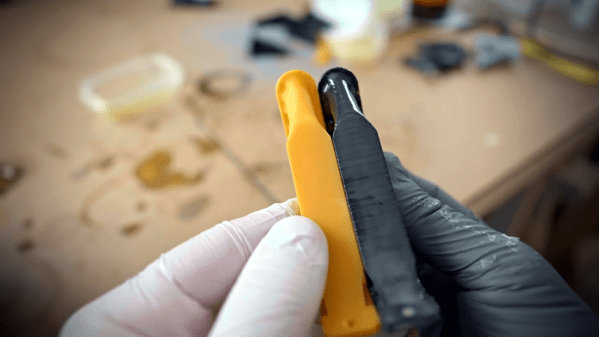
[Design Prototype Test] likes his Ender 3 printer. There was only one problem. When printing PETG — which is notorious for stringing — the hot end would pick up material and eventually ruin the print. The answer was to mount a cheap Harbor Freight brush somewhere and make the head pass over it after each layer. You can see the video of the design, below.

It sounds as though it worked well and after explaining the concept, he dives into the details of how he designed the fixture and how he mounted it. There’s a lot of good information in there about his particular toolchain and workflow.

Continue reading “Wipe Your Nozzle To Avoid Stringing”

How To 3D Print Your Identical Twin

It’s possible to have an enjoyable weekend touring a city with a stolen cardboard cutout from some advertising display or other. However, it’s 2019, and 3D printing means you can go so much further. [Simon] of RCLifeOn went so far as to print a lifesized body double of himself, and it’s only slightly creepy! (Video, embedded below.)

The model was sourced from a 3D scan [Simon] had done with commercial hardware. An Optimus P1 industrial-grade 3D printer was used to print the parts, with total printing time being around 200 hours. Adhesive was used to join the various segments together, and the assembly was then sanded and primed, ready for paint.

Unwilling to tackle the task alone, [Simon] enlisted a professional painter to help put the finishing touches on the piece. The end result is impressive, particularly from a distance. [Simon 2.0] was then sent out to the city centre, aiming to raise money from bewildered passers by.

We suspect the market for custom body doubles will only increase as the technology to create them becomes more widespread. If you’ve tackled a similar project, be sure to let us know. Video after the break.

Continue reading “How To 3D Print Your Identical Twin”

East Coast RepRap Festival Comes Alive In Second Year

By pretty much any metric you care to use, the inaugural East Coast RepRap Festival (ERRF) in 2018 was an incredible success. There was plenty to see, the venue was accommodating, and the ticket prices were exceptionally reasonable. But being a first-time event, there was an understandable amount of trepidation from both exhibitors and the attendees. Convincing people to travel hundreds of miles to an event with no track record can be a difficult thing, and if there was a phrase that would best describe the feel of that first ERRF, it would probably have been “cautious optimism”.

But this year, now that they had some idea of what to expect, the 3D printing community descended on Bel Air, Maryland with a vengeance. In 2019, everything at ERRF was bigger and better. There were more people, more printers, and of course, more incredible prints. Activities like the 3D Printed Derby returned, and were joined by new attractions including full-body 3D scanning and a shooting gallery where attendees could try out the latest in printable NERF weaponry.

The official tally shows that attendance nearly doubled over last year, and with growth like that, we wouldn’t be surprised if the ERRF organizers consider relocating to a larger venue for 2020 or 2021. As far as problems go, growth so explosive that it requires you to rethink where you hold the event isn’t a bad one to have. The Midwest RepRap Festival, which served as the inspiration for ERRF, found they too needed to move into more spacious digs after a few years. Something to keep in mind the next time somebody tells you the bubble has burst on desktop 3D printing.

Trying to distill an event as large and vibrant as ERRF 2019 into a few articles is always difficult. Even after spending hours walking around the show floor, you would still stumble upon something you hadn’t seen previously. As such, this article is merely a taste of what was on hand. The East Coast RepRap Festival 2020 should absolutely be marked on your calendar for next year, but until then let’s take a look at just some of what made this year’s event such a smash.

Continue reading “East Coast RepRap Festival Comes Alive In Second Year”

Fail Of The Week: The 3D Printer Nozzle Wipe That Won’t

Some of you will be familiar with the idea of using a brush as a nozzle wipe on a 3D printer. The idea is that passing the hot end over the brush cleans any stray plastic from the nozzle, ensuring that those plastic bits don’t end up in unwelcome places. [Mark Rehorst] attempted to implement a nozzle brush system in his own printer, but hasn’t so far been successful.

One of the things [Mark] makes is 3D printed lamp shades and this led to his experiments in setting up an automatic nozzle cleaner. Despite best efforts, the hot ends of 3D printers can occasionally accumulate bits of molten plastic which can sometimes end up deposited on the print. Because the lamp shades are so thin and so big, having a charred blob end up on the print is pretty unwelcome. Having the nozzle automatically wiped clean would be a very handy feature, but is proving to be a troublesome one.

[Mark] based his design on a small, dense wire brush used for cleaning the print nozzle of a Stratasys printer. Sadly, he found no combination of motion or brush height that got the nozzle reliably clean every time. Sometimes a blob would be dislodged, but the hot end would pick it back up again on subsequent passes. You can see it in slow motion from a variety of angles in the video below.

Continue reading “Fail Of The Week: The 3D Printer Nozzle Wipe That Won’t”

SiCK Mechanical Keyboard Is 3D Printed

We’ve noticed a rash of builds of [ FedorSosnin’s] do-it-yourself 3D-printed mechanical keyboard, SiCK-68 lately. The cost is pretty low — SiCK stands for Super, Inexpensive, Cheap, Keyboard. According to the bill of materials, the original cost about $50. Of course, that doesn’t include the cost of the 3D printer and soldering gear, but who doesn’t have all that already?

The brains behind this is a Teensy that scans the hand-wired key matrix. So the only electronics here are the switches, each with a companion diode, and the Teensy. The EasyAVR software does all the logical work both as firmware and a configuration GUI.

If you look at the many different builds, each has its own character. Yet they look overwhelmingly professional — like something you might buy at a store. This is the kind of project that would have been extremely difficult to pull off a decade ago. You could build the keyboard, of course, but making it look like a finished product was beyond most of us unless we were willing to make enough copies to justify having special tooling made to mold the cases.

PCBs are cheap now and we might be tempted to use one here. There are quite a few methods for using a 3D printer to create a board, so that would be another option. The hand wiring seems like it would be a drag, although manageable. If you need wiring inspiration, we can help.

For ultimate geek cred, combine this with Ploopy.

Needling Your Projects: 3D Printed PCB Probing Jig Uses Accupuncture Needles

Trying to probe a modern electronic circuit with tiny SMD components, without letting the magic smoke escape in the process, can be quite a challenge. Especially since we hackers have not yet developed the number of appendages required to hold 3 different probes in place while operating both an oscilloscope and a computer. [Giuseppe Finizia] solved this problem with a 3D printed PCB probing jig that uses acupuncture needles.

As part of [Giuseppe] day job as an engineer at an electronic forensics laboratory, he does technical investigations on seized devices, which involves quite a bit of probing. The jig consists of a base plate with slots in which PCB holders of various configurations slide to hold all shapes and sizes of PCBs. Around the circumference of the plate there are multiple positions for adjustable probing “cranes”, each of which hold an acupuncture needle that is crimped or soldered to a wire. Each needle holder has a bit of flex which allows it to maintain downward pressure for a positive connection.

Making one-off tools and jigs is arguably one of the best applications for 3D printing, of which this is a perfect example. You can of course point solder wires or use test hooks if you have something to grab onto, but for easily probing multiple point on any PCB, this looks like a damn good solution. If you’re trying to trace a single signal, a precision pantograph might be your friend, or you can add a foot switch to your oscilloscope for quickly checking a circuit by hand.

[Jonathon Oxer] from the YouTube channel SuperHouse did a very nice video on the jig and made some small modifications. Check out the video after the break.