For some gamers, having a light fast polling mouse is key. [Ali] of [Optimum Tech] loved his 23-gram mouse but disliked the cord. Not seeing any options for a comparable wireless mouse, he decided to make one himself.
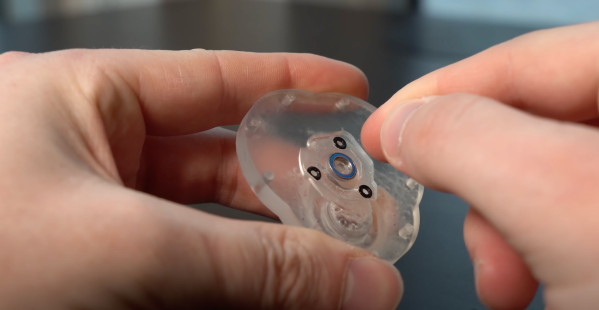
Trying to shortcut the process, he started with an existing wireless mouse from Razer weighing in at a hefty 58 grams. The PCB on its own weighed in at 11 grams and after swapping to a smaller battery, [Ali] had a budget of 10 to 15 grams for the shell. Here is where the meat of this project lives. The everyday objects in your life like the poles that hold up traffic signals or the device you’re reading this article on are looked at and used without much thought into why they are what they are. The design of everyday things is a surprisingly deep field and designing a curvy mouse is no exception. With a 3d version of the PCB, he went through several iterations of how to lay out the mouse triggers. The scroll wheel was removed as he didn’t need it for the game he was playing.
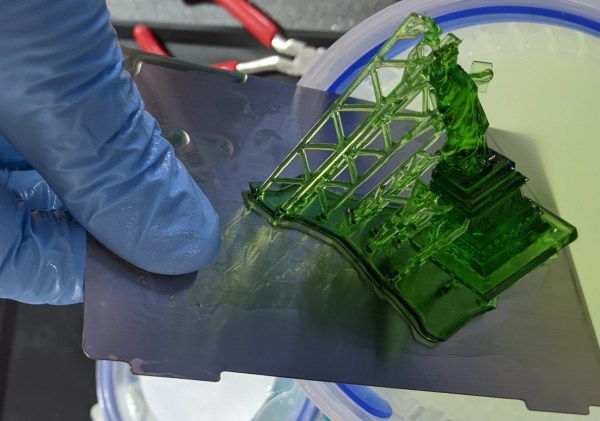
The shell was printed in resin and came out great. [Ali] found himself with an ultralight 4000hz wireless mouse that was thoroughly enjoyable. It’s a great example of someone diving in and designing something for their personal use. Whether it’s a mouse or a chair, we love anyone taking on a design challenge. Video after the break.