Phones are pretty great. Used as telephones, they can save us from bad situations and let us communicate while roaming freely, for the most part. Used as computers, they often become time-sucking black holes that can twist our sense of self and reality. Assuming they pick up when you call, phones are arguably a good thing for kids to have, especially since you can hardly find a payphone these days. But how do you teach kids to use them responsibly, so they can still become functioning adults and move out someday? [Jaychouu] believes the answer is inside of a specialized lockbox.
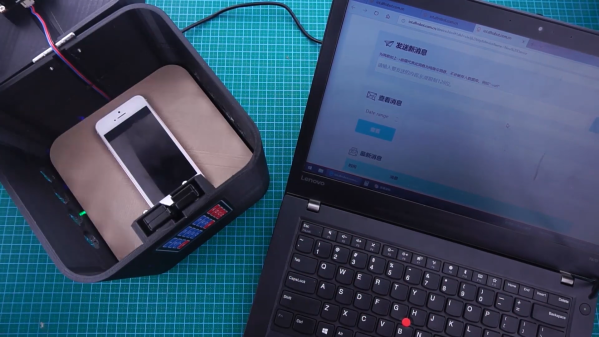
This slick-looking box has a solenoid lock inside that can be unlocked via a keypad, or remotely via the OBLOQ IoT module. [Jaychouu] added a few features that drive it out of Arduino lockbox territory. To prevent latchkey children from cheating the system and putting rocks (or nothing at all) in the box, there’s a digital weight sensor and an ultrasonic sensor that validate the credentials of the contents and compare them with known values.
Want a basic lockbox to keep your phone out of reach while you work? Here’s one with a countdown timer.
Continue reading “IoT Safe Keeps Latchkey Kids’ Phones On Lockdown”