We’re big fans of the impractical around here at Hackaday. Sure there’s a certain appeal to coming up with the most efficient method to accomplish your goal, the method that does exactly what it needs to do without any superfluous elements. But it’s just not as much fun. If at least one person doesn’t ask “But why?”, then you probably left something on the table, design wise.
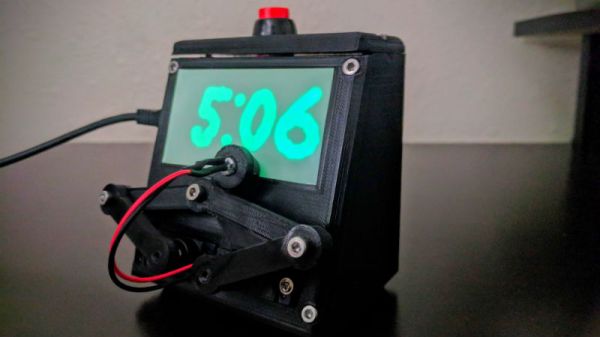
 So when we saw this delightfully complex clock designed by [Tucker Shannon], we instantly fell in love. Powered by an Arduino, the clock uses an articulated arm with a UV LED to write out the current time on a piece of glow-in-the-dark material. The time doesn’t stay up for long depending on the lighting in the room, but at least it only takes a second or two to write out once you press the button.
Things are pretty straightforward inside the 3D printed case. There’s an Arduino coupled with an RTC module to keep the time, which is connected to the two standard hobby servos mounted in the front panel. A UV LED and simple push button round out the rest of the Bill of Materials. The source code is provided, so you won’t have to figure out the kinematics involved in getting the two servos to play nicely together if you want to try this one at home.
We’ve seen many clocks powered by Arduinos over the years, occasionally they even have hands. But few can boast their own robotic arm.