Salvaged LCD Screen Hacking

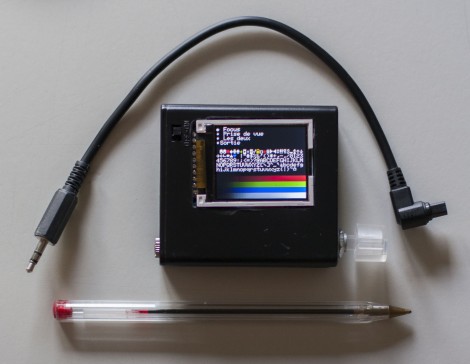
You can find all kinds of LCD screens in broken electronics. But it’s often a chore to figure out how they are controlled if you don’t have a working device that can be used to sniff the communications protocol. [Justin] grabbed this character LCD screen from an old Brother printer and decided to see if he could reuse it in his own projects. Luckily the driver card still worked so he patched into the LCD’s control lines and sniffed the signals when the printer is powered on.

He used the OpenBench Logic Sniffer for this project. It easily captured the data, and also provided analysis tools. The SPI analyzer managed to decode the command signals and message of “Please wait” that pops up at power up. After a bit of folly with the pin out of the display, he is now able to control it thanks to an Arduino library which he wrote. Check out the demo after the break to seem him scrolling through a bunch of different functions for the device.

Continue reading “Salvaged LCD Screen Hacking”

Building Sensors For The Scratch Programming Language

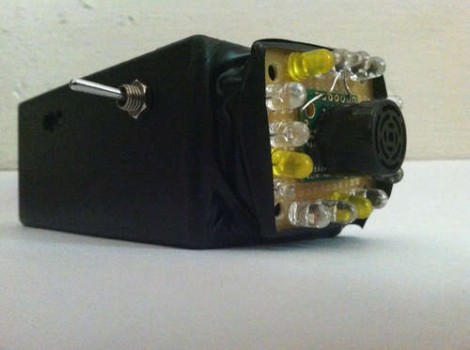
[Kevin Osborn] is making it a bit easier for young programmers to write programs that interact with the physical world. The device he’s holding in the picture is an Arduino based accelerometer and distance sensor meant for the Scratch language.

Scratch is a programming language developed at MIT. It has kids in mind, and focuses on graphical building blocks. This can make it quite a bit easier to introduce youngsters to programming concepts without the roadblocks and gotchas that come with learning syntax.

As you can see in the clip after the break, [Kevin’s] Arduino sketch includes hooks that automatically pull the accelerometer and distance data into the Scratch environment. We figure his example provides everything you need to get just about any type of sensor up and running, be it a magnetometer or LDR (both of which would make a nice burglar-alarm type project). Give it a try with your own hardware and see what you can accomplish.

Continue reading “Building Sensors For The Scratch Programming Language”

Time And Date Clock Does It With RGB LED Strips

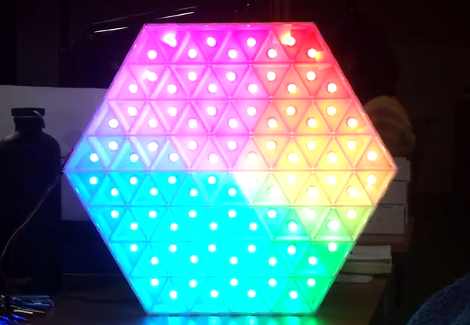
[Craig’s] color clock really came together quite nicely. The majority of the body is acrylic, with two large clear squares and a pair of colored discs. All are held in place by a ring of hardware with spacers in them, and the RGB LED strip that is used to display time and date wraps around those spacers. This hides the components in the center, with a USB cord connecting to the Arduino compatible board to power the device.

Hours are displayed in red, with minutes shown in green, and blue used as a background color. In the center you can see one of two red LEDs which alternate like a pendulum to mark the passing seconds. There are timed events every ten , fifteen, and thirty minute. At the fifteen minute mark the clock switches to display the date. The other two events are animations to keep things interesting. All of the settings for the clock are accessed using just two momentary push buttons mounted on the back of the clock.

Continue reading “Time And Date Clock Does It With RGB LED Strips”

Motion Sensitive RGB Lamp Can Standby For 3 Years

Ooooh, nice enclosure! This is a little motion sensing lamp which [Krazatchu] built a few years back as a Mother’s Day gift. The PIR sensor is easy enough to see as the white dome on the front of the case. But look closely below that and you’ll see the LDR which it uses to keep the thing asleep during the day. This is intended to save on batteries but the original version still ate through them like crazy. This year he gutted it and worked out a much more power-friendly design.

He moved to a TLC1079 OpAmp which greatly reduced power consumption when reading from the PIR sensor. The microcontroller was also upgraded from an ATtiny13 to an ATmega328, making the new version Arduino compatible. It puts itself to sleep and keeps the lights out during the day, drawing just 0.08 mA. When driving the RGB LED the lamp pulls about 50 mA. That should still last a while on three AA batteries but we’d still recommend using rechargeables.

Continue reading “Motion Sensitive RGB Lamp Can Standby For 3 Years”

Prototyping A Solar Charger For Your Truck

[Bryan] got his hands on a solar panel and decided to take it on the road rather than throwing it on the roof of the house. On sunny days it will top off the car battery, letting him use his stereo in the middle of nowhere without needing to keep the engine running. Instead of buying a ready-made solution he chose to design and build his own charging circuitry.

The charger uses an Arduino, which draws its own power from the panel via a regulator. It senses the voltage level of the battery and the available juice from the panel, connecting or disconnecting it from the electrical system as necessary. The system includes a set of LED indicators, which he installed in the dashboard near the cigarette lighter. This also gave him an excuse to install a voltmeter which uses a 2.5 digit seven segment display to read out the battery voltage. You can see a brief overview after the break.

Continue reading “Prototyping A Solar Charger For Your Truck”

Your Mug On An Etch A Sketch — Automatically

[Jim’s] pretty serious about his Etch a Sketch. He’s gone to the trouble of building a rig that will automatically render a photograph as Etch a Sketch art. Do you recognize the US political figure being plotted in this image? He actually cracks these open and removes all of the internals to preserve the artwork when the reassembled body is ready to be hung on a wall. But we like it for the hacker-friendly interface techniques he used.

He moves the knobs using a pair of stepper motors. They attach thanks to a pair of 3D printed gears he modeled which go over the stock knobs and secure with four set screws. He says he can be up and printing in five minutes using these along with the MDF jig that holds the body and the motors.

He converts photos to 1-bit images, then runs them through ImageMagick to convert them into a text file. A Python script parses that text, sending appropriate commands to an Arduino which drives the motors. The image is drawn much like a scanning CRT monitor. The stylus tracks one horizontal line at a time, drawing a squiggle if the pixel should be black, or skipping it if it should be white.

We wish there was a video of the printing process. Since we didn’t find one, there’s a bonus project unrelated to this one after the break. It’s an Etch a Sketch clock.

Continue reading “Your Mug On An Etch A Sketch — Automatically”

Arduino Compatible Home Automation For Smart Phone Or Voice Control

[Joseph] wrote in to share this home automation system he’s working on as a college project. He calls it the Room Engine and the house-side of the hardware is built on top of the circuit you see here. This is the most basic part of the REBoard, which is meant to connect to a computer uses RS232 or USB, and in turn use a set of relays to switch mains voltage devices.

You can follow the bread crumb on his webpage to get a broader video of the system. The interface is designed to use two parts. One is a voice recognition system that is supported by the computer. The other is an iOS interface that includes login credentials and a button-based control system. The video after the break shows off the smart phone portion of the controller. We think he’s done a good job of integrating a few appliances without the need for commercial products such as X10 modules.

If you’re just interested in switching a few things without cord’s reach of each other this can get it done, and offers scheduling functionality. It would also be pretty easy to set this up with a WiFi module and do away with the PC.

Continue reading “Arduino Compatible Home Automation For Smart Phone Or Voice Control”