There is no shortage of companies on the Internet willing to sell you expensive glowing things to stick on your walls. Many hackers prefer to make their own however, and [Chris] is no exception. His LED wall art is neat, tidy, and stylish, all at once.
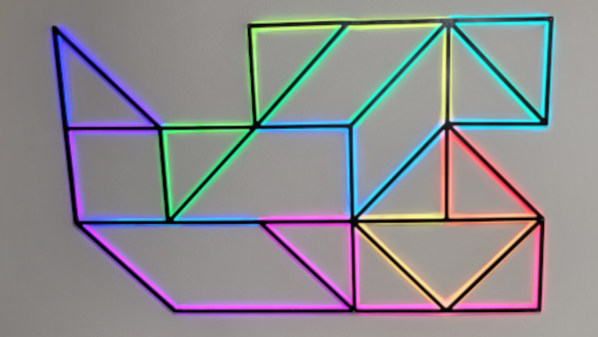
Wanting a geometric design, [Chris] decided to have his layout designed by a random number generator. He created his own tool that would generate a design using preset segment lengths arranged in a random fashion. Once he found a layout that worked for him, he designed a set of plastic adapters that would let him connect pre-cut lengths of aluminium channel together so he could assemble his design.
 With the frame complete, he then laid the LED strips into the channels, after mapping out how he would connect the full circuit of addressable LED strips. He enlisted a Raspberry Pi Zero W as the brains of the operation, responsible for commanding the strips to light in the colors of his desire.
In a nice aesthetic touch, he sanded the whole frame and painted it a uniform grey color. This hid the joins between the 3D-printed parts and the aluminium channels, and gave it a more finished look. He also went to the trouble of graphing out the locations of the various LEDs in the frame, and used this data as the basis for animations that race between points on the frame. It’s somehow more compelling than the usual simple color fades and flashes of typical commercial products.
It’s a tidy build, and a level more artful than some of the off-the-shelf products out there. For his investment of time and money, [Chris] has netted an excellent piece of wall art in the process.