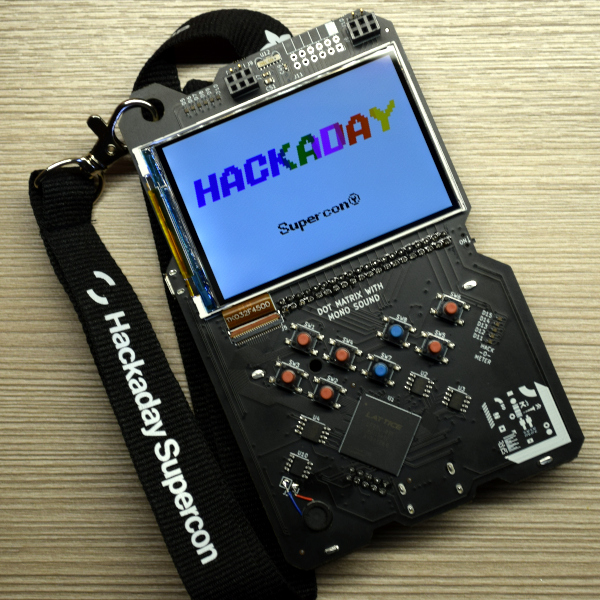
If you count yourself among the several hundred of our closest friends that have joined us at Supplyframe HQ for the 2019 Hackaday Superconference, then by now you’ll have your hands on one of this year’s incredible FPGA badges. It should come as no surprise that an incredible amount of time and effort went into developing and manufacturing this exceptionally unique piece of hardware; the slick gadget in your hands today took nearly an entire year to develop, and work continued on it until very literally the last possible moment.
 Badge designer Jeroen Domburg (aka Sprite_TM), Hackaday staff, and a team of dedicated volunteers were still putting the final touches on these ambitious devices less than 24 hours before they were distributed to the first wave of Superconference attendees. Naturally, that’s not exactly how things were supposed to go. But when you’ve got a group of people that want to push the envelope and build something truly incredible, convincing them to actually stop working can be a challenge in itself.
In fact, development of the badge is still ongoing. Fixes and improvements are being made to the software even as you read this, and if you haven’t already, you should upgrade your badge to make sure you’ve got the latest and greatest from our international team of wizards. We all know that conference badges have an unfortunate habit of languishing on the shelf and collecting dust, but the 2019 Superconference badge was built to challenge you for longer than just one weekend. Consider yourself warned: for every Supercon badge that gets tossed in a drawer come Monday, Sprite_TM will shed a single tear.
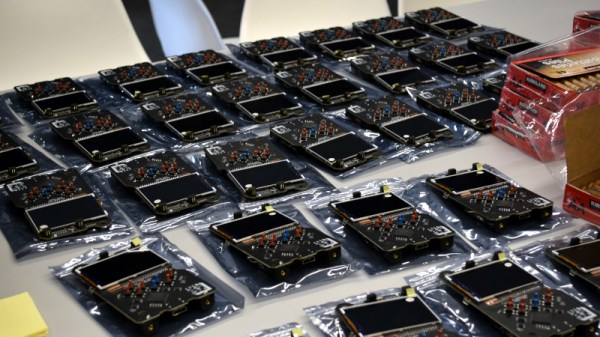
After the break, come along as we turn back the clock and take a look at the last minute dash to get 500+ badges programmed and ready to go before the doors opened for the 2019 Hackaday Superconference.
Continue reading “Behind The Scenes Of The 2019 Superconference Badge”