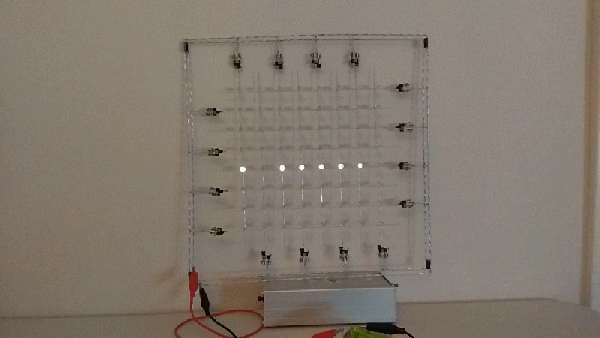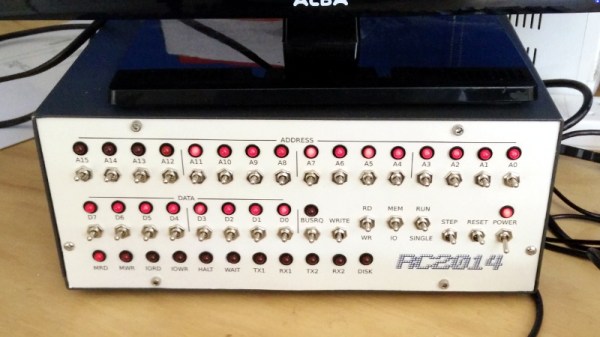
The RC2014 is a slick Z80 computer kit that’s graced these pages a number of times in the past. It allows anyone with a soldering iron and a USB-to-serial adapter to experience the thrill of early 1980s desktop computing. But what if you’re looking for an even more vintage experience? In that case, this custom RC2014 front panel from [James Stanley] might be just the thing to scratch that Altair itch.
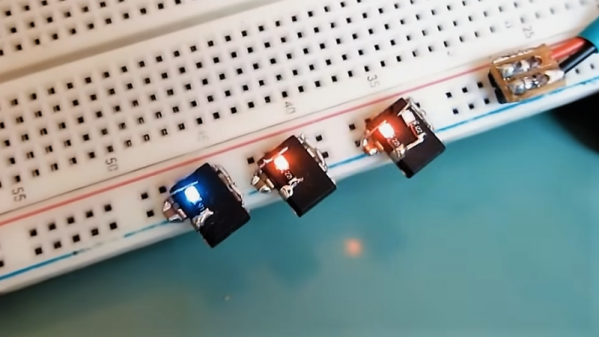
 The front panel allows you to view and alter the contents of memory with nothing more complex than toggle switches and LEDs, just like on the early microcomputers of the 1970s. If you’ve ever wanted to learn how a computer works on the most basic level, single-stepping through instructions and reading them out in binary is a great way to do it.
[James] says he was inspired to take on this project after reading a 1978 issue of Kilobaud Magazine (as one does), and seeing an article about building a homebrew Z80 machine with a front panel. Obviously he had to modify the approach a bit to mate up with this relatively modern variation on the venerable CPU, but the idea was essentially the same.
His documentation for the project is sure to be fascinating for anyone enamored with those iconic computers of yesteryear, but even readers with more modern sensibilities will likely find some interesting details. The way [James] coaxes the data and various status states out of the kit computer takes up the bulk of the write-up, but afterwards he talks about how he designed the PCB and wraps up with his tips for creating a professional looking front panel.
This isn’t the first time we’ve seen a modern Z80 computer kitted out with blinkenlights, but it’s certainly one of the most professional looking. If you combine the RC2014 kits available on Tindie with the details provided by [James], you’ll soon be learning the fine art of programming a computer with toggle switches.
Continue reading “Building A Front Panel For The RC2014 Computer”