TMS9900 Retro Build

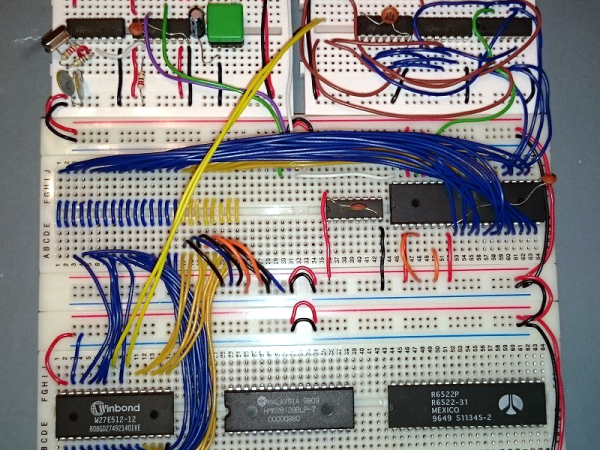
[Robert Baruch] found a TMS9900 CPU from 1983 in a surplus store. If that name doesn’t ring a bell, the TMS9900 was an early 16-bit CPU from Texas Instruments. He found that, unlike modern CPUs, the chip took several voltages and a four-phase twelve-volt clock. He decided to fire it up and — of course — one thing led to another and he wound up with a system on a breadboard. You can see one of the videos he made about the machine below.

This CPU had some odd features, most notably that it stored its registers in off-chip memory and can switch contexts by changing where the registers reside. That was a novel idea when the memory and the CPU were similar in speed. In a modern computer, the memory is much slower than the CPU and this would be a major bottleneck for program execution. The only onboard registers were the program counter, the status register, and a pointer to the general-purpose registers in memory.

Continue reading “TMS9900 Retro Build”

Homemade Computer From 1970s Chips

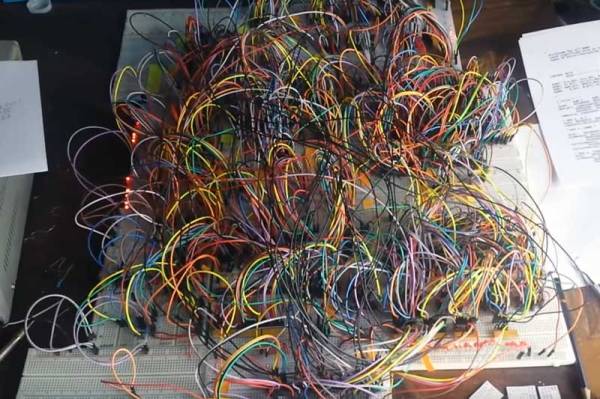
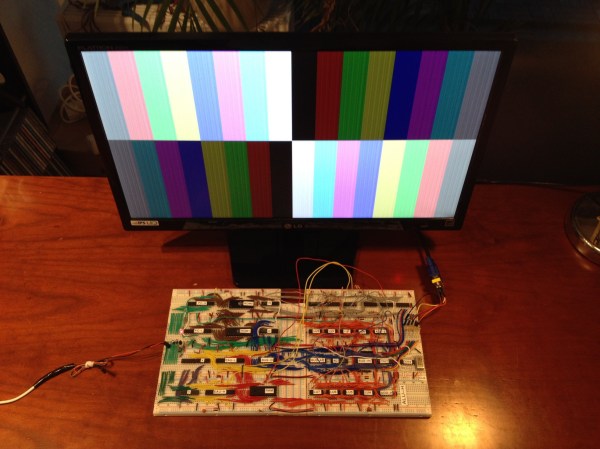
Sometimes it starts with a 555 timer and an op-amp. Other times with a small microcontroller. But the timing’s not so great and needs a dedicated timing crystal circuit. And maybe some more memory, and maybe the ATtiny should be swapped out for some 74LS-series chips. And now of course it needs video output too. Before you know it, you’re staring at a 40-chip computer that hearkens back to a simpler, yet somehow more complex, time of computing. At least that’s where [Marcel] is with his breadboard computer based on 1970s-era chips.

For what it does, this homebrew computer is relatively simple and straightforward. It gets 8 bits of processing power from 34 TTL chips. Another 6 round out the other features needed for the computer to operate. It is capable of rendering 64 colors in software and has more than enough memory for a computer of this sort. So far the only recurring problem [Marcel] has had has been with breadboard fatigue, as some of the chips keep popping out of the sockets.

This is a great project for anyone interested in homebrew or 8-bit computing, partially because of some of the self-imposed limitations that [Marcel] imposed on himself, like “only chips from the 70s”. It’s an impressive build on its own and looks to get much better since future plans call for a dedicated PCB to solve the issue with the worn-out breadboards. If you’re already invested in a project like this, don’t forget that the rabbit hole can go a little deeper: you can build a computer out of discrete transistors as well.

8-Bit Breadboard Computer Is Up To 8 Hours

[Ben Eater] posted some videos of an 8-bit computer with no CPU chip that he built completely on a breadboard a few years ago. After being asked for schematics, he finally admitted that he didn’t have any. So, instead, he decided to rebuild it and keep a video log of each step in the process. You can see his kickoff video, below, but you can also find 30 more recent videos covering topics from the ALU design and troubleshooting to the decimal LED display. He even uses an Arduino to program a EEPROM that he uses to replace a lot of logic.

You probably want to wait until you have some free time as there are around eight hours of videos so far. The videos start off with a simple 555 timer and work up from there. Each piece gets a test separate from the whole, so with luck you won’t have an impossible job trying to troubleshoot the whole thing at the end.

Continue reading “8-Bit Breadboard Computer Is Up To 8 Hours”

Electronic Prototyping With A 3D Printer

It would be nice if your 3D printer could spit out PC boards. There’s been lots of work done to make that happen, mostly centered on depositing conductive material, although we’ve been surprised no one has worked out how to just 3D print a plastic resist mask.

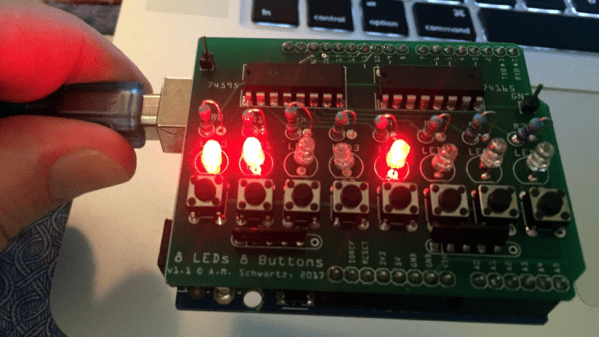
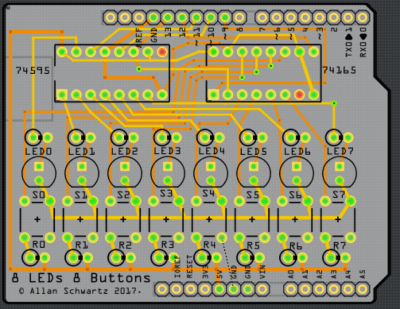
We recently found a GitHub group for [PCBPrints] which has small modules that would be useful in prototyping and breadboarding. They are really just carriers that create plug in modules for switches, LEDs, and the like. It looks like this is a aggregated list of other GitHub projects that realize these designs. The group is in Spanish, but Google Translate is your friend, as usual. You can see a video of one of the button modules in action, below.

Continue reading “Electronic Prototyping With A 3D Printer”

Recapture Radio’s Roots With An Updated Regenerative Receiver

Crystal radios used to be the “gateway drug” into hobby electronics. Trouble was, there’s only so much one can hope to accomplish with a wire-wrapped oatmeal carton, a safety-pin, and a razor blade. Adding a few components and exploring the regenerative circuit can prove to be a little more engaging, and that’s where this simple breadboard regen radio comes in.

Sometimes it’s the simple concepts that can capture the imagination, and revisiting the classics is a great way to do it. Basically a reiteration of [Armstrong]’s original 1912 regenerative design, [VonAcht] uses silicon where glass was used, but the principle is the same. A little of the amplified RF signal is fed back into the tuned circuit through an additional coil on the ferrite rod that acts as the receiver’s antenna. Positive feedback amplifies the RF even more, a germanium diode envelope detector demodulates the signal, and the audio is passed to a simple op amp stage for driving a headphone.

Amenable to solderless breadboarding, or even literal breadboard construction using dead bug or Manhattan wiring, the circuit invites experimentation and looks like fun to fiddle with. And getting a handle on analog and RF concepts is always a treat.

[via r/electronics]

Retrocomputing For $4 With A Z80

Sure, you’d like to get in on all the retrocomputing action you read about on Hackaday. But that takes a lot of money to buy vintage hardware, right? Sure, you can build your own, but who has time for a big major project? [Just4Fun] has a Hackaday.io project that disproves those two myths and gives you no more excuses. His retrocomputer? A 4MHz Z80 that can run BASIC with 64K of RAM, all built on a breadboard with 4 ICs. The cost? About $4.

Of course, that’s with some power shopping on eBay and assuming you have the usual stuff like breadboards, wire, small components, and a power supply. While it will gall the anti-Arduino crowd, [Just4Fun] uses an Arduino (well, an ATmega32A with the Arduino bootloader) to stand in for a host of Z80 peripheral devices. You can see a video of the device below, and there are more on the Hackaday.io project page.

Continue reading “Retrocomputing For $4 With A Z80”

Make Your Own ESP8266 Breadboard Adapter

Want to play around with the ESP8266? You’ll need a breadboard adapter, which allows you to connect the ESP8266 to a breadboard as you refine your design. Sure, you could just buy one, but where’s the fun in that?

[Markus Ulsass] designed a simple breadboard adapter for his ESP8266 that can be easily etched and built at home, but which has most of the features of the commercial versions. His adapter features a voltage regulator that can handle anything up to 7 volts and which has reverse polarity protection and a reset switch that puts the ESP8266 into flash mode, where it can be reprogrammed.

It’s a neat, simple build that makes it easier to tap into the power of the ESP8266 , which can be used to do everything from running a webcam to automating your home.