When building a new project, common wisdom suggests to avoid “reinventing the wheel”, or doing something simple from scratch that’s easily available already. However, if you can build a high-voltage wheel, so to speak, it might be fun just to see what happens. [Dan] decided to reinvent not the wheel, but the speaker, and instead of any conventional build he decided to make one with parts from a microwave and over 6,000 volts.
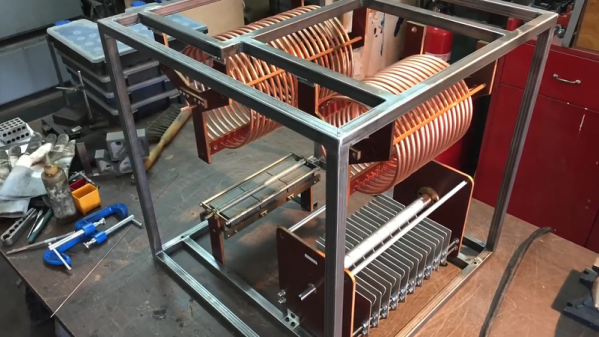
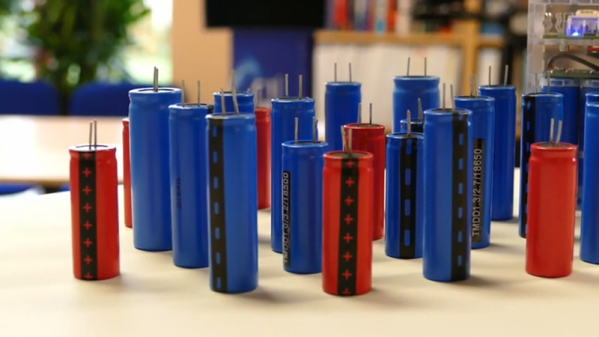
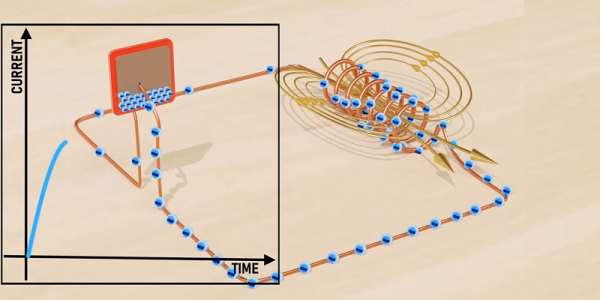
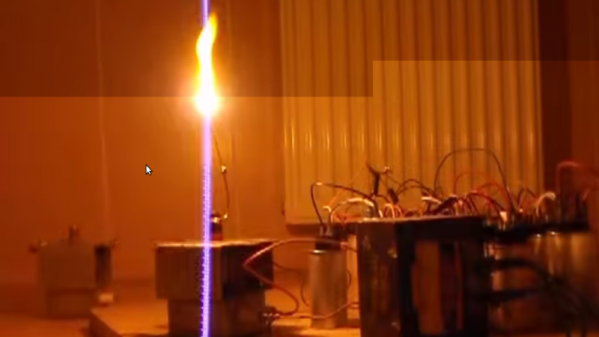
The circuit he constructed works essentially like a Tesla coil with a modulated audio signal as an input. The build uses the high voltage transformer from the microwave too, which steps the 240 V input up to around 6 kV. To modulate that kind of voltage, [Dan] sends the audio signal through a GU81M vacuum tube with the support of a fleet of high voltage capacitors. The antenna connected to the magnetron does tend to catch on fire somewhere in the middle of each song, so it’s not the safest device around even if the high voltage can be handled properly, but it does work better than expected as a speaker.
If you want a high-voltage speaker that (probably) won’t burn your house down, though, it might be best to stick to a typical Tesla coil. No promises though, since working with high voltages typically doesn’t come with safety guarantees.
Continue reading “Swap Your Microwave For A High Voltage Stereo”