The traditional method for visualizing magnetic fields, which your science teacher probably demonstrated at some point, is to sprinkle some iron filings onto a piece of paper and hold it over a magnet. It’s a bit of a messy process though, and nowadays there’s a more modern method available in the form of magnetic viewing films. These work thanks to tiny nickel particles suspended in an oily medium, and come in very handy if you want to examine, say, the magnetic field pattern of a DC electric motor. [Moritz v. Sivers] had another idea for this magic material however, and used it to make a Magnet Viewing Clock.
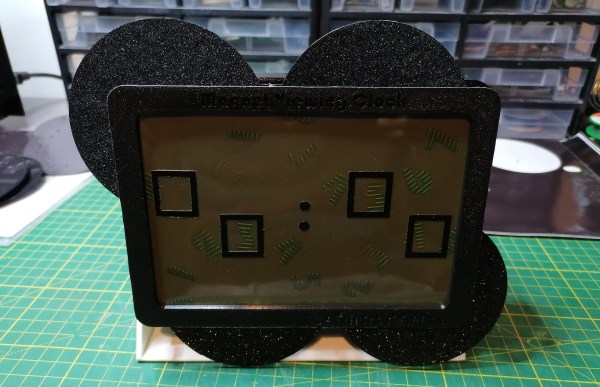
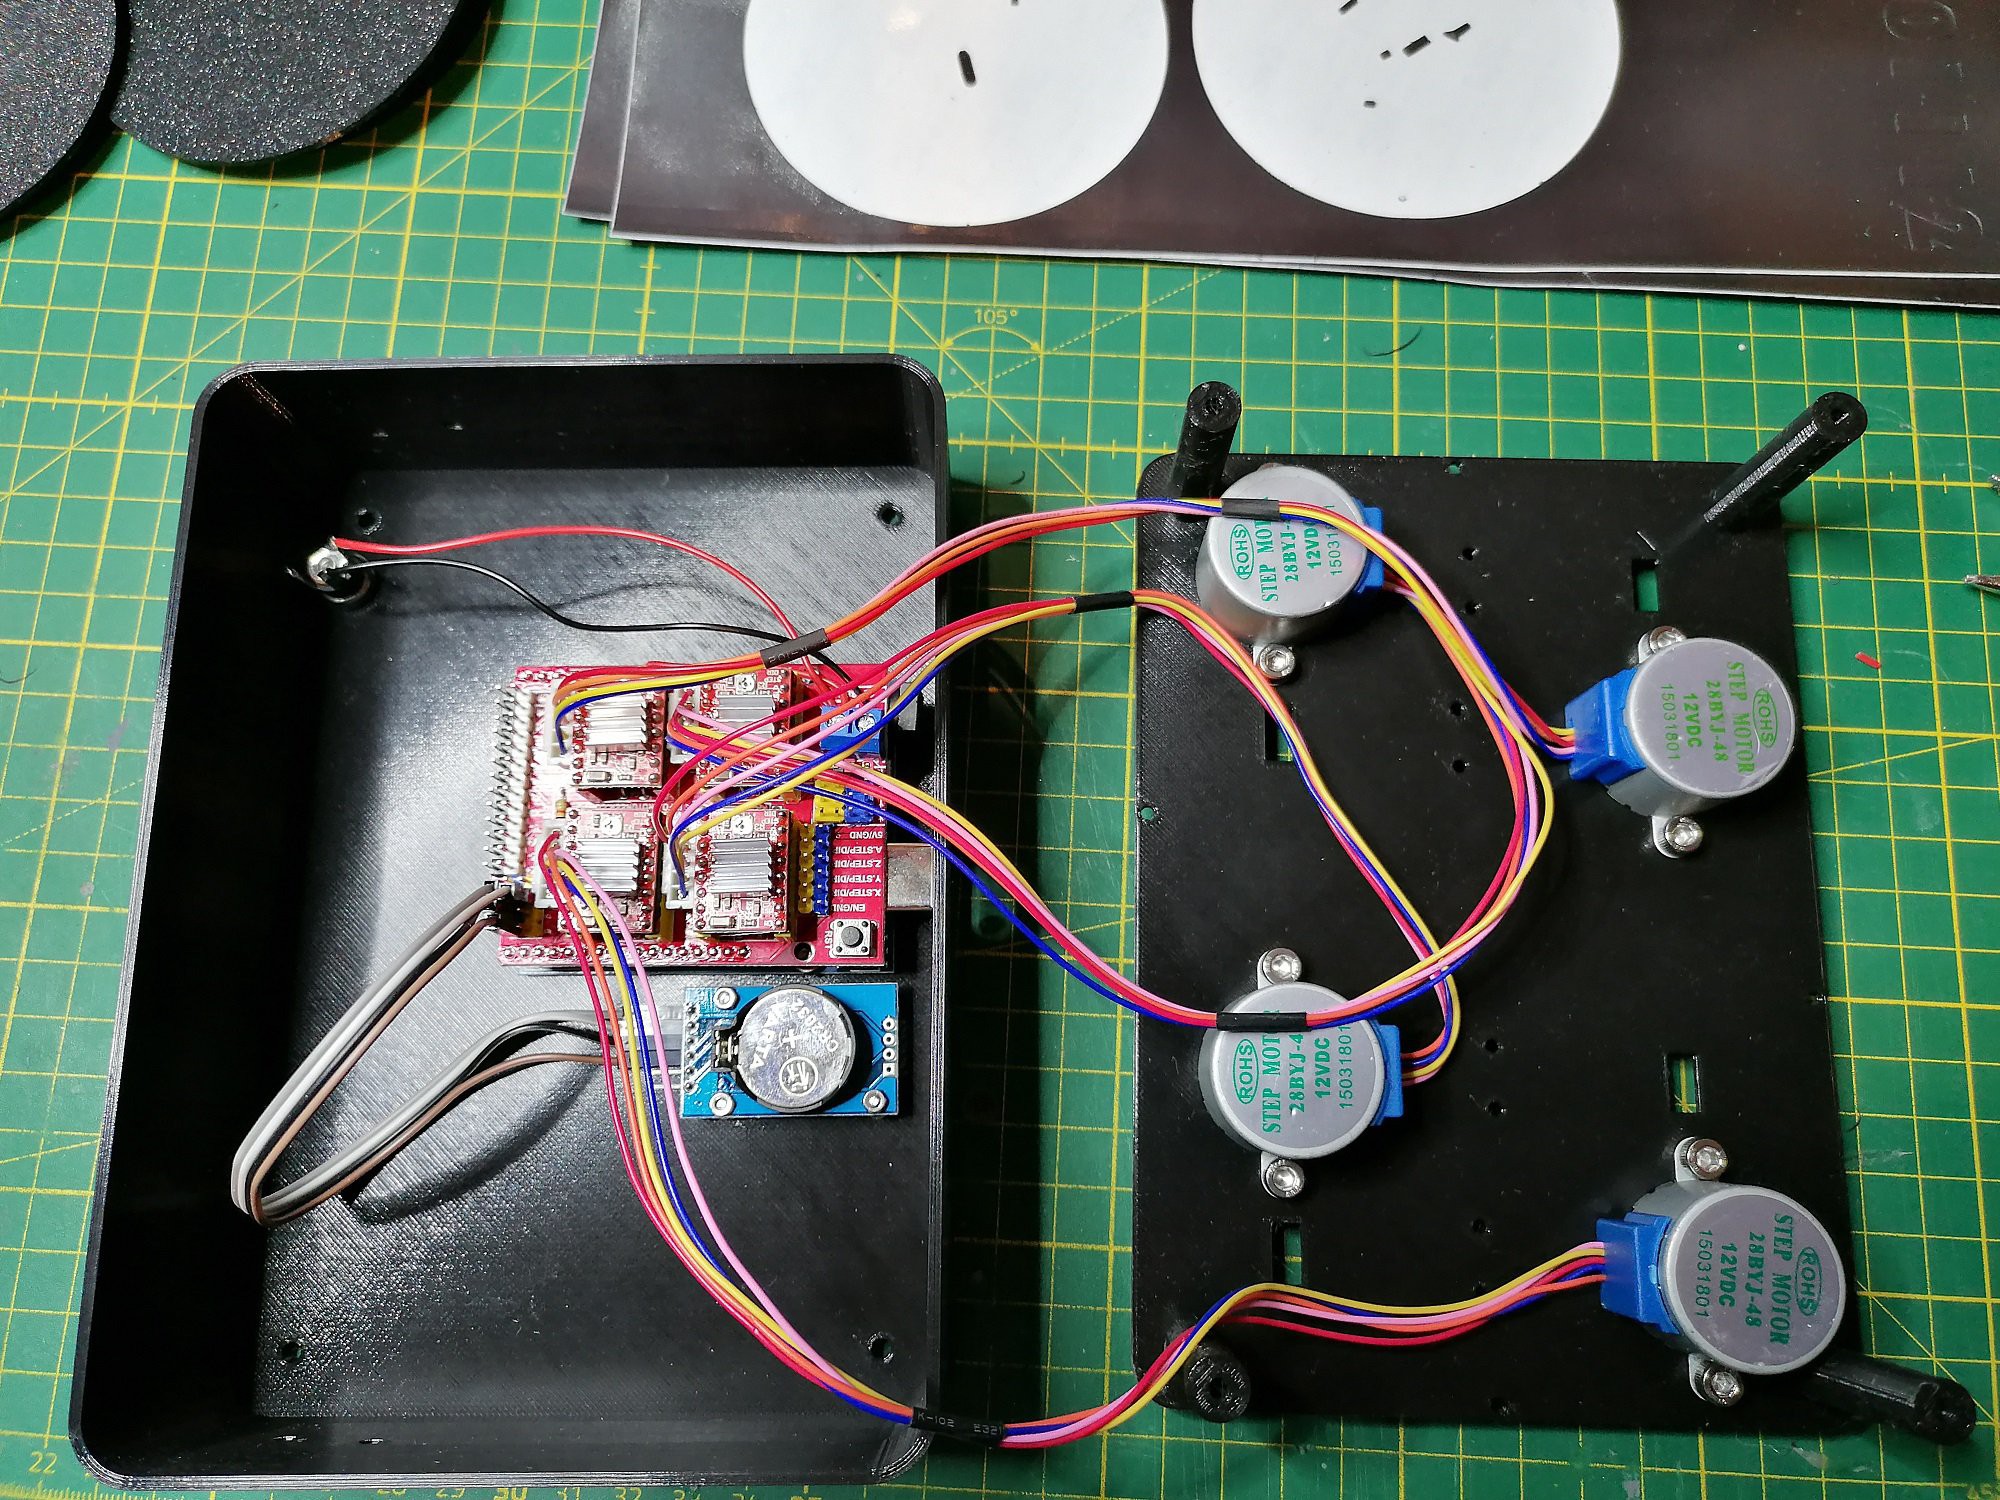 The clock’s front panel looks very similar to a large monochrome LCD, but is actually a big slab of magnetic viewing film. Four disks are mounted behind it, each carrying number-shaped magnetic stickers that are cleverly hidden from view. An Arduino Uno keeps track of time through a real-time clock and operates four stepper motors that rotate the number wheels. When they move into position, their magnetic stickers become visible through the film and you can read the time.
The clock’s mechanical parts are 3D printed, while the digits were cut from a sheet of sticky magnetic foil using a vinyl cutter. If you’d like to try making something similar you’re in luck: [Moritz] made the design files and the Arduino sketch available on his GitHub page. Magnetic viewing films are pretty neat things to play with anyway, and can even be used to read hidden messages.