[Sofia] spent a lot of time looking around for the perfect LEGO clock. Eventually, she realized that the perfect LEGO clock is, of course, the one you build yourself. So if you find yourself staring at the same old boring clock, contemplating time and the meaning of time itself, why not spend some time making a new timepiece?
You probably already had the LEGO out (no judgment here). This build doesn’t take a whole lot of building blocks — just a microcontroller, a real-time clock module, some LED matrices to display the digits, shift registers if they’re not already built into the matrices, and a pair of buttons for control. [Sofia] used an Arduino Nano, but any microcontroller with enough I/O ought to work. Everybody needs a colorful new way to block out their time.
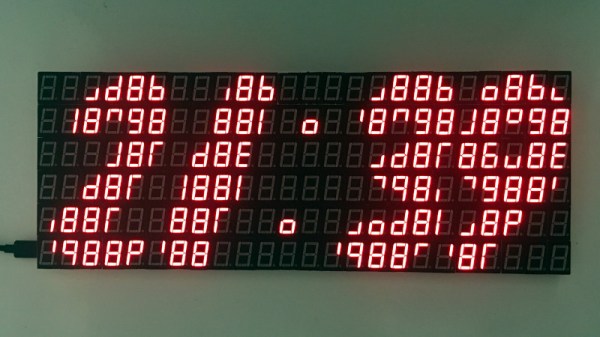
We love the way this clock looks, especially the transparent panels in front of the LED panels. Given the countless custom pieces out there from all the special sets over the years, we bet you could come up with some really interesting builds.
If your kid is too young to tell time, try building a kid-friendly clock to give them segmented structure.
Via r/duino